Secure the pad with a non-slip liner and a strap system anchored to the dresser back.
I’ve fitted many changing stations and know the small steps that make a big safety difference. This guide shows how to attach changing pad to dresser with clear steps, tools, and safety checks. You’ll learn safe mounting options, common mistakes to avoid, and real-world tips from my experience so you can set up a stable changing spot with confidence. Read on for a practical, trusted plan to attach your changing pad to dresser the safe way.
Why securing matters before you attach a changing pad to dresser
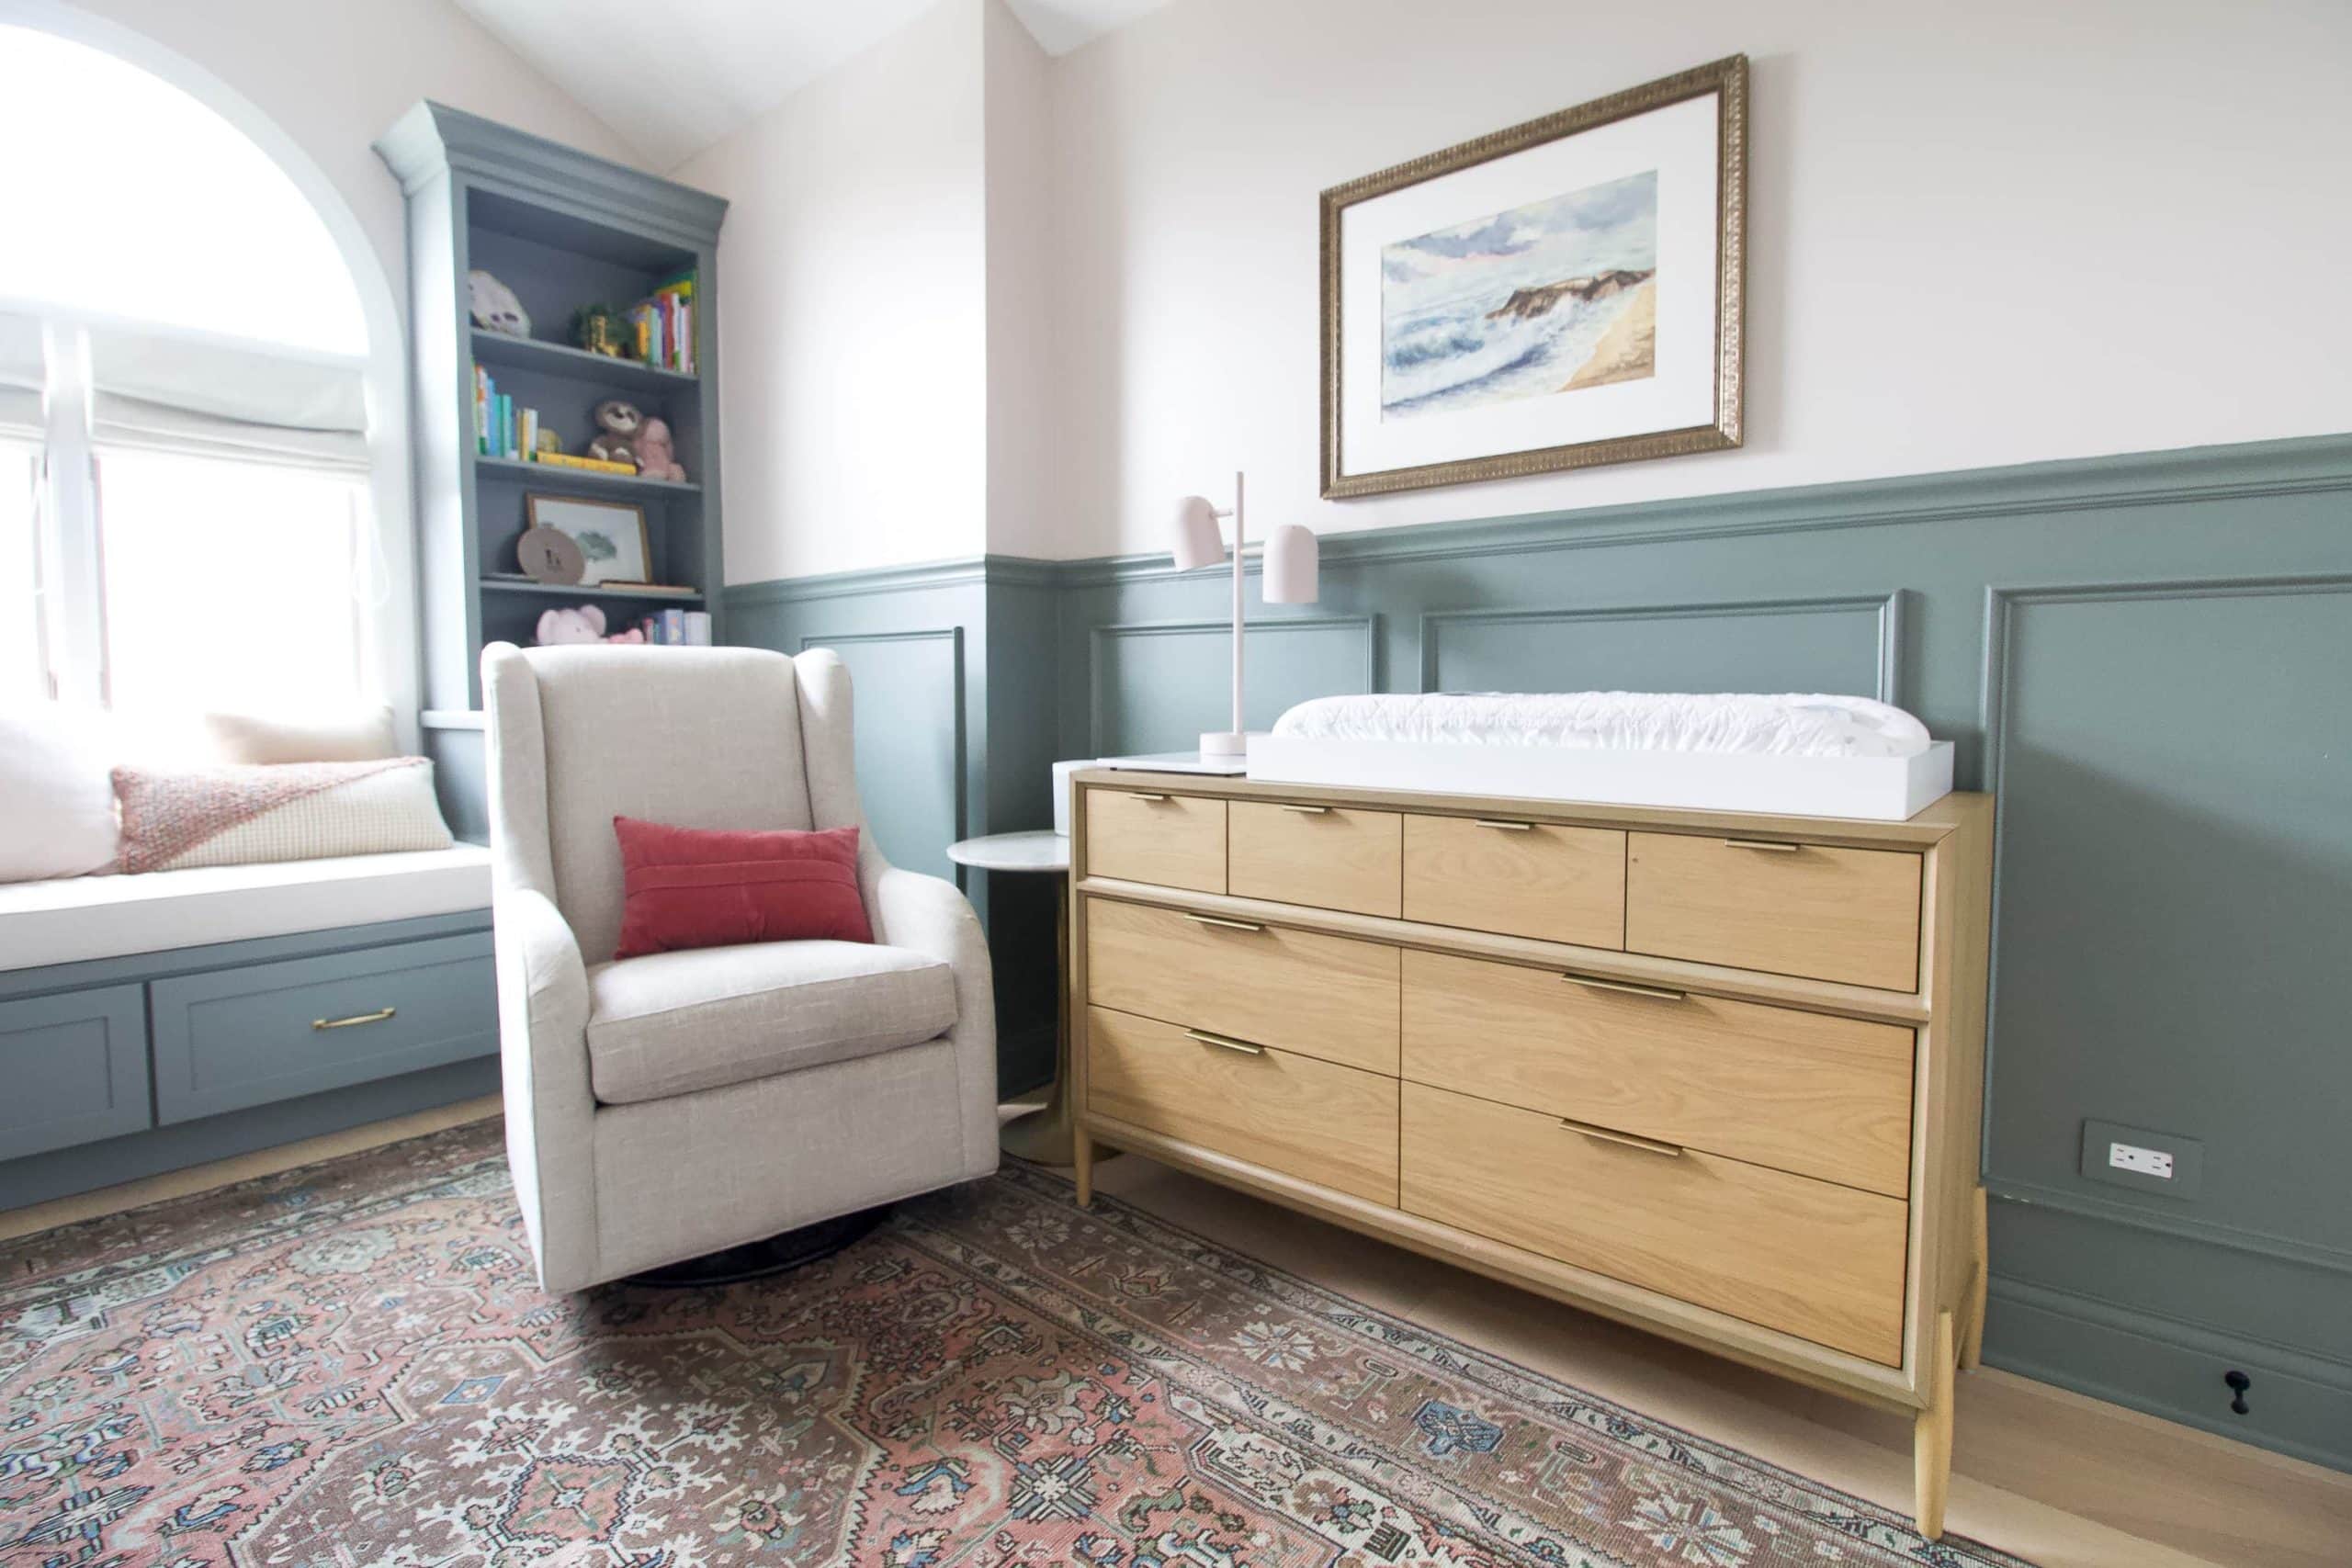
A loose changing pad can slide, fall, or let a baby roll off. Securing the pad to the dresser reduces rollover risk and improves stability. Safety groups urge parents to anchor both the pad and the dresser to the wall for two layers of protection. From my experience, simple steps stop most accidents and give caregivers peace of mind.
Tools and materials you’ll need to attach changing pad to dresser
- Measuring tape to center and align the pad
- Non-slip liner or shelf liner to prevent shifting
- Adjustable safety straps or Velcro straps designed for changing pads
- Short furniture screws or mounting brackets if pad has built-in anchor points
- Anti-tip furniture strap to anchor dresser to wall
- Marker or pencil to mark placement
- Screwdriver or drill (use low torque)
- Scissors or utility knife for liners and straps

Step-by-step: how to attach changing pad to dresser
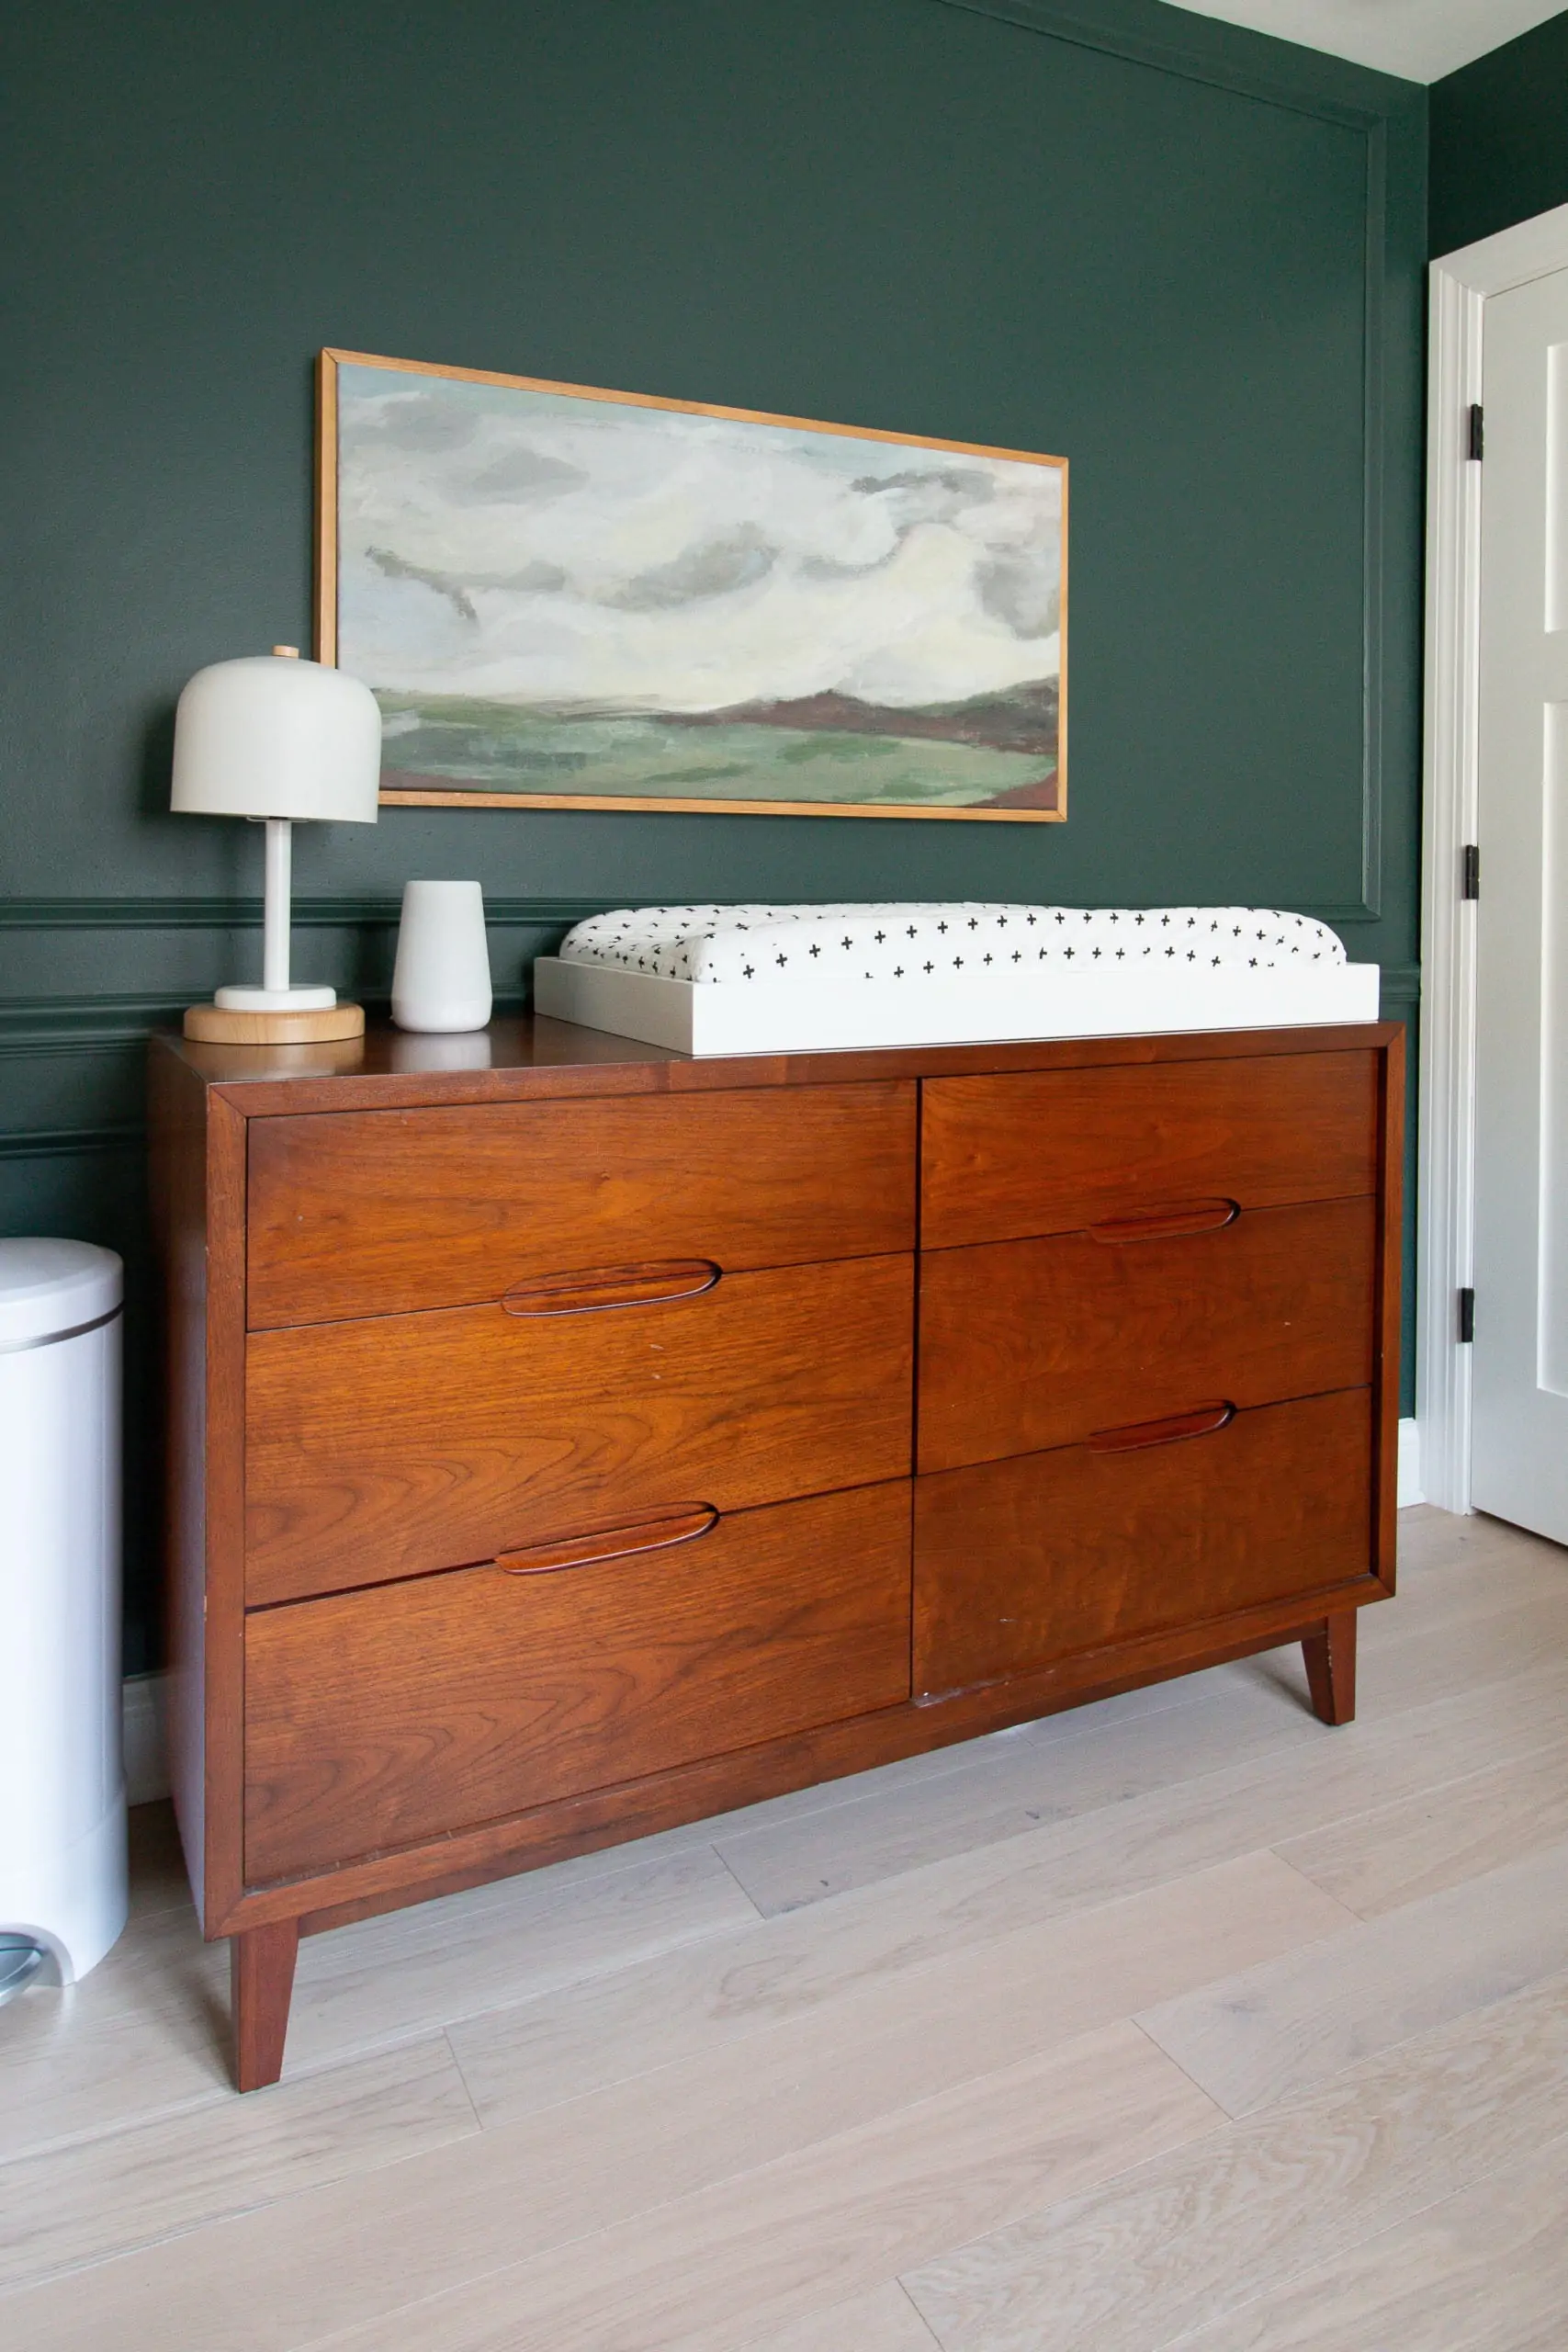
- Measure and prep. Measure the dresser top and the pad. Mark the center front to back and side to side so the pad sits square.
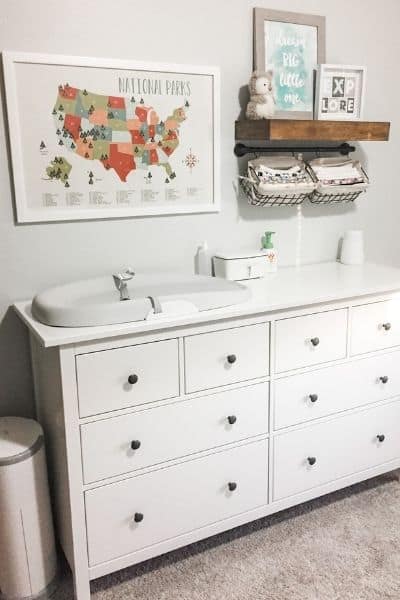
- Test fit. Place the pad on the dresser and check edges. The pad should not extend beyond the dresser sides or front.
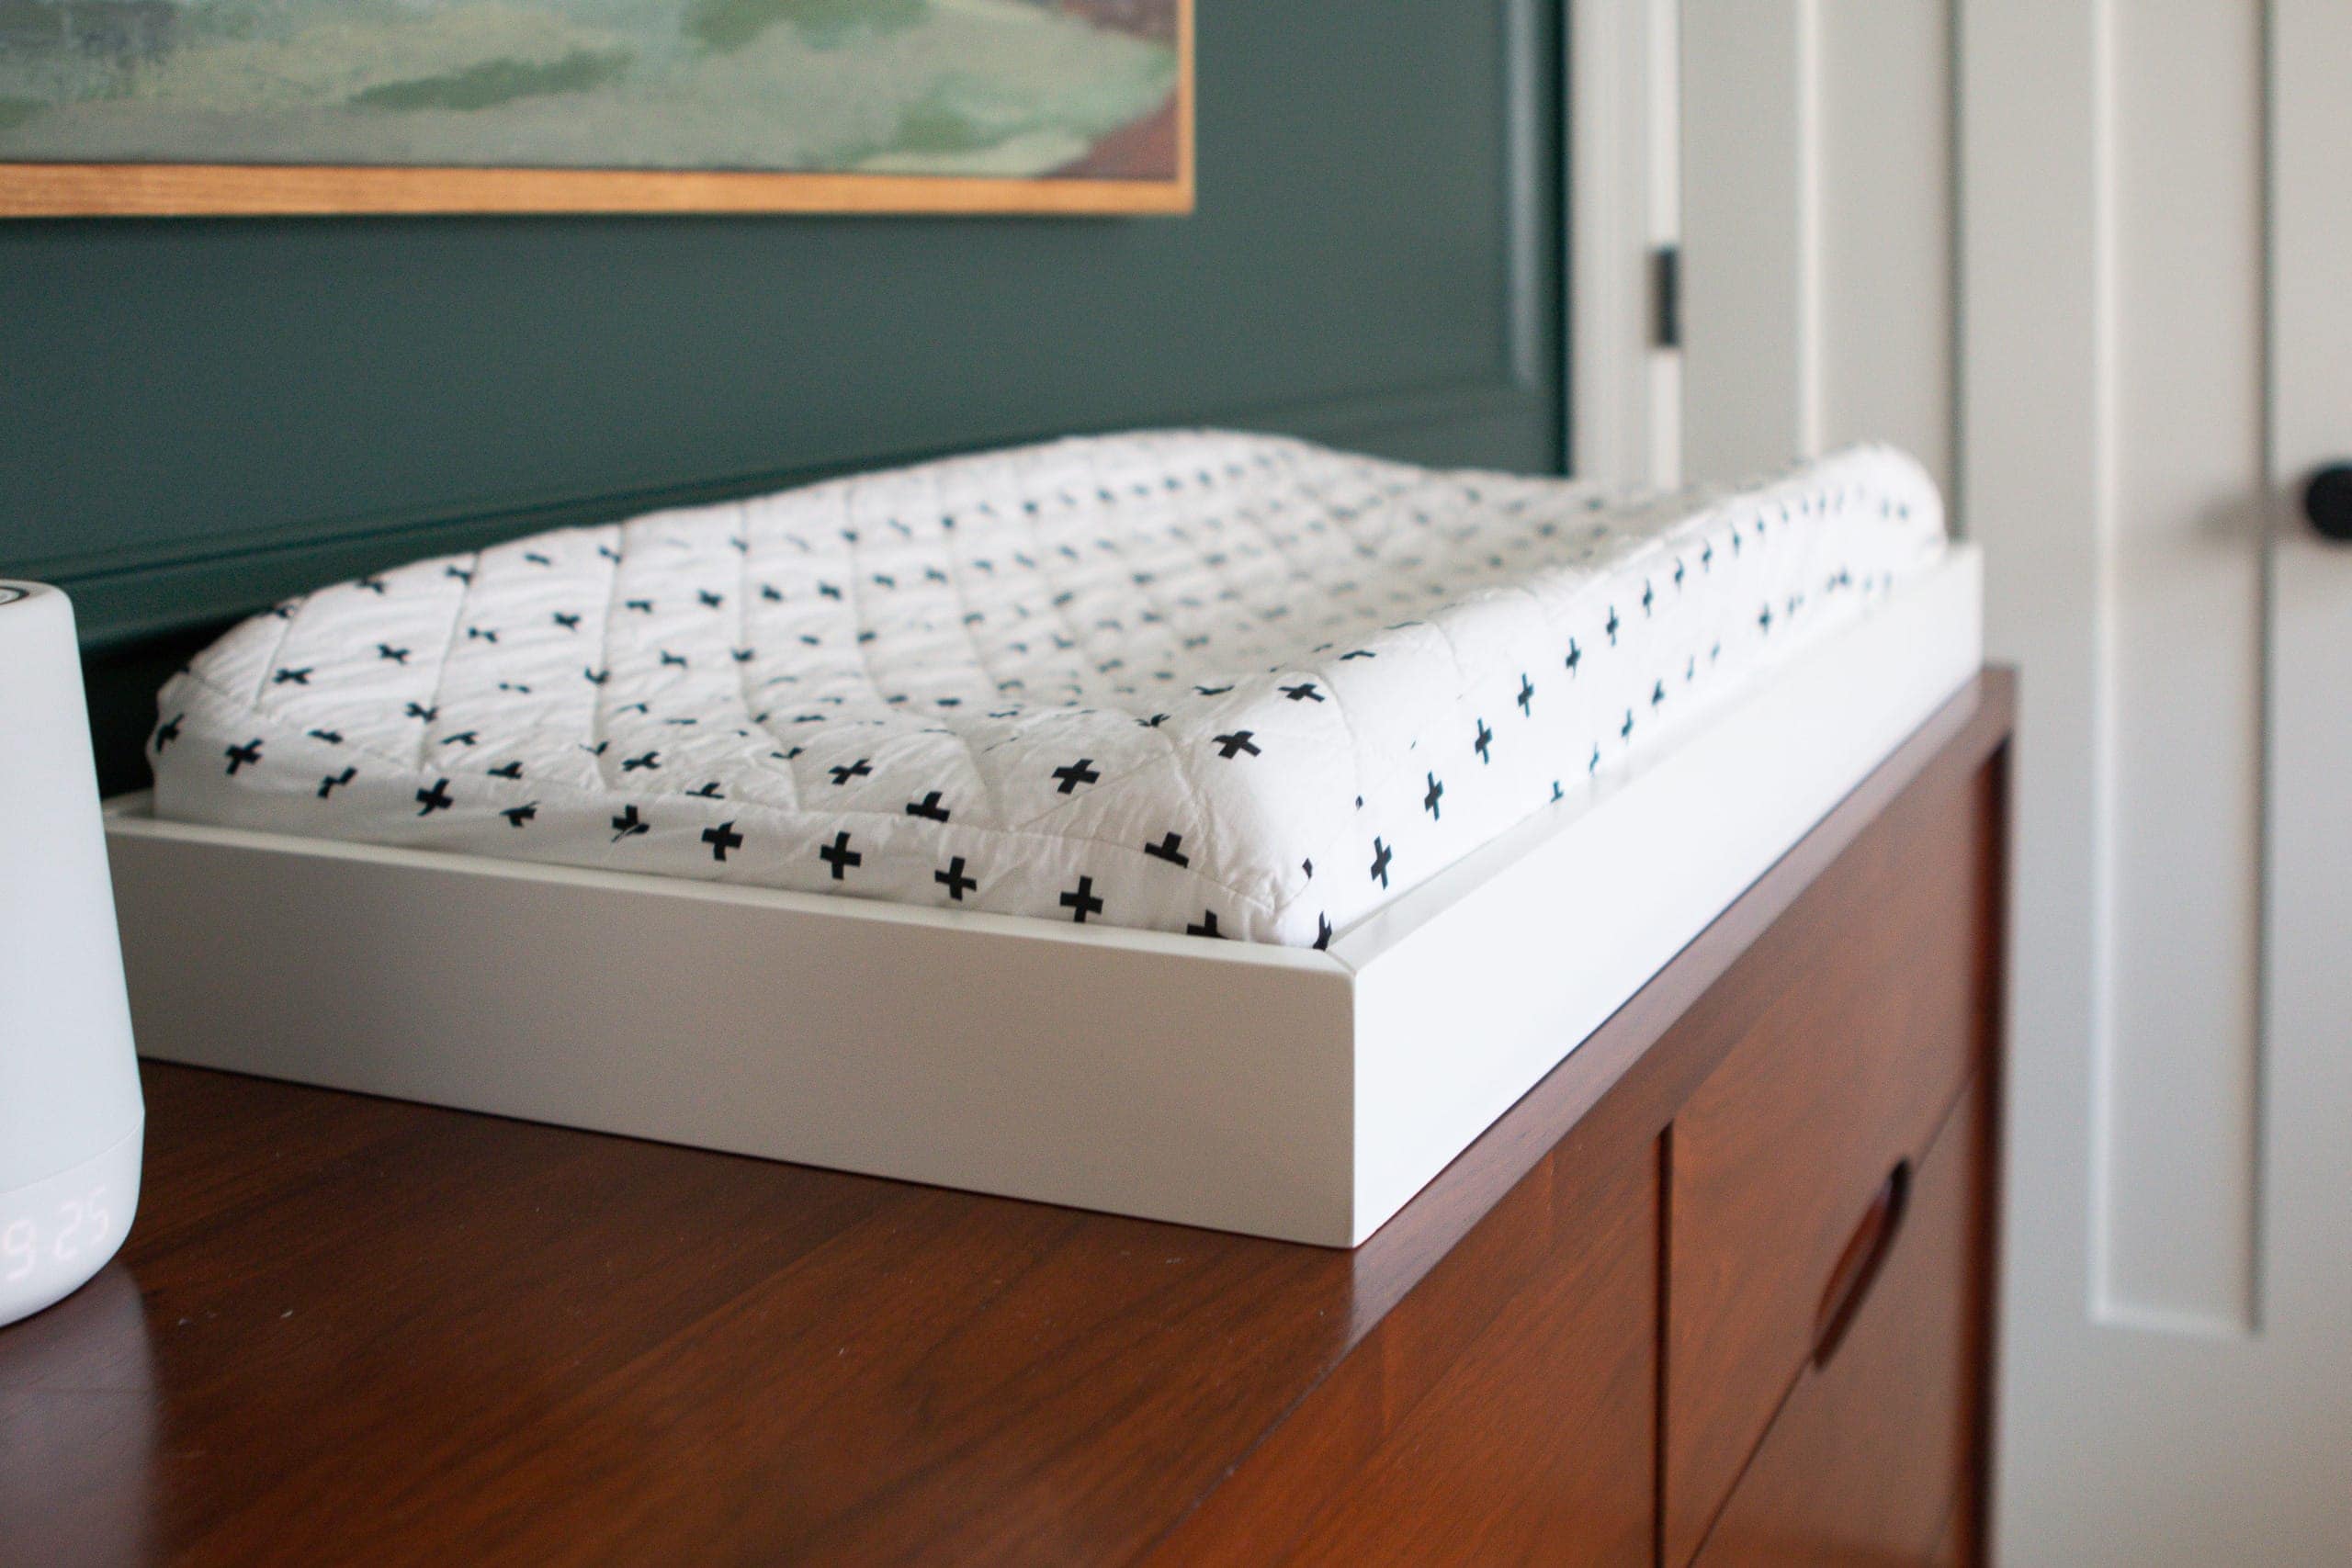
- Add a non-slip liner. Lay a cut-to-size non-slip liner between dresser top and pad to reduce slippage.
- Use the pad’s straps. If your changing pad has built-in straps or slots, thread the strap around the dresser back or through the dresser lip and fasten per manufacturer instructions.
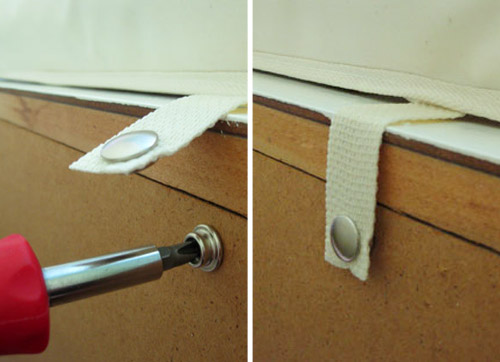
- Fit external straps. For pads without built-in anchors, use adjustable safety straps. Loop them under the dresser top or around the back, then buckled or tightened across the pad base.
- Secure with brackets only if designed for it. Some pads come with mounting brackets. Fasten brackets to the dresser back, not through the pad surface. Do not screw through foam or waterproof covers.
- Anchor the dresser to the wall. Attach an anti-tip strap from the dresser upper back to the wall studs. This prevents the dresser from tipping if a child pushes on the pad.
- Test stability. Apply firm pressure and tug from different angles. The pad should not slide or lift. Adjust straps until secure.
- Final check before use. Make sure straps are tight, no sharp hardware is exposed, and the pad sits centered. Always follow the pad maker’s instructions.
Notes from experience: I once used heavy-duty Velcro and an anti-slip liner together. That combo added redundancy and held up through dozens of diaper changes. Avoid making holes in the pad cover itself; that can void safety features and create leaks.
Options by pad type when you attach changing pad to dresser
- Contoured changing pads
Use non-slip liners and strap systems that wrap the dresser lip. Contoured shapes hold baby better but still benefit from straps. - Flat pads and foam toppers
Flat pads need extra anti-slip material and a strap across the base. Consider a changing pad tray that clips on if you want a removable option. - Built-in changing pad covers with straps
Follow the manufacturer’s strap routing. These often offer anchor points that match the pad cover and are safest.
I’ve swapped pads from different brands. The ones with integrated straps and clear mounting guides were fastest to fit and felt most secure.
Safety checks and best practices when you attach changing pad to dresser
- Never leave a baby unattended. Even a secured pad is not a substitute for supervision.
- Keep essentials within arm’s reach so you never turn away from the baby.
- Use two layers of safety: secure the pad to the dresser and anchor the dresser to the wall.
- Inspect straps and liners monthly for wear or loosening. Replace any worn part promptly.
- Choose the right dresser. A low, wide dresser with a flat top works best and reduces tipping risk.
Regulators and child safety groups recommend anchoring furniture and keeping a hand on the baby at all times. I follow that rule for every change.
Common mistakes and how to fix them when you attach changing pad to dresser
- Mistake: Screwing through the pad to the dresser.
Fix: Never puncture foam or waterproof covers. Use external straps or manufacturer brackets. - Mistake: Relying only on a non-slip liner.
Fix: Combine liner with straps or a clip system for redundancy. - Mistake: Not anchoring the dresser to the wall.
Fix: Add an anti-tip strap to protect against tipping if a child stands or pushes. - Mistake: Choosing a too-large pad.
Fix: Use a pad that fits inside dresser edges to avoid overhang.
From trial and error, I learned that layering two simple solutions—liner plus strap—prevents most issues.

Maintenance and cleaning after you attach changing pad to dresser
- Wipe straps and liners with mild soap and water weekly and let them dry fully.
- Check straps and fasteners for fraying or cracks monthly and replace if damaged.
- Clean the pad cover per manufacturer directions; many covers are machine-washable.
- Replace the non-slip liner if it loses grip or becomes discolored.
Keeping components clean keeps them effective and safe. I keep a spare liner on hand so I can swap a dirty one without delay.

Frequently Asked Questions of how to attach changing pad to dresser
How tight should straps be when I attach changing pad to dresser?
Straps should be snug enough to stop movement but not so tight they warp the pad or dresser edge. Test by pressing down and pulling gently to confirm the pad stays in place.
Is it safe to screw a bracket through the changing pad?
Generally no. Avoid screwing through foam or waterproof covers because it can damage the pad and create gaps for leaks. Use external brackets that attach to the dresser back or use straps.
Can I use Velcro to attach the changing pad to dresser?
Yes, heavy-duty Velcro can work if combined with a non-slip liner and tested regularly. Velcro may wear over time, so inspect it often and replace when grip weakens.
Do I still need to anchor the dresser to the wall if the pad is secured?
Yes. Anchoring the dresser to the wall prevents tipping, which is a separate hazard from pad slippage and is strongly recommended for all changing stations.
What if my changing pad hangs over the dresser edge?
If the pad overhangs, choose a smaller pad or a wider dresser surface. Overhang increases fall risk and reduces the effectiveness of straps.
How often should I check the attachment setup?
Check straps, liners, and anchors at least once a month, and inspect visually before each use for loose parts or wear.
Conclusion
Securely attaching a changing pad to dresser is a simple mix of good tools, correct placement, and routine checks. Use a non-slip liner, fasten safety straps, and always anchor the dresser to the wall for two layers of protection. Take a few minutes now to measure, mount, and test your setup—small steps prevent big accidents. If this guide helped, try the steps today, leave a comment with your setup, or subscribe for more safety and parenting tips.