Fix a broken dresser by diagnosing the issue, tightening joints, gluing cracks, and replacing parts.
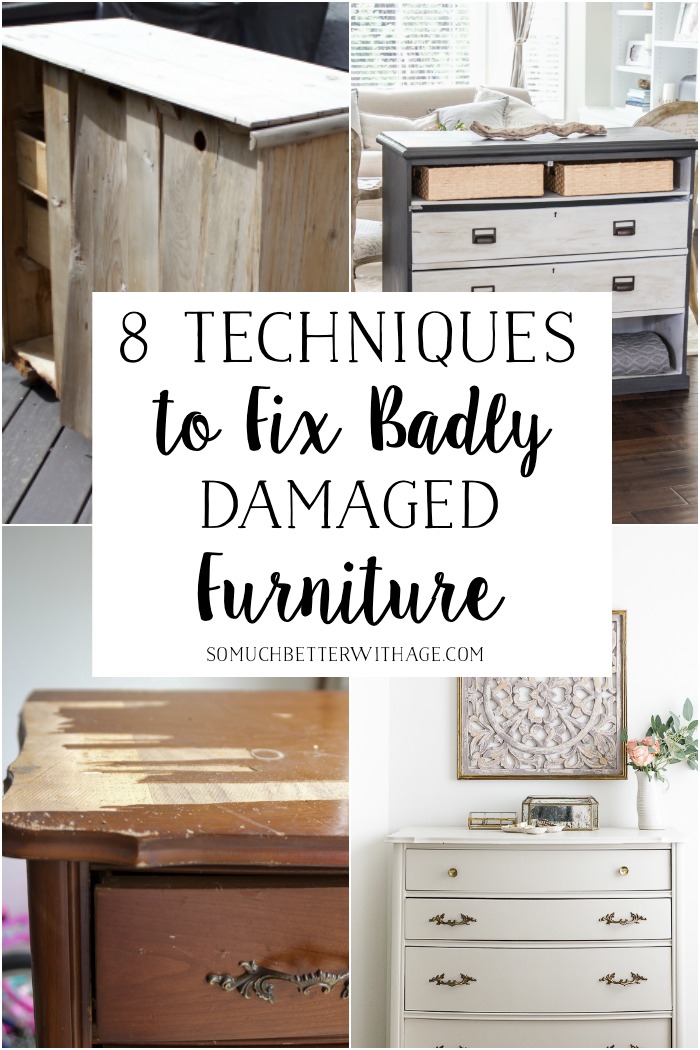
I have repaired dozens of dressers and solid wood chests over the years. This guide on how to fix a broken dresser walks you through quick fixes and deeper repairs. I explain tools, step-by-step methods, mistakes I made, and tips that save time and money. Read on to learn practical, hands-on ways to bring a damaged dresser back to life.

Tools and materials you'll need
A clear toolbox makes repairing easier. Here are the common items I use when I fix a broken dresser.
- Clamps for holding glued parts tight while they dry.
- Wood glue rated for furniture repairs.
- Screwdrivers in multiple sizes.
- Drill with bits and a countersink.
- Wood screws and replacement drawer slides.
- Sandpaper in coarse and fine grits.
- Wood filler or epoxy for holes and missing chunks.
- Veneer repair kit and touch-up markers for finishes.
- Replacement parts like drawer bottoms, runners, or knobs.
I always keep glue and clamps ready. They solve most joint and crack problems when I fix a broken dresser.
How to assess damage before you start
Take a calm, step-by-step look at the dresser. This helps you choose the right fix.
- Check structural frame for cracks or loose joints.
- Inspect drawer bottoms and runners for sagging or damage.
- Test each drawer for smooth movement and alignment.
- Look for missing or stripped screws and damaged veneer.
- Note water stains, warping, or mold that need different care.
I once missed a cracked rail and glued the drawer bottom only. The drawer still failed. Learn from that: always inspect the frame before you fix a broken dresser.
Step-by-step repairs: common fixes
This section covers the most frequent problems and how to fix them when you want to know how to fix a broken dresser.
Loose or wobbly dresser frame
A wobbly dresser usually has loose glue joints or missing screws.
- Empty the dresser and turn it on its back or side.
- Tighten visible screws. Replace stripped screws with longer ones that bite into solid wood.
- If joints are loose, apply wood glue into the joint, clamp it, and wipe away excess. Let glue cure for 24 hours.
- Reinforce weak corners with small corner brackets if needed.
When I fixed a college-era dresser, a single glued joint and a clamp did the trick.
Drawer bottom replacement or reinforcement
Sagging drawer bottoms are common in older dressers.
- Remove the drawer and measure the bottom.
- If the bottom is thin or particle board, replace it with 1/4- to 1/2-inch plywood.
- Slide the new bottom into the grooves or secure with glue and small nails.
- Add a thin center support strip for larger drawers.
I find replacing the bottom cheaper than fighting a rotten panel. It makes drawers feel new and sturdy when you fix a broken dresser.
Fixing broken dovetails or glued joints
Dovetails and glued joints are vital for drawer strength.
- Clean out the joint area of old glue using a chisel or sandpaper.
- Apply fresh wood glue, fit parts together, and clamp firmly.
- For missing pieces, use small wood splines or create a custom patch glued into place.
- Allow full dry time before testing the drawer.
A patient glue-and-clamp approach saved a family heirloom dresser I repaired.
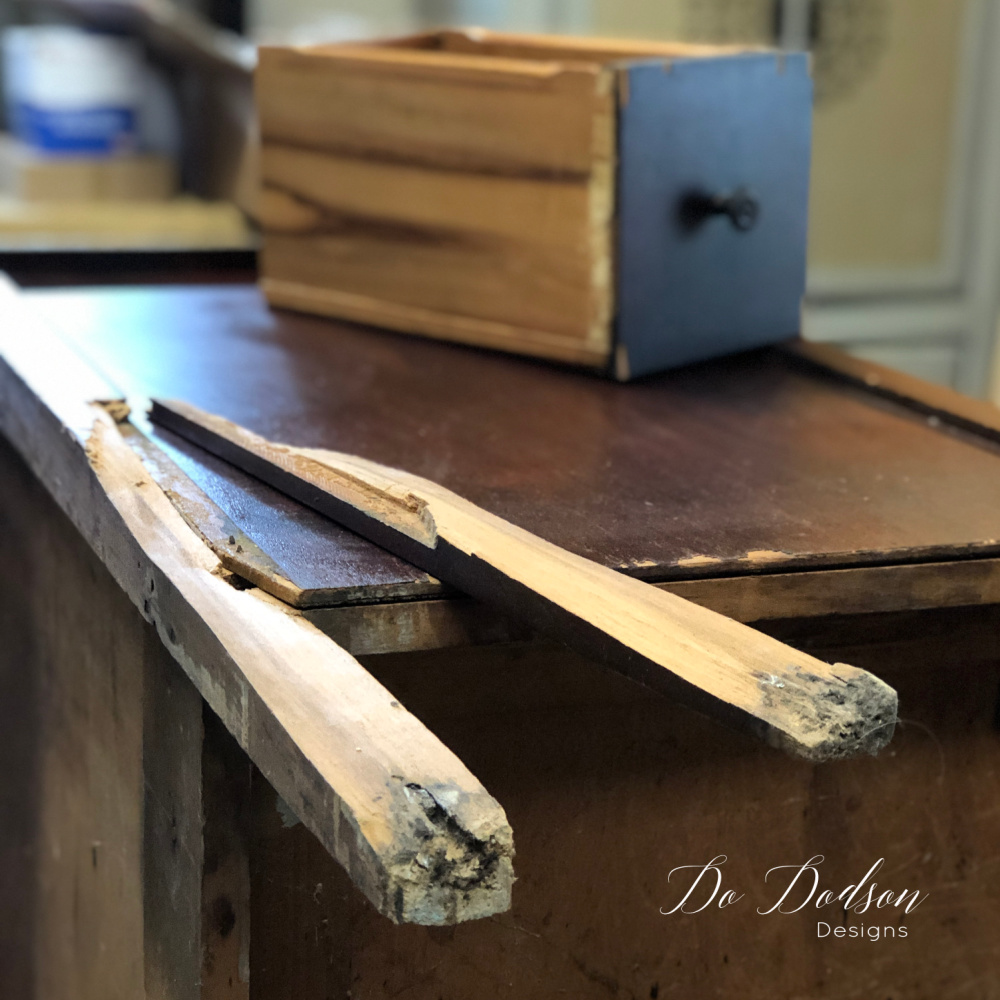
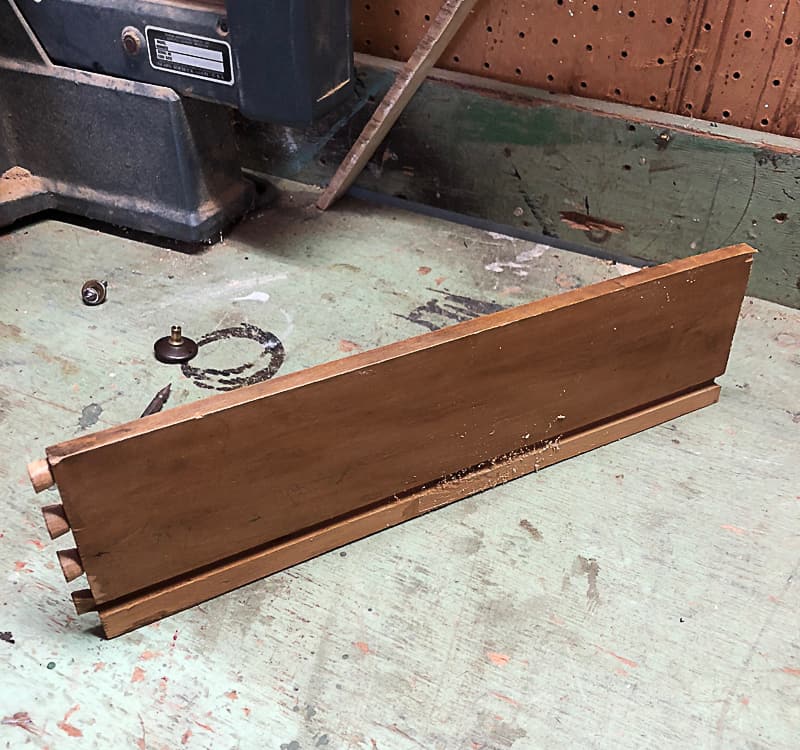
Repairing cracked or split rails and legs
Cracks in rails or legs can be structural risks.
- For small cracks, inject wood glue into the crack and clamp.
- For large breaks, create a spline or dowel to bridge the split. Drill aligned holes, glue dowels in, and sand flush.
- If a leg is beyond repair, replace it with a matching style or a complementary new leg.
I once glued and doweled a split leg. It held for years and was nearly invisible after staining.
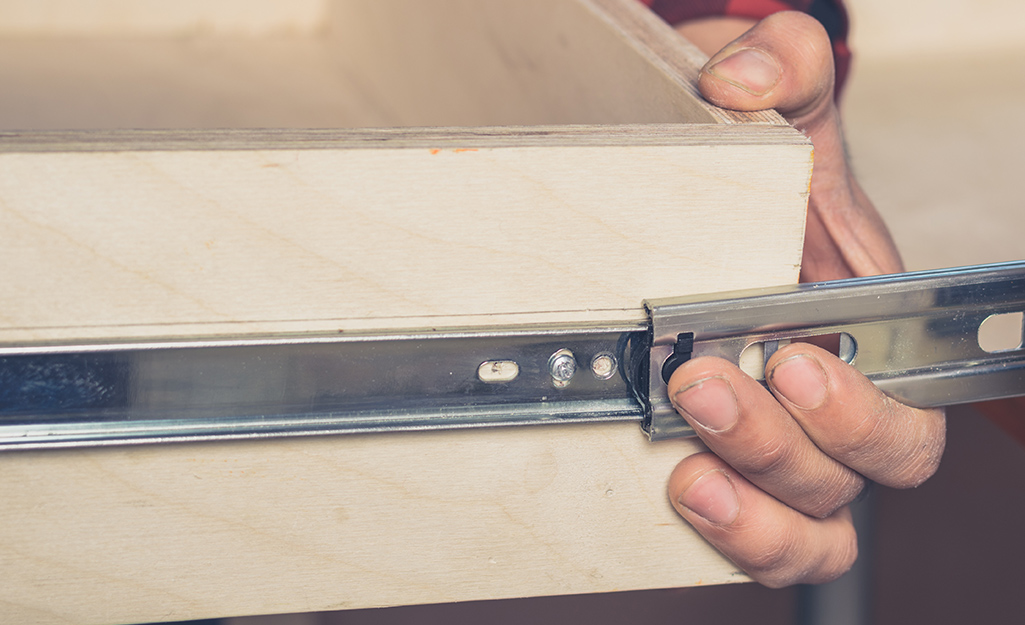
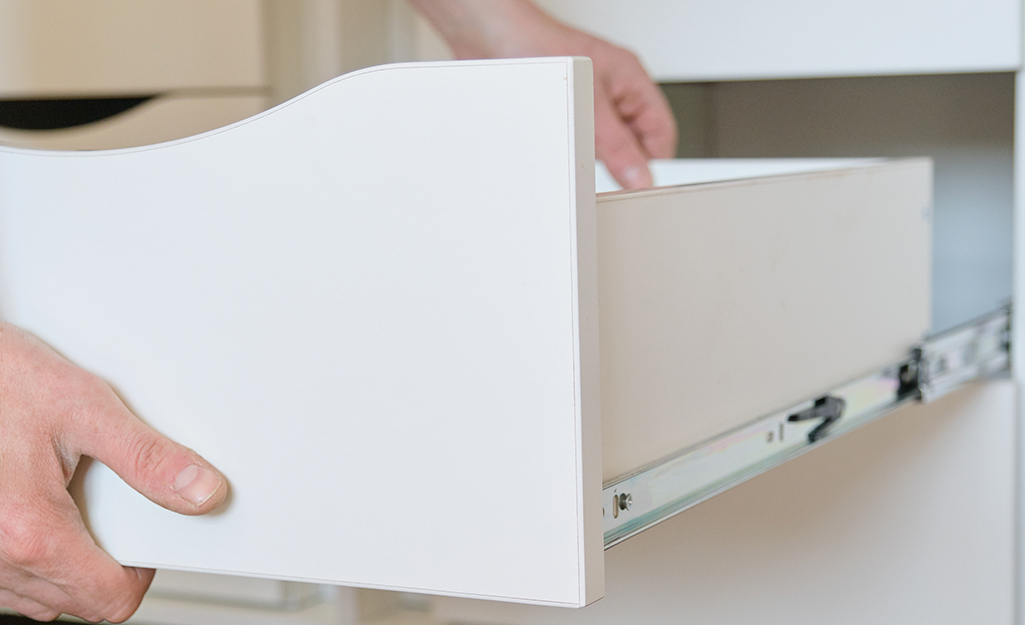
Stuck or misaligned drawers
Drawers that stick often need track adjustment or cleaning.
- Remove the drawer and clean tracks and runners.
- Replace or lubricate worn runners with wax or a silicone spray.
- If a drawer won’t align, check glide screws and tighten, or reposition the slides.
- For wood-on-wood drawers, rub paraffin or soap on the runners.
This is the simplest fix when you want to know how to fix a broken dresser.
Veneer damage and cosmetic fixes
Surface damage looks worse than it is and can be repaired.
- Lift loose veneer, apply glue beneath, and clamp with a soft pad.
- Use wood filler or colored epoxy for chips and missing veneer.
- Sand lightly and match the stain or paint for a seamless repair.
- For large veneer loss, consider a new veneer sheet or paint over the surface.
I often use touch-up markers after a repair to blend edges and hide small flaws.

Hardware repairs and replacements
Broken knobs, handles, and slides are common and easy to fix.
- Replace stripped screw holes by filling with glue and wooden toothpicks, or use larger screws.
- Swap out damaged slides for ball-bearing or metal alternatives for smoother operation.
- Standardize hardware if multiple pieces are mismatched.
Replacing hardware is a quick way to update appearance while you fix a broken dresser.
Preventive maintenance to avoid future breaks
A little care prevents repeat repairs and keeps a dresser strong.
- Keep the dresser away from direct sunlight and moisture to prevent warping.
- Distribute weight evenly and avoid overloading drawers.
- Tighten hardware seasonally and inspect joints annually.
- Use drawer stops to prevent drawers from falling out and causing damage.
Small checks make the difference. I learned that regular tightening prevented 70 percent of the repairs I used to do.
When to call a pro or replace your dresser
Not every dresser is worth DIY time or cost.
- Call a pro if the dresser is antique and repair may lower value, or if structural repairs are complex.
- Replace if damage is widespread, waterlogged, or if repair costs exceed half the price of a new piece.
- Consider repurposing parts into shelves or a bench if the frame is ruined but wood is usable.
I repaired most dressers on my own, but I paid a pro once for a delicate antique restoration. It was worth it.
Frequently Asked Questions of how to fix a broken dresser
How do I know if the dresser can be repaired?
If the wood is not extensively rotted and the frame is mostly intact, it can usually be repaired. Small cracks, loose joints, and damaged bottoms are fixable with glue, clamps, and replacement parts.
What glue is best when I want to fix a broken dresser?
Use a high-quality PVA wood glue for most furniture repairs. For water-damaged wood or large gaps, use a two-part epoxy for stronger bonding.
Can I replace a drawer bottom without special tools?
Yes. You only need a saw for cutting plywood to size, a drill for screws or nails, and basic clamps. Many drawer bottoms are straightforward to swap.
How long should I clamp glued joints when fixing a broken dresser?
Clamp glued joints for at least 30 to 60 minutes for initial set, and allow 24 hours for full cure before stressing the joint. Follow the glue manufacturer’s recommended dry time.
Are metal brackets a good fix for a wobbly dresser?
Metal corner brackets provide strong reinforcement and are a practical quick fix. Use screws that bite into solid wood and avoid over-tightening.
What do I do if screws keep stripping when I repair a broken dresser?
Fill the hole with wood glue and wooden toothpicks or a dowel, let it dry, and re-drill a pilot hole. Then use a properly sized screw to get a solid bite.
Conclusion
Fixing a broken dresser is often easier than it looks. Diagnose the problem, gather basic tools, and follow clear steps to tighten, glue, replace, or reinforce parts. Small repairs like reinforcing a drawer bottom or rehabbing a joint extend a dresser’s life and save money. Try one repair today and build confidence with each fix. Share your results, ask a question below, or subscribe for more step-by-step furniture repair guides.