Repaint a white dresser by sanding, priming, and painting with durable, high-quality paint.
I’ve refinished many dressers and I know how to repaint a white dresser so it looks fresh and lasts. This guide walks you through tools, prep, paint choices, step-by-step painting, and real tips from my projects. Read on to avoid common mistakes and finish like a pro whether you want a soft matte look or a hard-wearing gloss.

Tools and materials you need to repaint a white dresser
To repaint a white dresser well, gather the right tools first. Good tools save time and give smooth results.
- Sandpaper: 80, 120, 220 grits for rough, medium, and fine work.
- Sanding block or orbital sander for larger flats.
- Tack cloths or clean rags to remove dust.
- Quality primer—stain-blocking or bonding primer.
- Paint: acrylic latex, enamel, or chalk paint depending on finish.
- Brushes: angled sash brush and foam brush or foam roller for smooth coats.
- Paint tray and disposable liners.
- Painter’s tape and drop cloths.
- Screwdriver to remove hardware and knobs.
- Respirator mask and gloves for safety.
I always keep extra tack cloths on hand. Dust ruins a finish fast. When I repaint a white dresser, I test the paint on an inner surface first to check color and adhesion.
Prep: the step that makes or breaks the job
Prep is 70 percent of the final look when you repaint a white dresser. Skip it and you may see peeling, brush marks, or poor adhesion.
- Remove all hardware and label small parts in bags.
- Clean surfaces with a degreaser or TSP substitute to remove oils.
- Fill dents and holes with wood filler. Let dry fully and sand smooth.
- Sand glossy finishes lightly with 120 grit to scuff the surface.
- Finish with 220 grit for a smooth base before priming.
- Wipe every surface with a tack cloth to remove dust.
In one project I skipped full degreasing and later saw orange peel texture. I learned my lesson. Good prep helps paint stick and look smooth when you repaint a white dresser.
Choosing paint and finish for a white dresser
Choosing paint matters. It affects durability, look, and how often you will repaint.
- Chalk paint: Low prep and nice matte look. Needs wax or poly topcoat for durability.
- Acrylic latex: Easy clean up and durable. Use water-based enamel for a hard finish.
- Oil-based enamel: Very durable and smooth, but longer dry times and strong odor.
- Finish sheen choices: Flat hides flaws, satin is easy to clean, semi-gloss offers high durability on drawers.
- Primer choice: Use bonding primer for slick surfaces or stain-blocking primer for knots and stains.
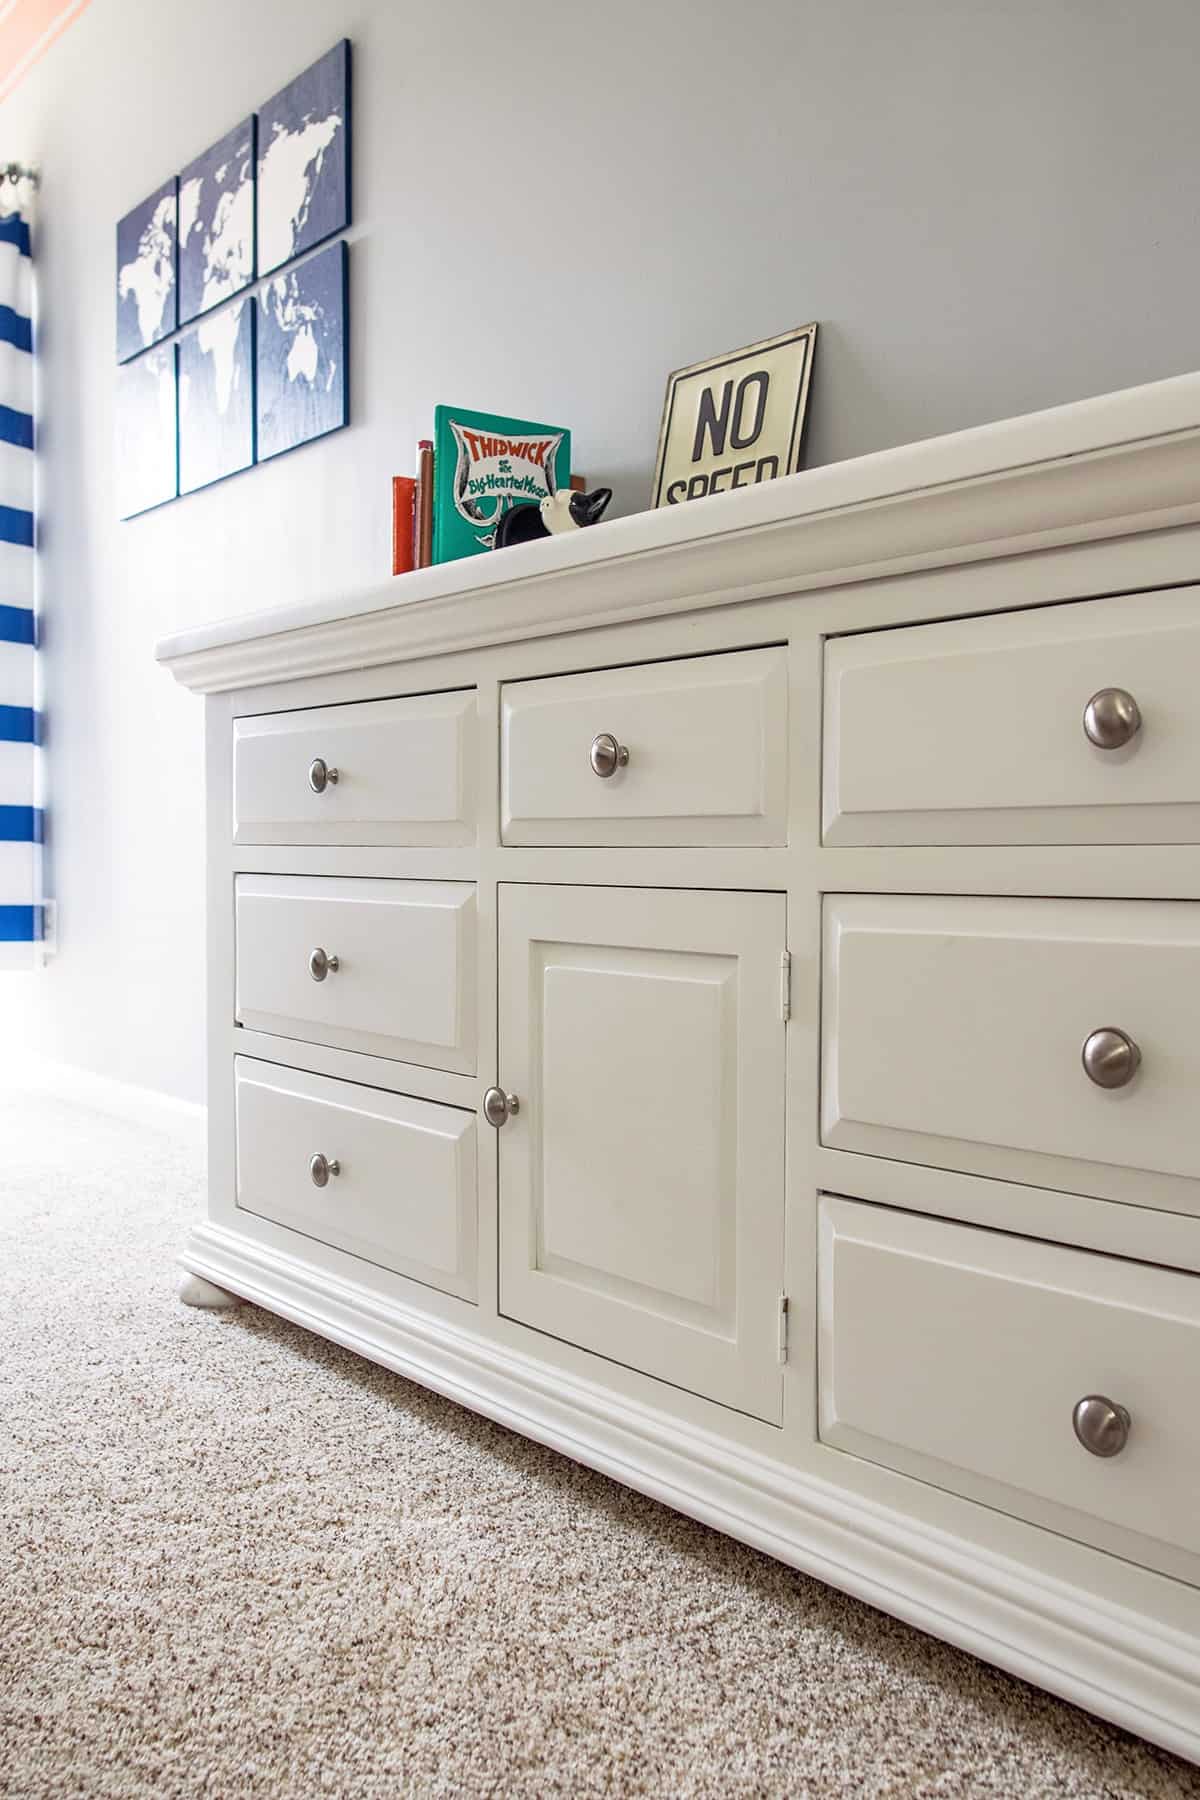
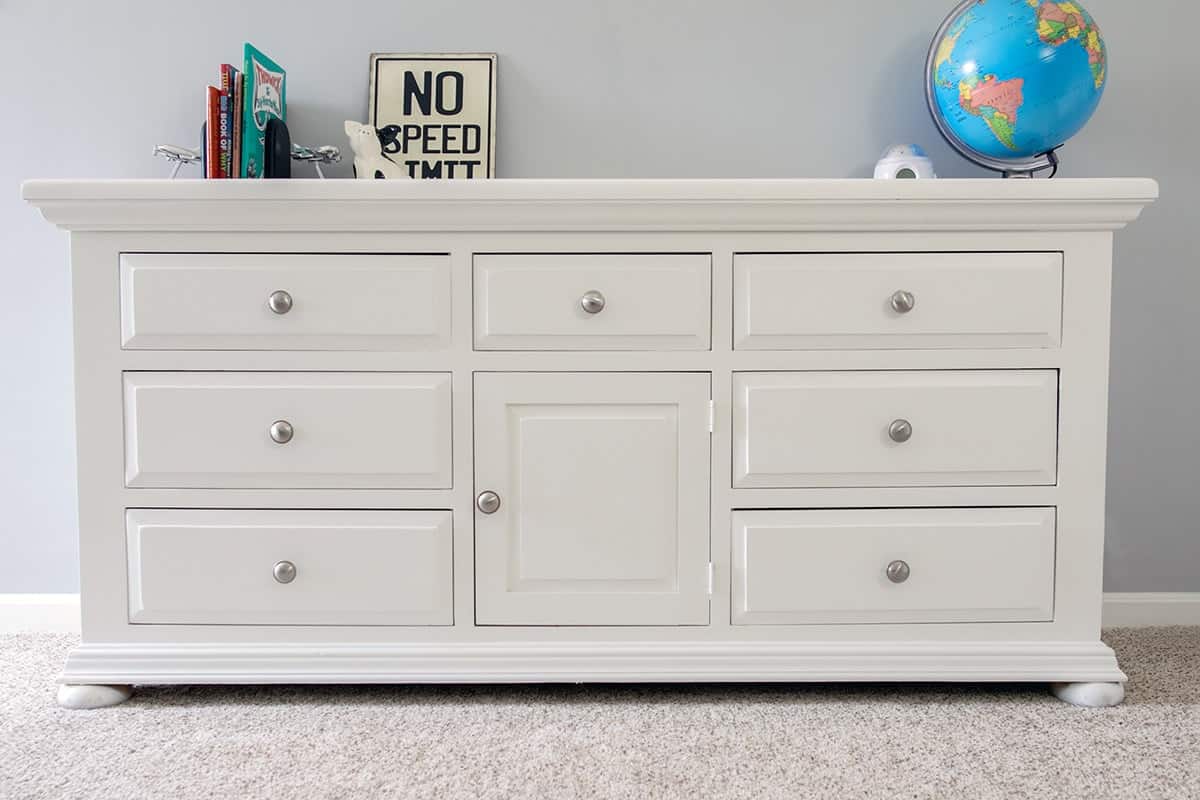
When I repaint a white dresser for a child’s room, I pick satin latex for easy cleaning. For a piece that sees heavy use, I use enamel or add a clear polyurethane topcoat. The right paint helps you repaint a white dresser with confidence.

Step-by-step: how to repaint a white dresser like a pro
Follow these steps when you repaint a white dresser. Short steps make the process easy.
- Remove hardware and label each piece.
- Clean the dresser thoroughly with a degreaser.
- Sand all surfaces. Start with 120 grit, finish with 220 grit.
- Fill holes and gaps, then sand once dry.
- Apply a thin coat of primer. Let it dry fully, then sand light with 220 grit.
- Apply the first paint coat with a brush for edges and a foam roller for flats.
- Sand lightly between coats with 220 or 320 grit for smoothness.
- Apply a second coat. Add a third coat if needed for full coverage.
- Cure paint for recommended time before reattaching hardware and using the dresser.
Work in thin coats. Thin coats dry faster and look better. When I repaint a white dresser, I often use a foam roller and an angled brush to cut in for neat lines. That combo cuts brush marks and saves time.
Drying, curing, and final protection
Dry time and curing are different. Dry means the paint is not wet. Curing means the paint reaches full hardness.
- Follow the paint label for dry and cure times.
- Avoid heavy use for at least 24 to 72 hours. Full cure can take 1 to 4 weeks.
- Add a clear topcoat for extra wear. Use water-based polyurethane for latex paint.
- Lightly sand between coats of poly for a smooth result.
I once rushed to reattach drawers too soon and caused scratches. Patience matters. Let the paint cure before everyday use when you repaint a white dresser.
Troubleshooting and common mistakes to avoid
Troubles happen. Here are quick fixes and mistakes I see often when people repaint a white dresser.
- Problem: Paint peels after a few months.
Solution: Ensure thorough cleaning and use a quality primer before painting. - Problem: Brush marks and drips.
Solution: Use thin coats and a foam roller on flat surfaces, and sand between coats. - Problem: Paint sticks to tape.
Solution: Pull tape slowly at a 45-degree angle after paint is dry to touch. - Problem: Uneven color on white finishes.
Solution: Use a tinted primer or apply an extra coat for uniform coverage.
My worst mistake was skipping a bonding primer on a laminate top. The paint peeled within weeks. That taught me to always prime appropriate surfaces. When you repaint a white dresser, treat prep and primer as essential.
Finishing touches and styling tips
Final details lift the look. Small choices make the dresser feel new and custom.
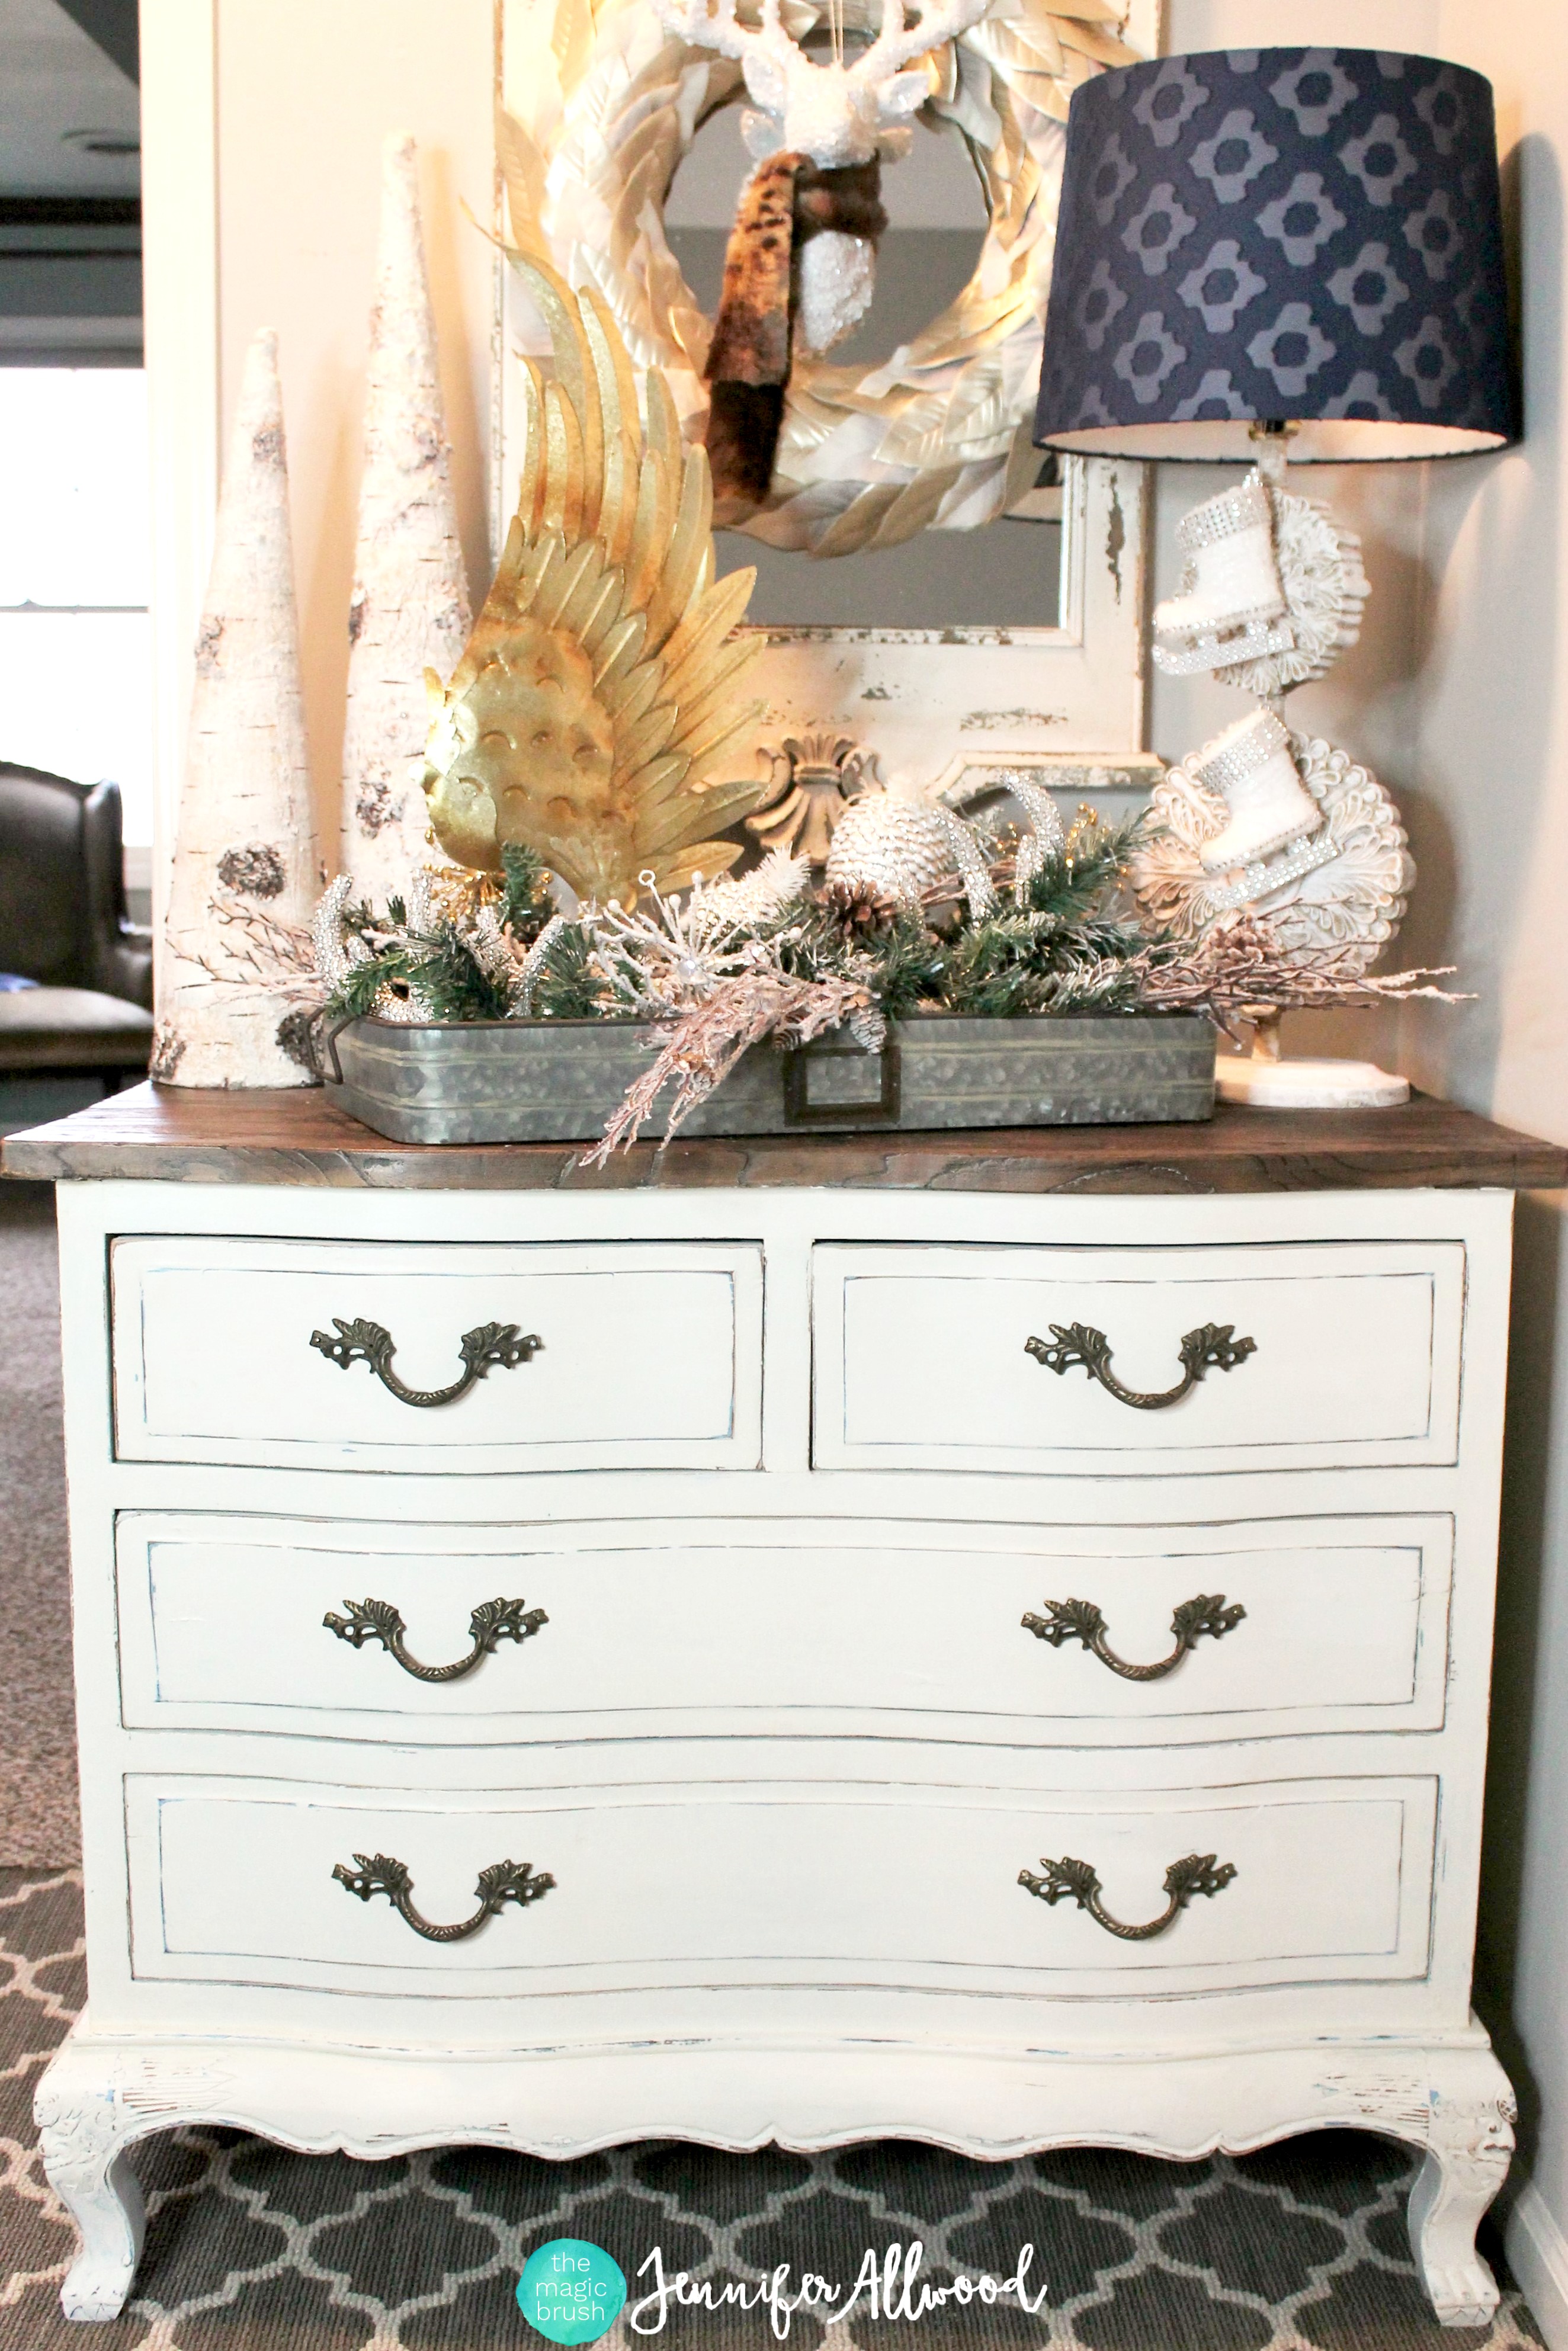
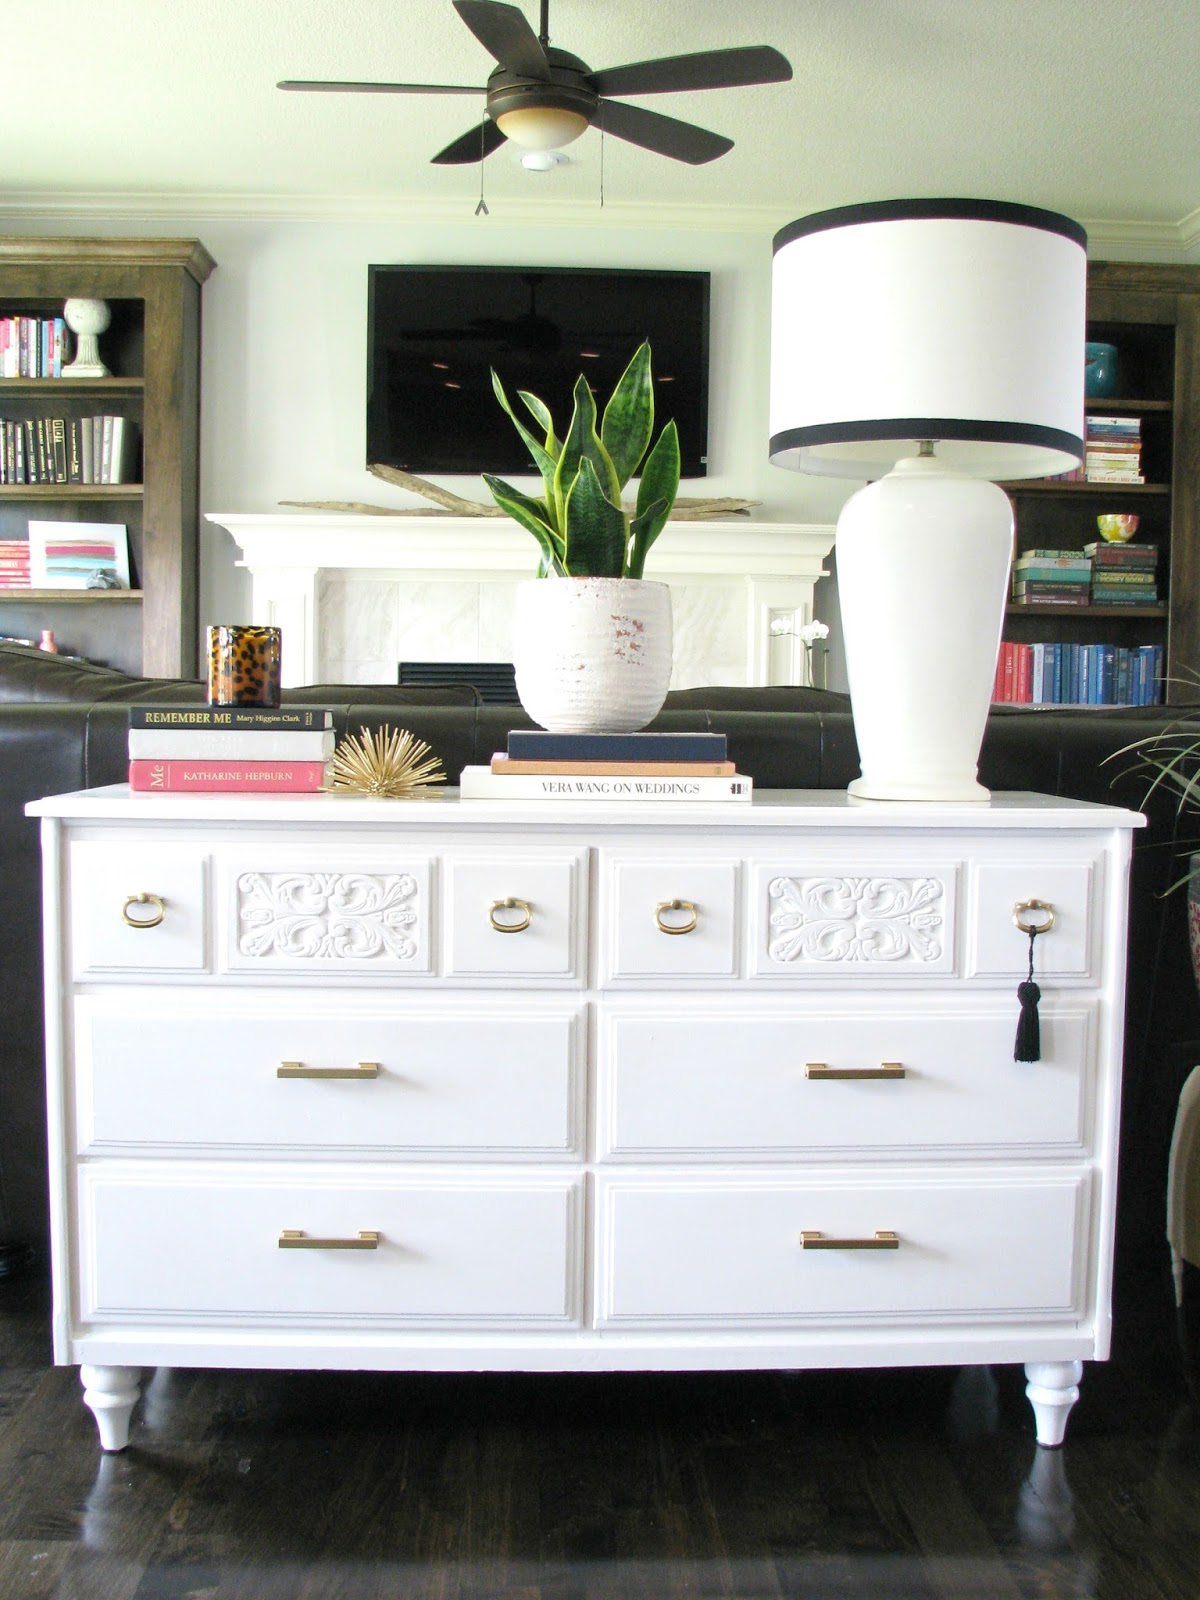
- Replace or polish hardware for a fresh look.
- Try new knobs or pulls to modernize the piece.
- Use wax or clear coat to alter sheen and durability.
- Add liners to drawers to protect the finish.
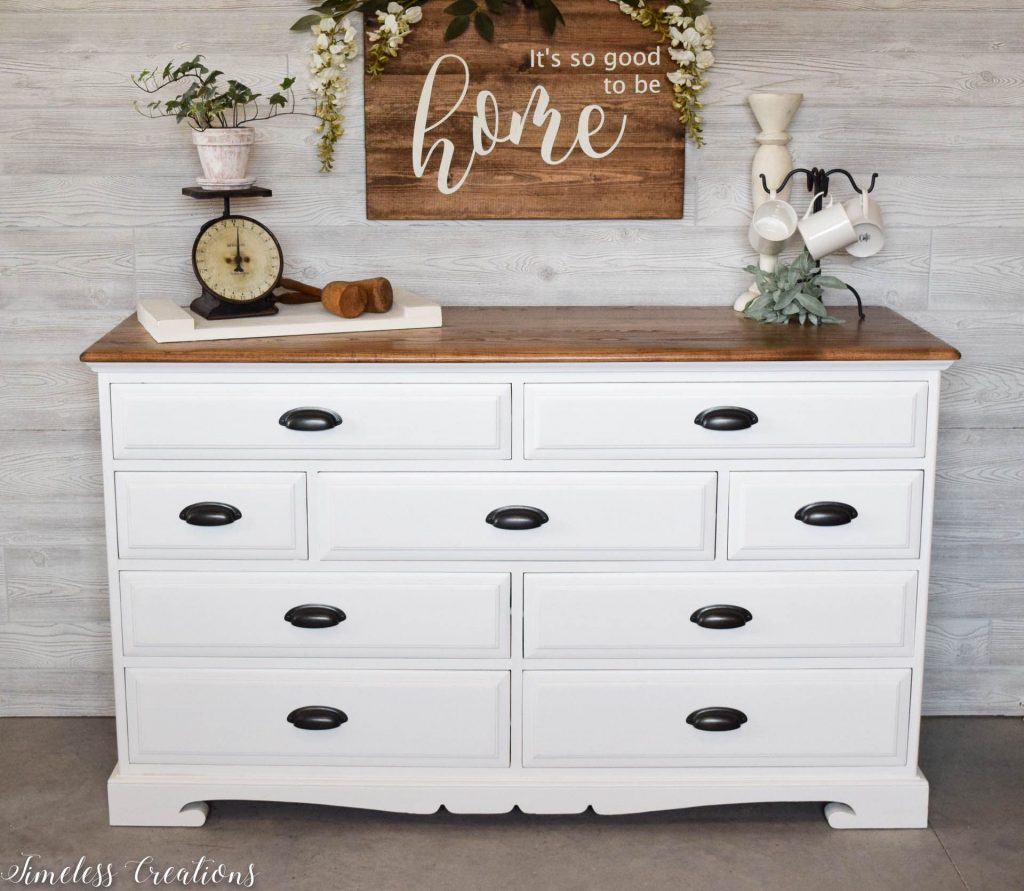
- For a two-tone look, paint top and base in contrasting colors.
I once painted a white dresser navy and added brass knobs. The piece looked like a boutique find. Little touches let you personalize how to repaint a white dresser.

Frequently Asked Questions of how to repaint a white dresser
How long does it take to repaint a white dresser?
Most jobs take 1 to 3 days for prep and paint. Full cure can take several weeks before heavy use.
Do I need to sand when I repaint a white dresser?
Light sanding is usually needed. It helps primer and paint adhere and smooths out old finish.
Can I paint a laminate white dresser without stripping?
Yes, use a bonding primer made for laminate and apply thin paint coats. Proper sanding and primer help paint stick.
What paint finish is best for a dresser?
Satin or semi-gloss is best for dressers because they are easy to clean and last longer. Matte looks pretty but may show wear sooner.
Should I remove old paint or just paint over it?
You do not always need to strip old paint. Clean, sand, and prime over sound old paint. Strip only if paint is flaking or lead-based.
Conclusion
You can transform an old piece into something beautiful when you know how to repaint a white dresser. Do the prep, pick the right primer and paint, and work in thin coats for a smooth, lasting finish. Start a small test area first, stay patient, and have fun making a unique piece. Try the steps above on your next project and share your results or questions below.