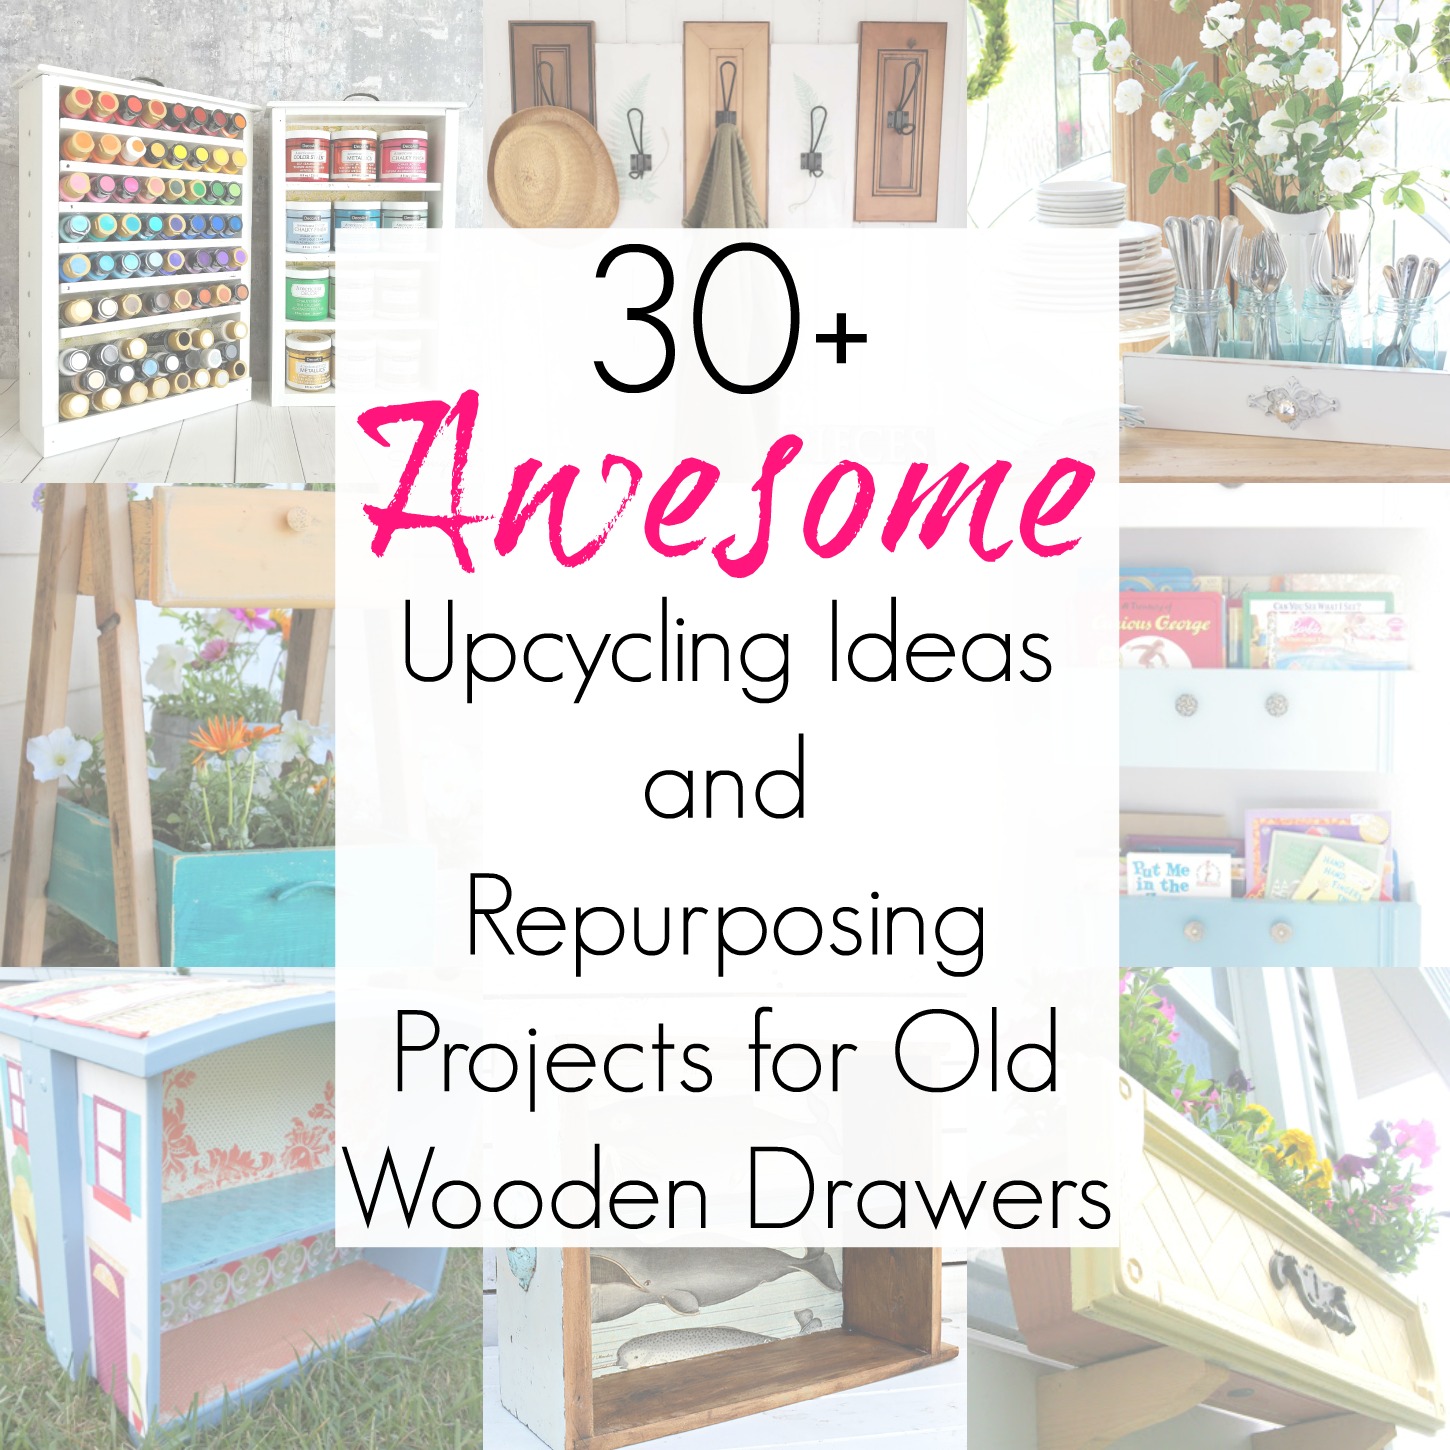
Turn an old dresser into shelves, a vanity, a bench, or stylish storage in a few simple steps.
I’ve spent years turning worn furniture into useful pieces, and I’ll walk you through how to repurpose dresser pieces with clear steps, real tips, and smart design ideas. This guide covers planning, tools, 25 creative projects, cost estimates, safety notes, and my personal wins and mistakes so you can repurpose your dresser with confidence and flair.
Why repurpose a dresser?
Repurposing saves money and keeps furniture out of landfills. When you learn how to repurpose dresser parts, you also gain unique, custom pieces that fit your home. I’ve seen small rooms transformed by one smart repurpose. You get style and function at low cost and with a small time investment.
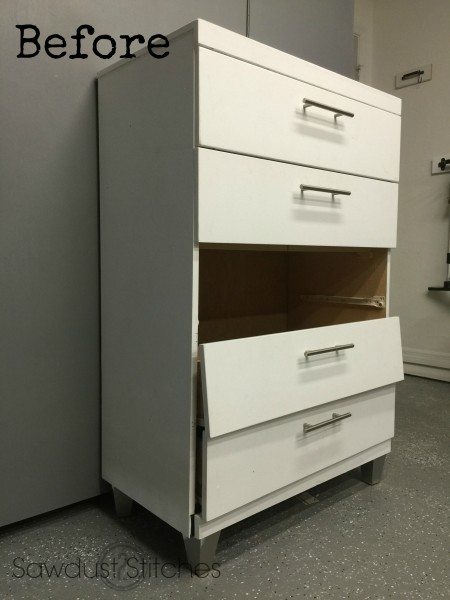
Preparing your dresser for repurposing
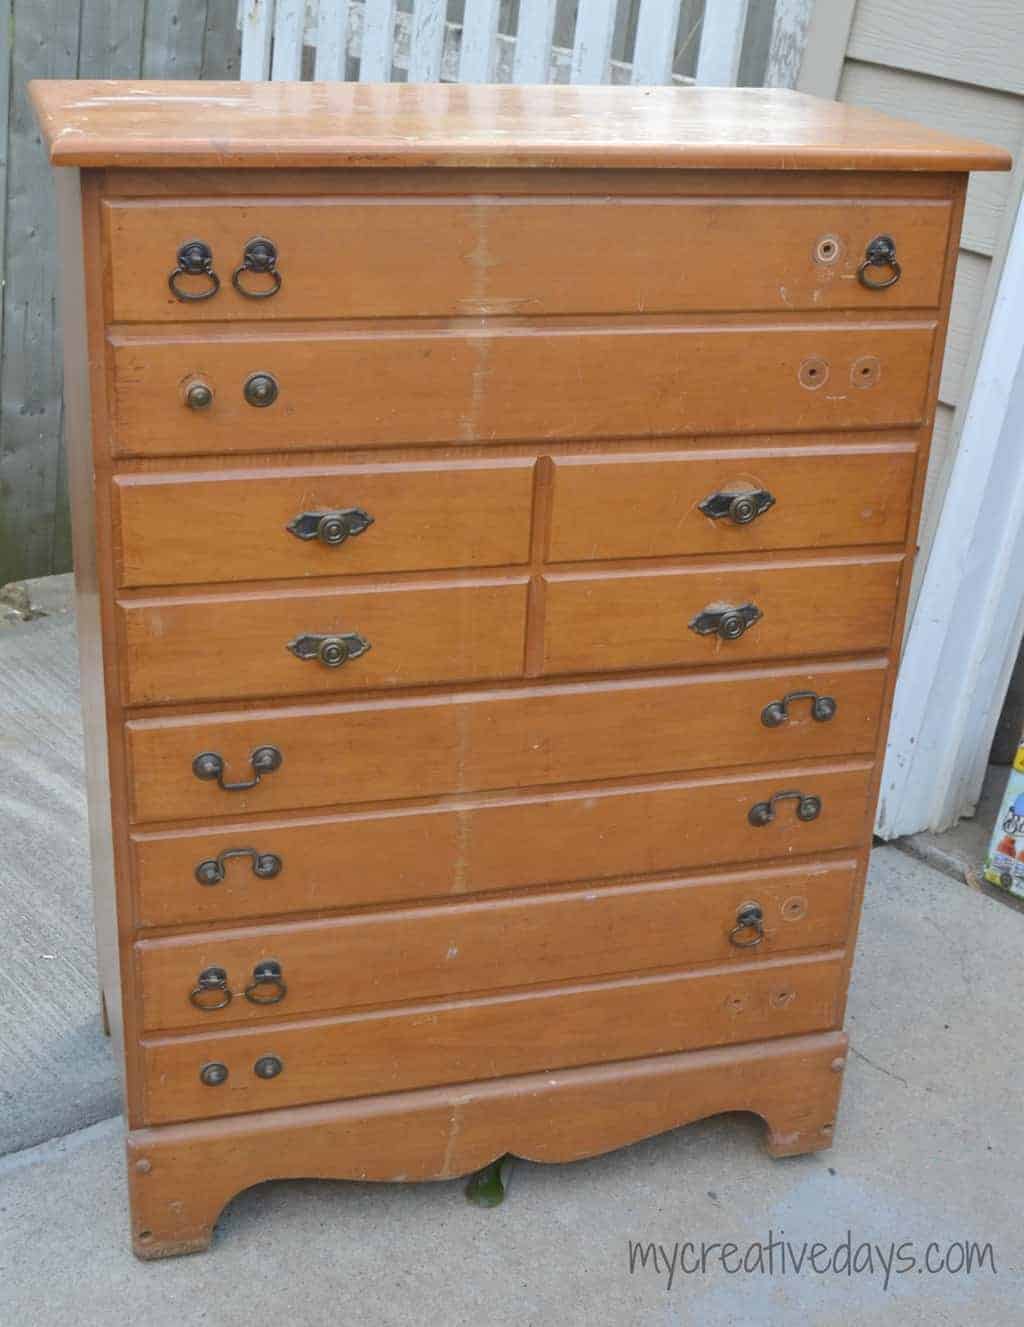
Inspect the dresser first. Check for rot, loose joints, and pest damage. Sand rough spots and remove old hardware. Clean all surfaces with mild soap and dry fully before any paint or cut work. If you plan structural changes, remove drawers and label them to match.
Tools and materials you’ll need
Keep tools simple for most projects. Here’s a basic list that covers most dresser repurpose jobs.
- Screwdriver set for removing hardware and drawers.
- Circular saw or jigsaw for cutting panels and legs.
- Sander or sanding block with 80–220 grit sandpaper.
- Paint supplies: primer, paint, brushes, rollers.
- Drill and wood screws for building and attaching parts.
- Wood filler, glue, and clamps for repairs.
- Safety gear: gloves, goggles, dust mask.
- Measuring tape, pencil, and carpenter square.
For heavier projects, add a router, pocket jig, and a level. I learned early on to buy quality screws; cheap ones strip easily.

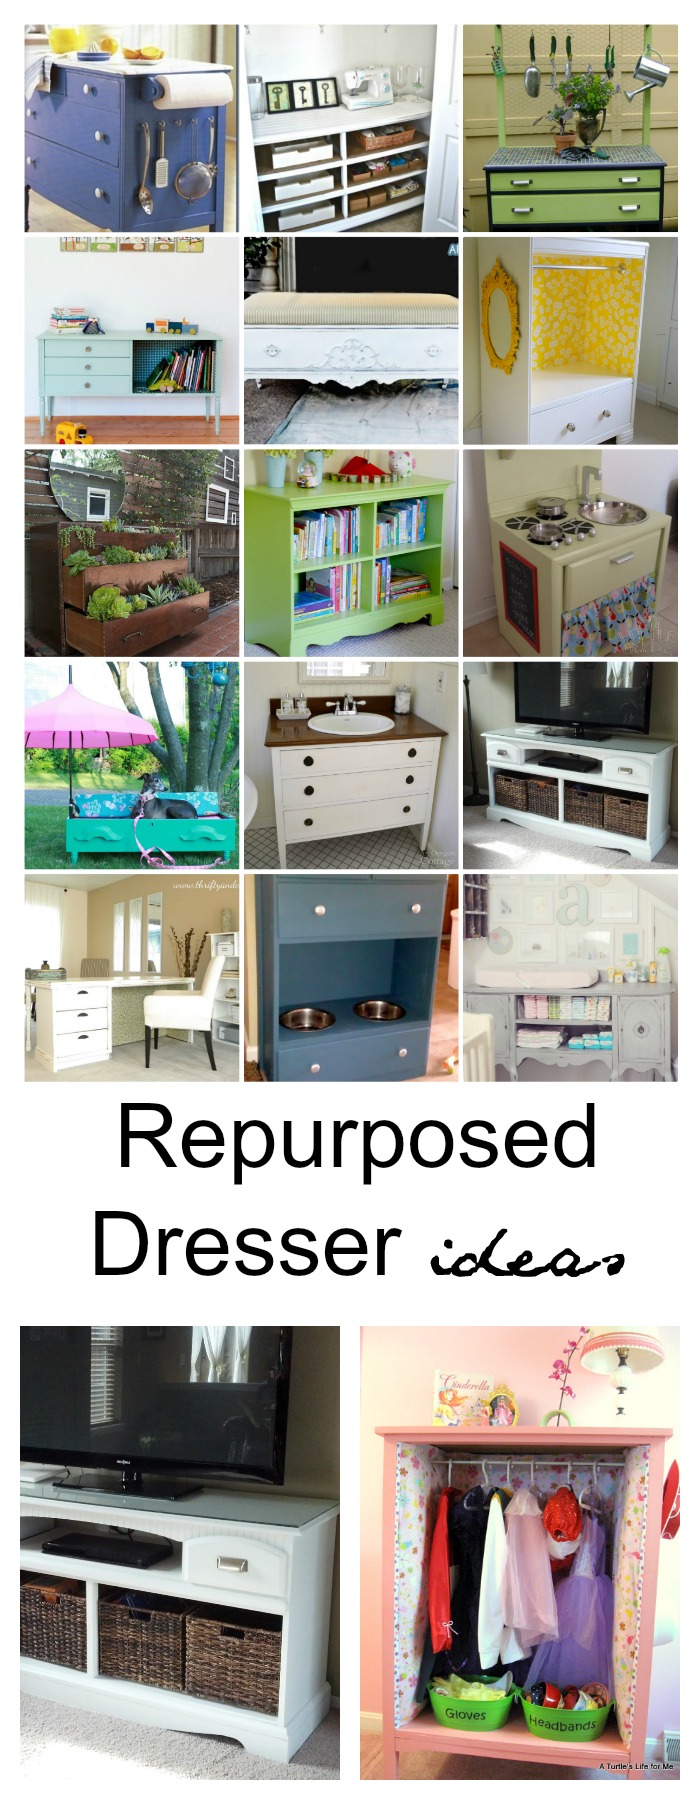
25 creative ways to repurpose dresser parts
Here are practical, popular ideas organized by level of effort. Each idea will help you visualize how to repurpose dresser pieces into something useful.
Low-effort ideas (1–2 hours)
- Turn a drawer into a wall shelf by adding brackets and lining it with fabric or paint.
- Convert drawer fronts into floating shelves for a staggered gallery wall look.
- Use a top drawer as an under-bed storage box with casters.
- Make drawer dividers into desk organizers for pens and cables.
- Reuse knobs and pulls as towel hooks or coat hooks.
Medium-effort ideas (2–6 hours)
- Create a low coffee table by stacking two dressers after removing drawers and securing tops.
- Transform a dresser into a TV stand by removing the top drawers and adding an open shelf for electronics.
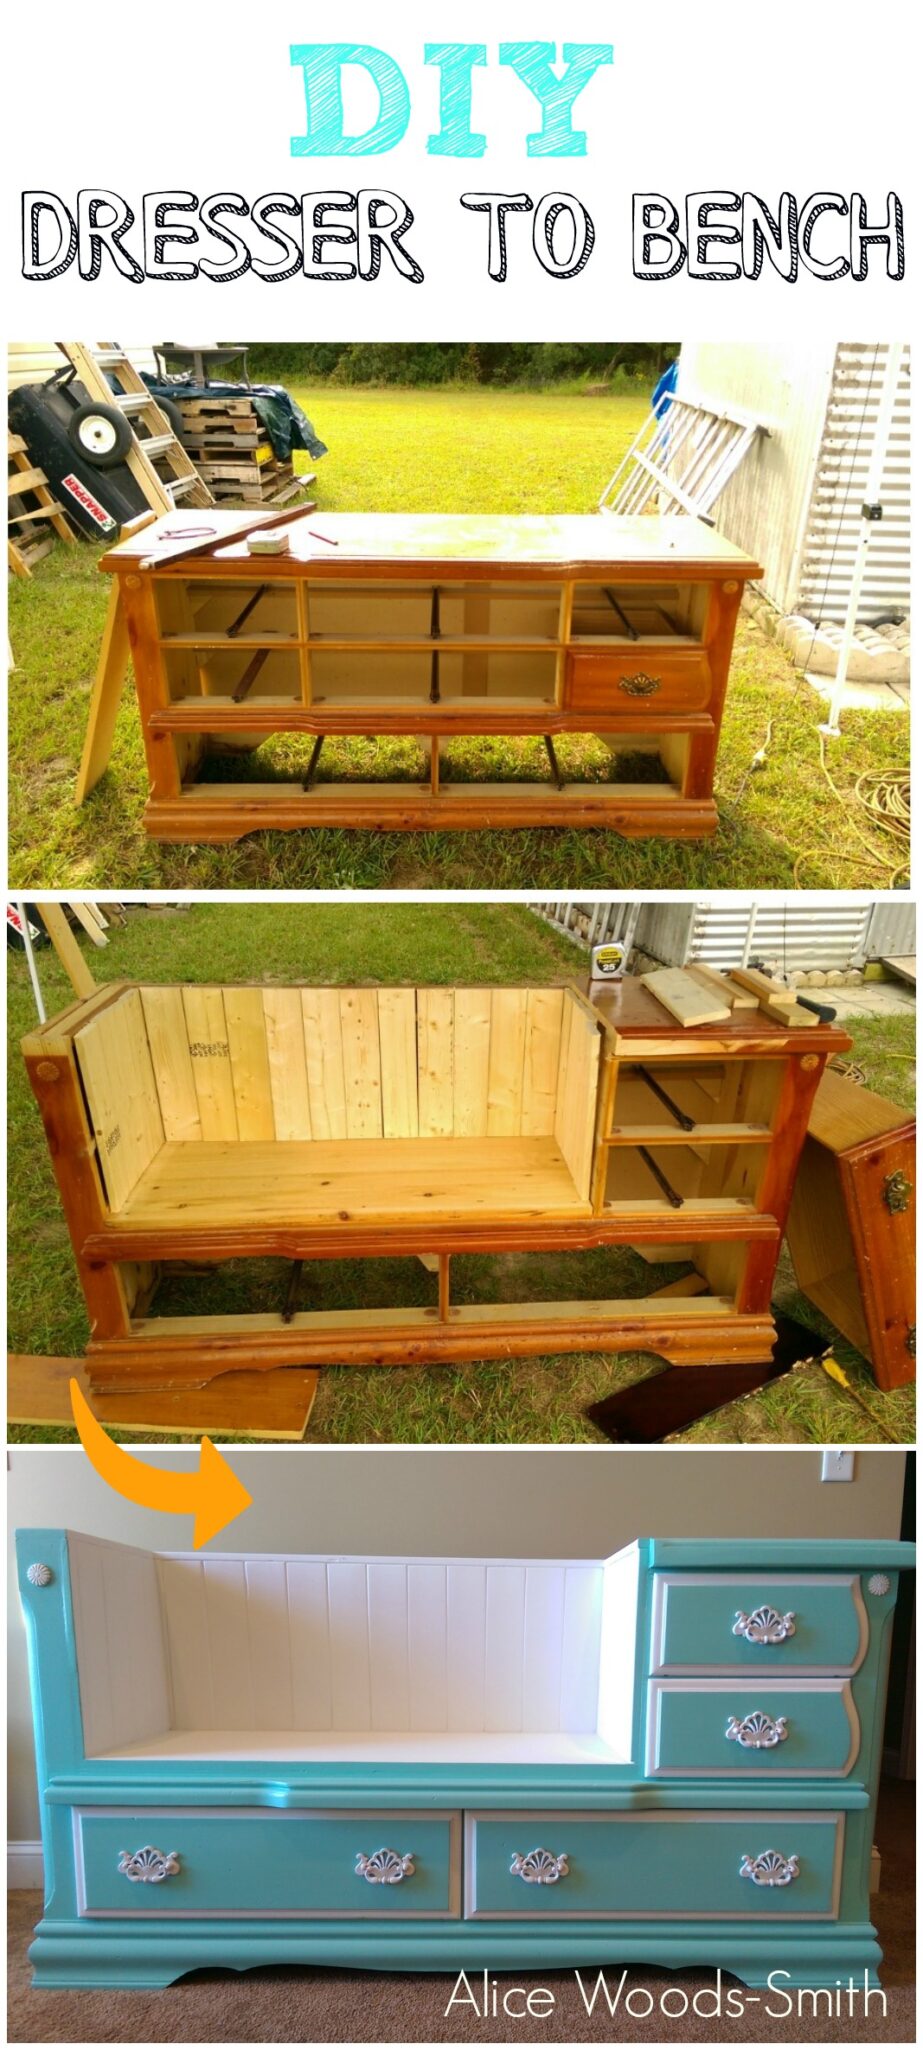
- Make a bench by removing drawers, reinforcing the base, and adding a cushioned top.
- Convert drawer boxes into pull-out pantry shelves for a kitchen.
- Build a toy chest from the main carcass by removing top drawers and adding a lid hinge.
Higher-effort ideas (6+ hours)
- Turn a dresser into a bathroom vanity by cutting out space for plumbing and adding a sink top.
- Create a closet dresser by removing one side panel and inserting hanging rods.
- Make an entryway console by shortening the dresser height and adding legs.
- Convert a dresser into a bookshelf by removing drawers and adding adjustable shelves.
- Build a bar cart or liquor cabinet by adding shelves, a wine glass holder, and casters.
Creative specialty projects
- Outdoor planters: line drawers with waterproof sealant and use on a porch.
- Pet bed: make a cozy bed inside a lower drawer with padding and fabric.
- Mini office: use a chest as a compact standing desk by cutting cable holes and adding a keyboard tray.
- Craft station: keep small drawers for supplies and add a fold-down work surface.
- Mudroom cubbies: split a dresser into individual cubby spaces for shoes and gear.
- Headboard storage: mount a dresser top horizontally behind a bed for hidden storage.
- Kitchen island: reinforce a dresser, add a butcher block top, and casters for mobility.
- Jewelry organizer: install small hooks and liners inside thin drawers.
- Plant stand: reconfigure a narrow dresser into tiered plant shelves.
- Vanity makeup station: convert a single dresser into a seated vanity with a mirror and lamp.
Each idea is flexible. Measure twice and test fit before making big cuts. My favorite is the bathroom vanity; it saved me money and gave the room instant character.

Step-by-step: turn a dresser into a bathroom vanity
This is a common question: how to repurpose dresser into a vanity that works with plumbing and looks custom.
- Choose the right dresser
- Pick a solid dresser slightly taller than your sink needs. Solid wood or plywood-faced pieces work best.
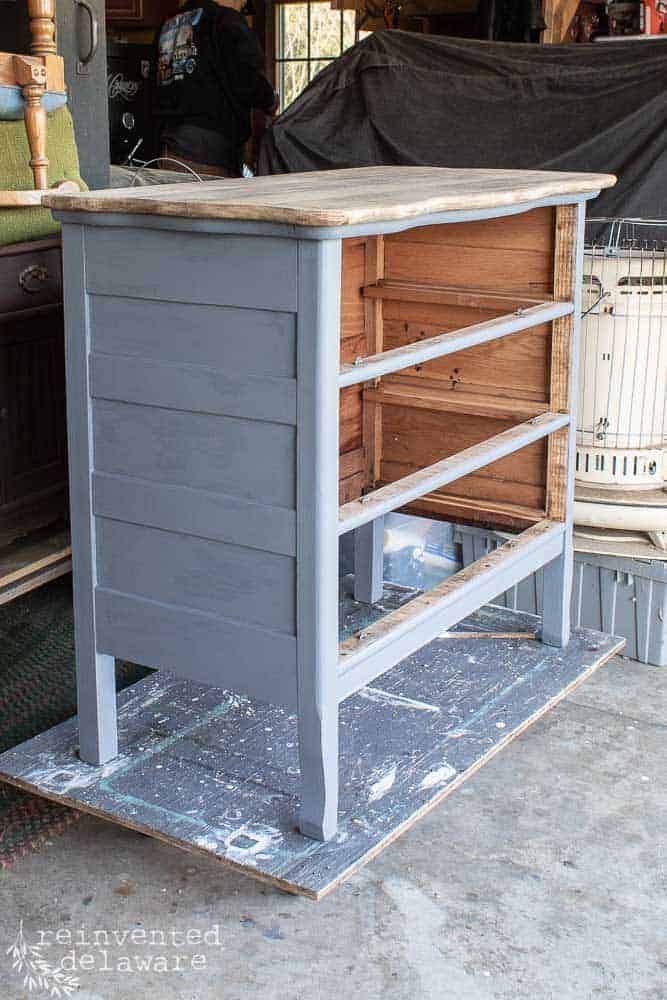
- Remove drawers and top
- Take out drawers and the top panel. Label parts as you remove them.
- Reinforce and cut for plumbing
- Add blocking behind the cavity where the sink pipe will go. Mark the sink basin and cut a hole in the rear panel for pipes.
- Add a sink platform
- Build a support shelf inside the top cavity to hold the sink or countertop. Use waterproof plywood or a pre-made top.
- Finish and seal
- Prime all exposed wood, paint with moisture-resistant paint, and seal edges with silicone where the sink meets wood.
- Install plumbing and countertop
- Fit the sink and connect plumbing. Test for leaks and adjust as needed.
Tip from experience: measure your trap and tailpiece dimensions first. I once cut too small a hole and had to patch and recut. Take your time and dry-fit all pieces.
Cost estimates and timeline
Costs vary by project scope. Here are rough ranges based on my projects.
- Small projects (shelves, drawer organizers): $5–$40 and 1–3 hours.
- Medium projects (bench, TV stand, coffee table): $30–$150 and 2–6 hours.
- Big projects (vanity, kitchen island, bookshelf): $75–$400 and 6–20 hours.
Buy quality paint and a good primer. It costs more up front but saves time and keeps finishes looking better longer. Local thrift prices for dressers can be $0–$100, depending on condition. I once found a solid oak dresser free and turned it into three pieces. That cut my material cost dramatically.
Common mistakes and safety tips
Avoid these errors I learned the hard way. They will save time and frustration.
- Cutting without measuring: Always measure twice, cut once.
- Using wrong screws: Use wood screws, not drywall screws, for structural joins.
- Ignoring safety: Wear goggles, gloves, and a mask when sanding or cutting.
- Skipping priming: Paint flakes without proper primer and prep.
- Overloading repurposed units: Reinforce if you plan heavy loads.
Electrical and plumbing work may need a professional. If you’re unsure about wiring or drains, hire a licensed pro to stay safe and code-compliant.
Maintenance and care for repurposed dressers
Keep your repurposed dresser looking good with simple care. Wipe with a damp cloth for dust. Avoid soaking wood; use coasters and mats under wet items. Refinish or touch up paint chips as needed to prevent moisture damage. If used in a bathroom or kitchen, re-seal edges yearly.

Frequently Asked Questions of how to repurpose dresser
Can I repurpose a particleboard dresser?
Yes. Particleboard works for light-duty projects like shelves or organizers. Avoid heavy loads and keep it dry to prevent swelling.
Do I need special tools to repurpose a dresser?
Not usually. Basic carpentry tools handle most repurpose jobs. For complex cuts, a jigsaw or circular saw helps.
Is it cheaper to repurpose a dresser or buy new furniture?
Often cheaper. Repurposing saves money and yields unique pieces. Cost depends on supplies and the dresser’s condition.
How do I prepare a painted dresser for repainting?
Clean, sand glossy spots, and apply a primer. Use a household degreaser for sticky areas first.
Can I sell repurposed dressers?
Yes. Well-done repurposed dressers sell at craft fairs, online marketplaces, and consignment shops. Quality finish and good photos help sales.
Conclusion
Repurposing a dresser gives you style, function, and a chance to cut waste while saving money. Start small if you’re new, measure well, and pick projects that match your skill. Try one clear project today—convert a drawer into a shelf or make a bench—and build confidence from there. Share your results, ask questions, or subscribe for more DIY guides and ideas.