Repair or replace the tracks: tighten screws, realign, lubricate, or swap worn glides.
I’ve fixed dozens of dresser drawers for friends and clients, and I’ll walk you through practical, step-by-step methods to restore smooth motion. This guide shows how to fix dresser drawer glides with clear tools lists, DIY fixes, replacement advice, and maintenance tips drawn from hands-on experience. Read on and you’ll be able to diagnose, repair, or replace glides with confidence.

Why drawer glides fail
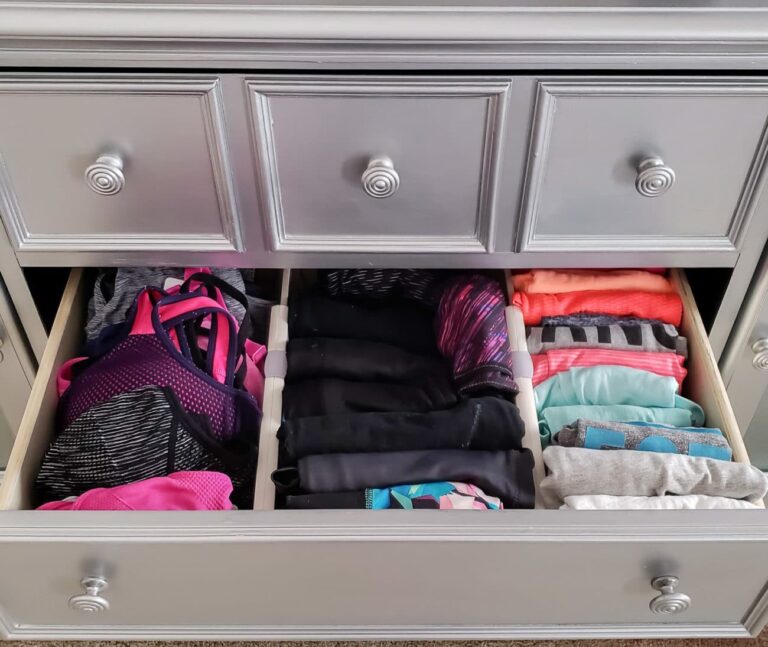
Drawer glides break or bind for a few simple reasons. Screws come loose and tracks shift. Dirt, old grease, or worn rollers add friction. Wood warps or drawer bottoms sag and push the glide out of alignment. Knowing the cause helps you decide whether to repair, adjust, or replace the glide.

Tools and materials you’ll need
- Screwdriver set for Phillips and flat screws
- Drill with screwdriver bits for quick removal and reattachment
- Replacement screws and small wood screws
- New drawer glides (measure first)
- Silicone spray or dry lubricant
- Bar of soap or candle for temporary lubrication
- Wood glue and clamps for minor frame repairs
- Shim material: thin cardboard, wood shims, or masking tape
- Small pry bar and hammer for stubborn parts
- Rag, vacuum nozzle, and toothbrush for cleaning

Step-by-step: how to fix dresser drawer glides
- Inspect and test
- Pull the drawer out and watch how it moves. Note where it sticks or wobbles.
- Check screws on both the drawer and the cabinet. Loose screws are often the whole problem.
- Clean the track and rollers
- Remove dust and old grease with a rag and toothbrush. Vacuum loose debris.
- Clean both the slide and the mating track inside the dresser before lubricating.
- Tighten and realign
- Tighten loose screws. If screw holes are stripped, use a larger screw or fill the hole with wood glue and a toothpick, then reinsert the screw.
- If the drawer rubs on one side, slightly loosen screws, realign the track, then retighten while holding the drawer in position.
- Lubricate properly
- Use silicone spray or a dry lubricant on metal slides and rollers. Avoid thick oil on wood slides.
- For a quick fix, rub a candle or a bar of soap on wooden runners to reduce friction.
- Fix warped wood or sagging bottoms
- Reinforce the drawer bottom with wood glue and clamps if it sags and hits the glide.
- Add a thin shim under the track or along the cabinet wall to correct alignment.
- Replace worn parts
- If rollers are cracked or metal tracks bent, remove the old glide and replace it.
- Take the drawer to a hardware store or measure the glide length and type before buying a replacement.
- Test and fine-tune
- Reinstall the drawer and cycle it several times. Adjust screw tightness and shims for a smooth feel.
- If the drawer still binds, double-check for hidden nails, paint buildup, or a misaligned cabinet rail.
When you follow these steps to learn how to fix dresser drawer glides, you will often restore smooth motion in one session. I’ve found that cleaning and tightening solve most problems. When they don’t, replacement is straightforward.
Replacing drawer glides: types and how to match them
-
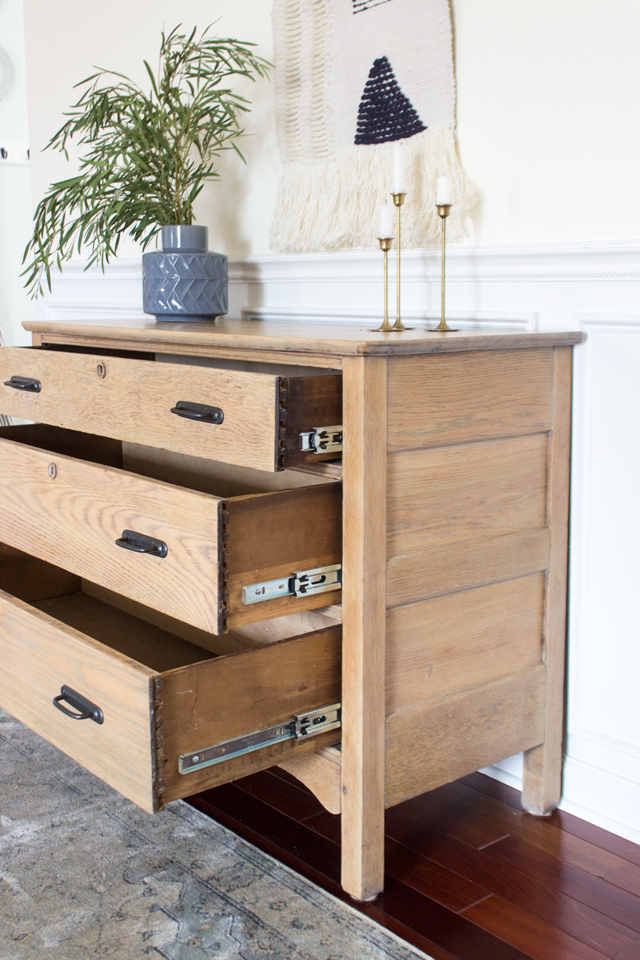
Side-mount metal glides
- Mounted on the side of the drawer and cabinet. Common and easy to replace. Measure length from front to back.
-
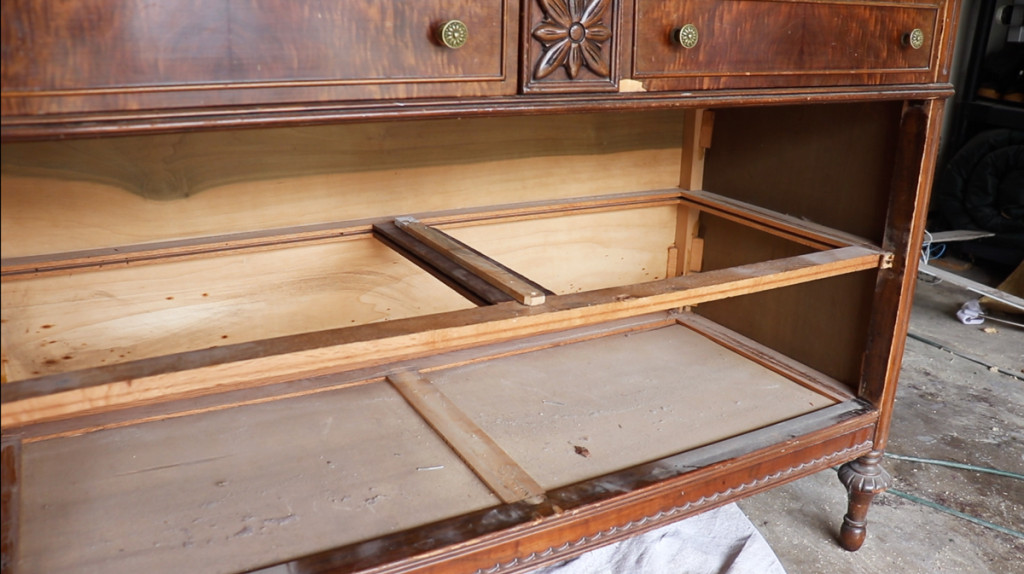
Center or under-mount wooden runners
- Older furniture often uses a center wood runner. Replace with matching wood or convert to side-mount glides if you prefer modern action.
-
Ball-bearing glides
- Smooth and durable. Buy full-extension or three-quarter-extension types based on how far you want the drawer to open.
-
Drawer roller guides
- Small plastic or nylon rollers can be replaced individually. Choose a close size match.
How to match:
- Remove one glide and measure length, mounting hole spacing, and orientation.
- Note whether you need left/right pairs or universal pieces.
- If your dresser is vintage, you may need wooden runners matched by width and profile.

Maintenance and prevention tips
-
Clean once a year
- Remove drawers, vacuum tracks, and wipe surfaces. This prevents dirt build-up that causes sticking.
-
Lubricate lightly
- Use silicone spray or candle wax on wood runners. Avoid heavy oils that attract dust.
-
Tighten screws periodically
- Check screws every few months. Small shifts lead to bigger alignment problems.
-
Watch weight limits
- Avoid overloading drawers. Heavy loads wear glides faster and can bend tracks.
-
Use drawer liners
- A liner can reduce drawer bottom wear and stop items from poking the glide.
I learned to advise clients to do small checks each season. It saves time and prevents a full replacement later.
When to call a pro
Call a furniture repair person if the dresser frame is warped, antique, or if you need a custom-fit glide. A pro will match vintage runners or repair structural damage. Also consider a pro if multiple drawers fail or if the repair requires complex joinery.

Frequently Asked Questions of how to fix dresser drawer glides
How do I know if I should fix or replace drawer glides?
If screws and cleaning restore smooth motion, fix them. Replace glides when rollers are cracked, metal is bent, or the glide is worn through.
Can I replace wooden runners with metal glides?
Yes. Converting wooden runners to side-mount metal glides is common. Measure carefully and drill new holes for a clean fit.
What lubricant is best for drawer glides?
Use silicone spray for metal or wax for wood. Avoid thick oils that attract dust and make gunk over time.
How do I fix stripped screw holes on a drawer glide?
Fill the hole with wood glue and toothpicks or a wood dowel, let it dry, then reinsert the screw. Use slightly larger screws if needed.
How long does it take to fix dresser drawer glides?
Most simple repairs take 20 to 60 minutes per drawer. Full replacement of glides can take longer depending on parts and precision.
Will adding shims change drawer appearance?
Shims go behind the glide or inside the cabinet, so they are usually hidden. If visible, paint or trim the area to match the dresser.
Conclusion
Fixing dresser drawer glides is a task you can handle with a few tools, basic checks, and careful measurements. Tighten hardware, clean tracks, lubricate right, and replace worn parts when needed. Start with simple fixes and move to replacement only when necessary. Try these steps on one drawer first, and you’ll gain the skills and confidence to restore the whole dresser. If this guide helped, leave a comment, share your result, or subscribe for more practical home repair tips.