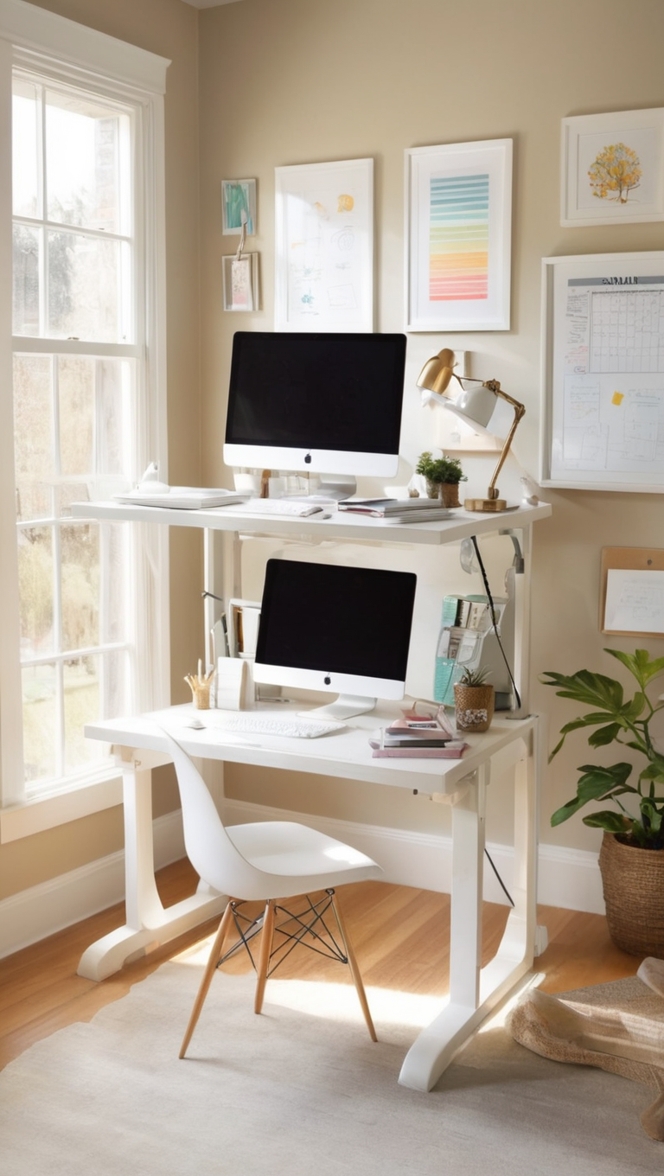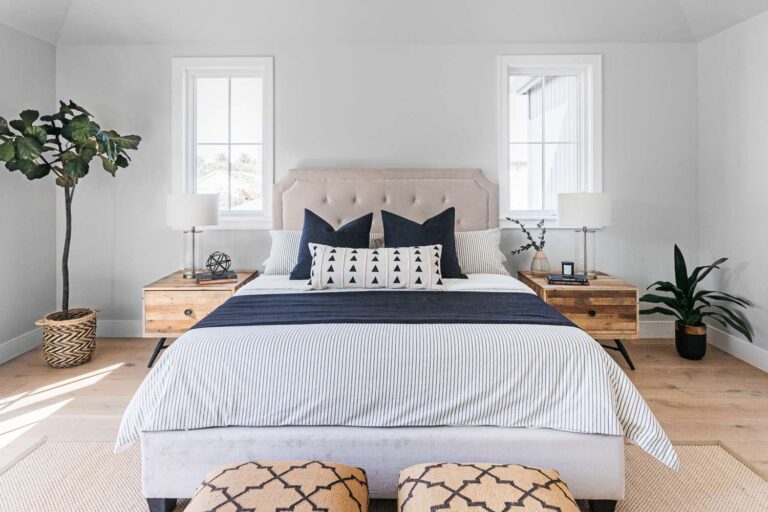
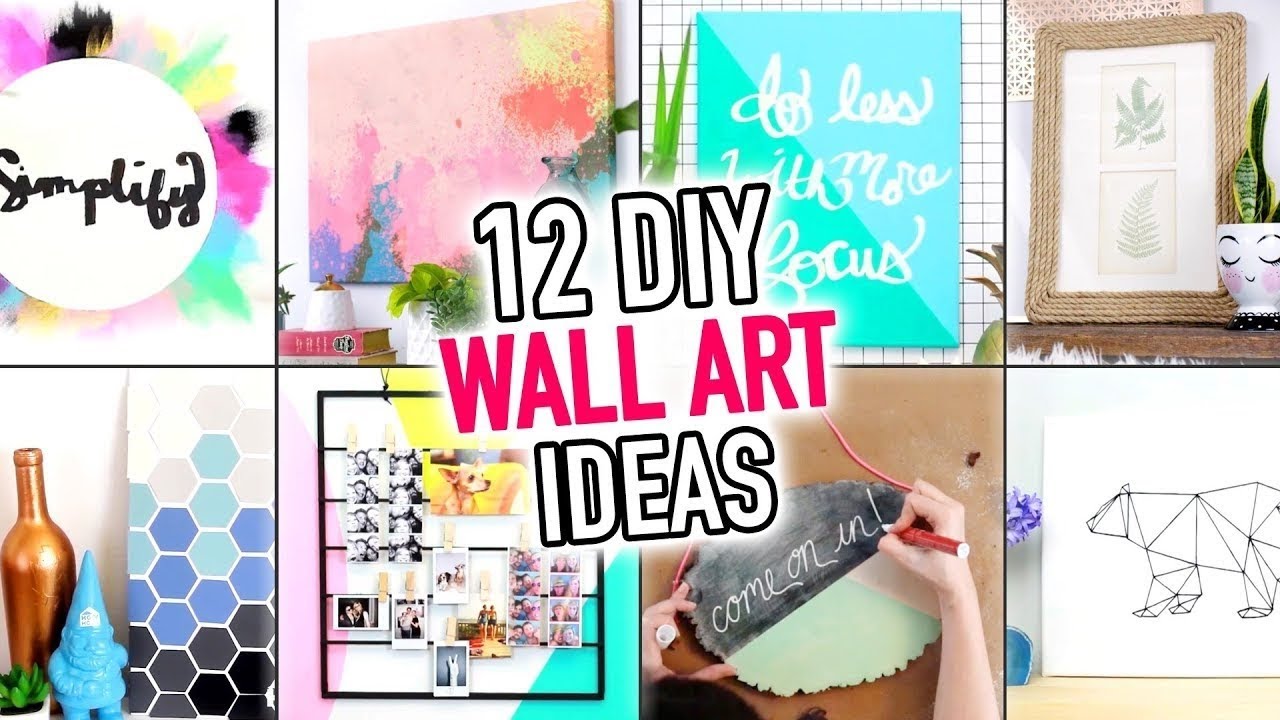
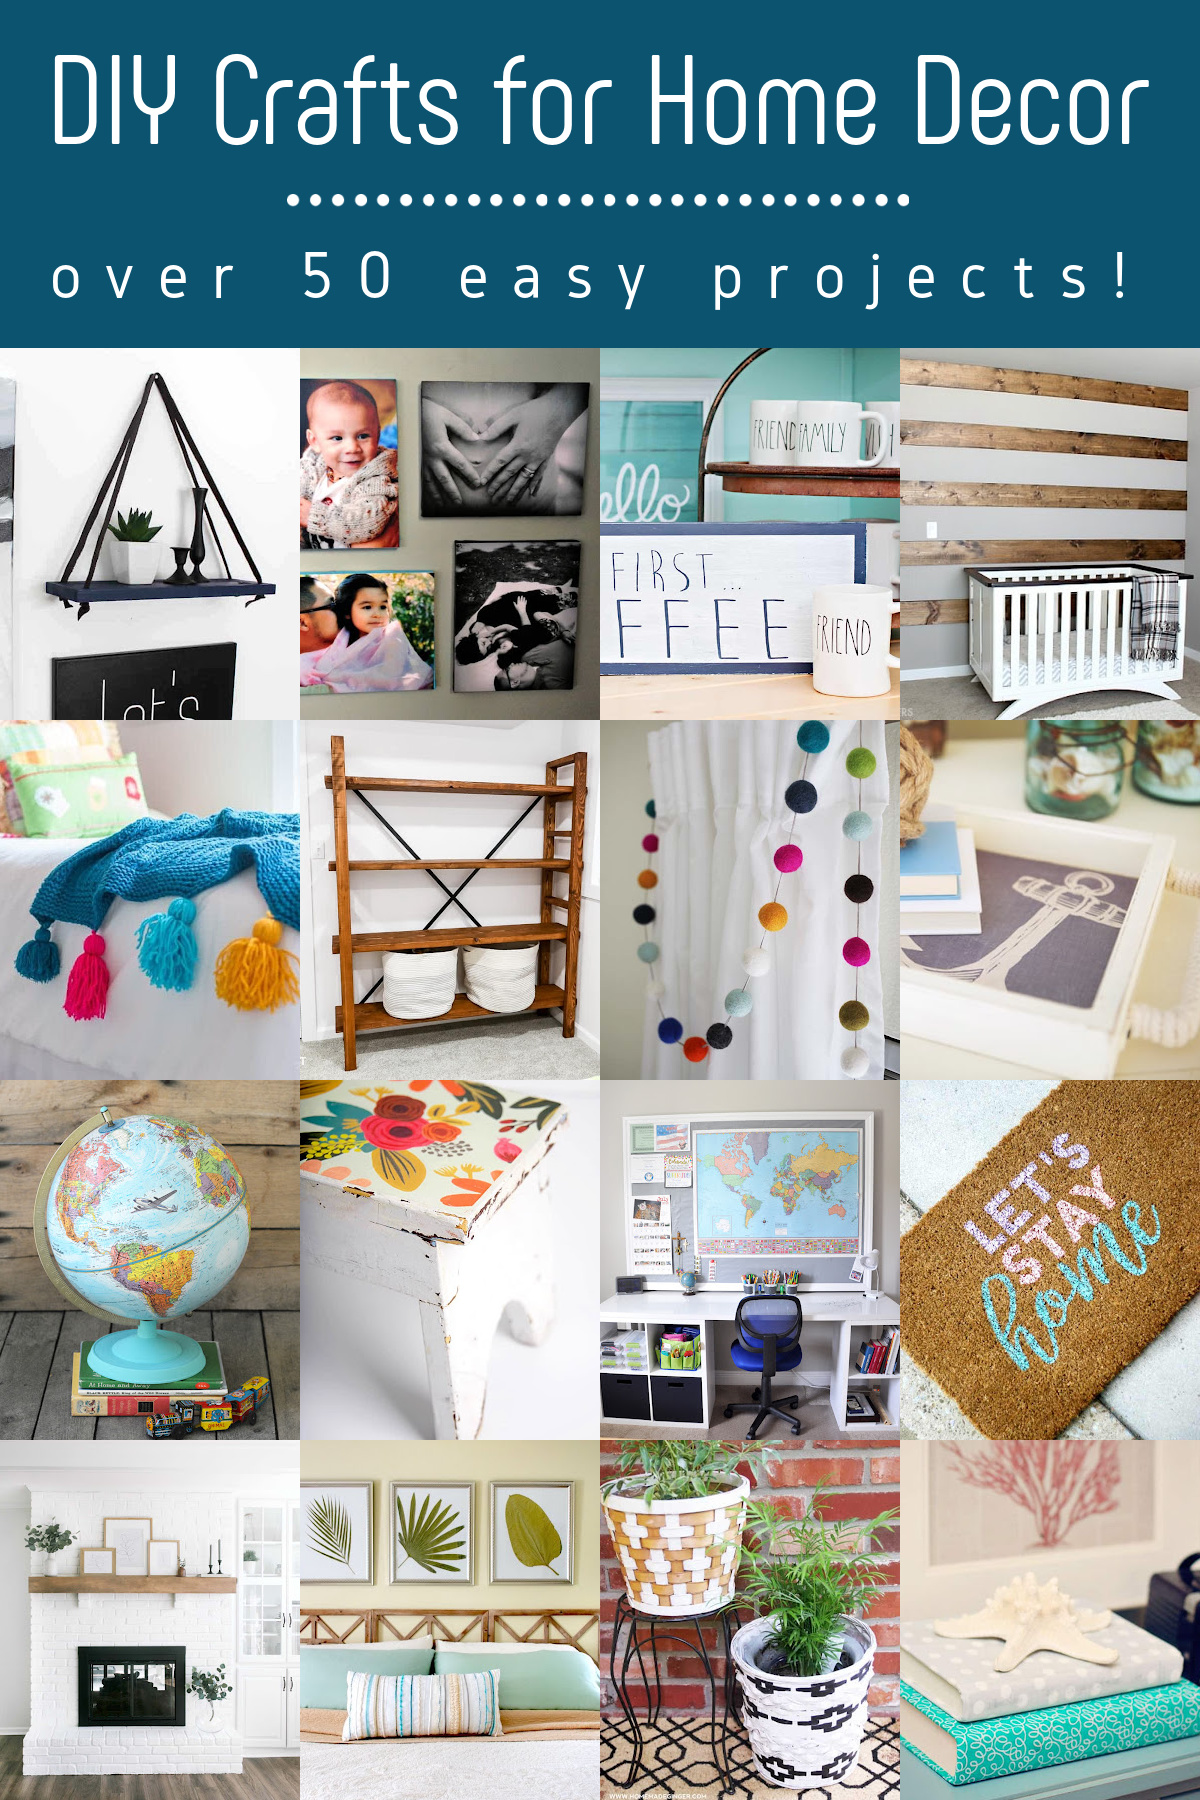
Easy DIY wall art ideas at home can turn blank walls into warm, personal spaces with simple supplies and little time.
Easy DIY wall art ideas at home are a smart way to refresh your space without a large budget or advanced craft skills. With paper, paint, fabric, plants, and items you already own, you can create wall decor that feels personal rather than mass-produced. This guide shares tested methods, simple steps, design tips, common mistakes, and safe ways to display your finished pieces.

Why Try Easy DIY Wall Art Ideas at Home?
Blank walls can make a room feel cold or unfinished. A small handmade piece can add color, texture, and personality in the same way a warm lamp changes the mood of a room.
Easy DIY wall art ideas at home also give you more control than store-bought decor. You choose the size, colors, materials, and style. This makes it easier to match a bedroom, living room, hallway, office, or rental apartment.
Other benefits include:
• Saving money on home decor
• Reusing paper, boxes, fabric, jars, and old frames
• Creating art that matches your personal taste
• Enjoying a relaxing weekend project
• Making meaningful gifts for friends and family
• Changing your decor with the seasons
You do not need to be a trained artist. Good wall art often comes from simple shapes, balanced colors, and thoughtful placement. Think of your wall as a blank page, not a test of your art skills.

Supplies for Easy DIY Wall Art Ideas at Home
Before you begin, gather a few basic supplies. You may already have most of them in a drawer, craft box, or recycling bin.
Useful supplies include:
• Blank canvas boards or thick cardstock
• Acrylic paint and small paintbrushes
• Painter’s tape
• Scissors and a craft knife
• Ruler and pencil
• Glue or double-sided tape
• Old magazines and newspapers
• Fabric scraps, wallpaper samples, or wrapping paper
• Embroidery hoops
• Wooden dowels
• Picture frames
• Foam board or cardboard
• Removable wall strips
• Clear spray sealer for suitable painted pieces
Use acrylic paint for most home projects because it dries quickly and works on canvas, wood, and thick paper. Watercolor works best on watercolor paper, while fabric paint is better for cloth.
For rented homes, removable strips and lightweight art are often safer than nails. Always check the weight limit on the product label. A small test on a hidden part of the wall can help prevent paint damage.

1. Painted Abstract Canvas
A painted abstract canvas is one of the easiest DIY wall art ideas at home. It does not require perfect lines or realistic drawing. Simple blocks, curves, dots, and brush marks can create a modern look.
What you need
• A canvas or thick board
• Two to four paint colors
• A flat brush and a small round brush
• A cup of water
• Paper towels
How to make it
-
Choose a simple color palette. Try cream, black, rust, and soft blue for a calm modern look.
-
Paint a light base coat and let it dry.
-
Add large shapes first. Leave some of the background visible.
-
Add smaller marks, dots, lines, or curved strokes.
-
Step back often. Look at the art from across the room.
-
Let the piece dry before hanging it.
A useful tip is to repeat one color in several places. This helps the design feel balanced. In my own sample projects, I found that using fewer colors made the final piece look more polished.
Do not keep adding details just because the canvas feels empty. Empty space can make handmade art look calm and intentional.

2. Geometric Tape Art
Painter’s tape can help you create crisp lines without advanced drawing skills. This project works well in modern, minimalist, and children’s rooms.
Steps to follow
-
Cover your canvas with a base color.
-
Let it dry fully.
-
Place painter’s tape in triangles, squares, stripes, or angled lines.
-
Press down the tape edges with a clean finger.
-
Paint over the taped areas with one or more colors.
-
Remove the tape while the paint is still slightly wet.
-
Let the art dry on a flat surface.
Use low-tack painter’s tape when possible. Strong tape may pull away the base paint or damage paper. If paint bleeds under the tape, use less paint on your brush and press the tape edges more firmly.
You can make a large statement piece with one canvas or create a set of three small panels. Odd numbers often look natural when grouped together.
3. Framed Botanical Prints
Botanical wall art brings a natural feel indoors. You can use real leaves, pressed flowers, free public-domain plant images, or your own simple drawings.
To press a leaf, place it between sheets of paper inside a heavy book. Add more books on top and leave it for one to two weeks. Make sure the plant is dry before pressing it, or it may stain and decay.
Simple display methods
• Place one pressed leaf in a white frame
• Arrange three small leaves in a row
• Pair a plant drawing with a short word
• Use a clear frame to show the stem and shape
• Mount a leaf on neutral paper for contrast
Choose plants with flat shapes and low moisture. Thick or wet leaves may not press well. Keep natural art away from direct sunlight, which can fade colors over time.
If you have pets or young children, check that the plant is safe before bringing it indoors. Some common houseplants can be harmful when eaten.
4. Magazine Collage Wall Art
Magazine collage is a fun way to make colorful artwork from materials that might otherwise be discarded. It is also one of the most flexible easy DIY wall art ideas at home because you can create almost any theme.
Start by choosing a subject, such as:
• Travel
• Food
• Fashion
• Nature
• Architecture
• Favorite colors
• Inspirational words
Cut out images, letters, textures, and color blocks. Arrange them on cardstock before gluing anything down. This step matters because glue makes changes harder.
For a clean look, use a limited color range. For a lively design, layer bright images and different textures. Apply glue lightly from the center of each piece toward the edges. Too much glue can wrinkle paper.
Place the finished collage in a frame or attach it to foam board. If you plan to hang it in a humid room, use a frame with glass or acrylic to protect the paper.
5. Fabric Hoop Wall Decor
Fabric art adds softness and texture to a room. It is a good choice for bedrooms, nurseries, reading corners, and cozy workspaces.
How to make fabric hoop art
-
Pick an embroidery hoop in a size that suits your wall.
-
Cut fabric with several inches of extra material around the hoop.
-
Place the fabric over the inner hoop.
-
Press the outer hoop over it.
-
Pull the fabric until it looks smooth.
-
Tighten the screw.
-
Trim or fold the extra fabric at the back.
You can use patterned fabric, quilt squares, linen, denim, or an old scarf. A group of three hoops in different sizes creates a relaxed gallery wall.
Avoid hanging heavy fabric hoops with weak adhesive. Use a small nail, hook, or wall anchor when needed. The wall type and the total weight should guide your hanging method.
6. DIY Paper Flower Wall
Paper flowers add a cheerful touch to a child’s room, party space, or creative studio. They are light, affordable, and easy to customize.
Use construction paper, scrapbook paper, or recycled book pages. Cut petal shapes in different sizes. Curl the edges around a pencil, then layer the petals with glue.
Create a mix of large, medium, and small flowers. Arrange them from one corner of the wall toward the center, or make a round cluster above a desk or bed.
For a more natural effect, use several shades of one color. Add paper leaves or simple stems to fill open spaces. Removable adhesive dots can work for lightweight flowers, but test them first on your wall finish.
7. Textured Yarn Wall Hanging
Yarn wall hangings can make a plain wall feel warm and layered. This project uses basic knots, so it is suitable for beginners.
Basic method
-
Find a smooth wooden dowel or branch.
-
Cut yarn into equal lengths.
-
Fold each strand in half.
-
Loop the folded end around the dowel.
-
Pull the loose ends through the loop.
-
Repeat until the dowel looks full.
-
Trim the bottom into a straight line, V shape, or soft curve.
Mix thick yarn with thin yarn for contrast. You can also add wooden beads or a few strands of cotton cord.
Keep the colors connected to the room. For example, cream, tan, and dusty green can create a soft natural look. Bright red, yellow, and blue can make a playful statement.
8. Painted Quote or Word Art
A short word can have a strong effect on a wall. Try words such as “gather,” “breathe,” “create,” or “home.”
You can hand-letter the word or print it from a computer. If you are not confident with lettering, use transfer paper or trace letters lightly with a pencil.
Choose a short phrase that will still feel meaningful months from now. Paint it on canvas, wood, thick paper, or a repurposed frame backing.
Keep the design simple. A word in a clean font with a soft background may look more stylish than a crowded quote with many colors.
9. Recycled Cardboard Relief Art
Cardboard can become raised wall art with very little cost. This idea works well when you want texture rather than a flat picture.
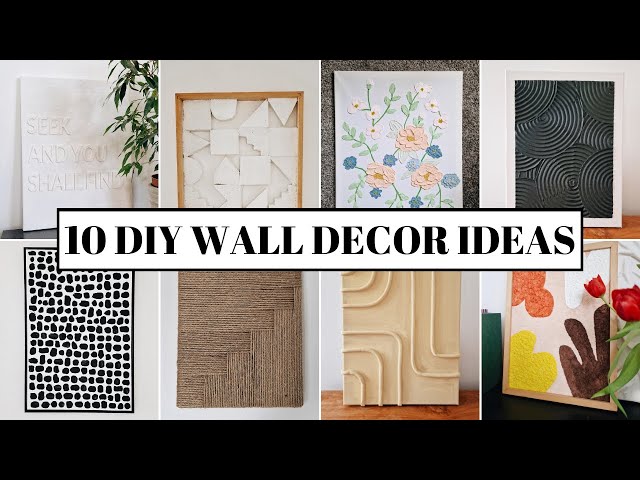
Cut cardboard into circles, arches, leaves, or geometric shapes. Layer the pieces with craft glue to create height. Mount the design on a firm board, then paint the whole piece in one color.
White, beige, black, and terracotta can highlight the shadows between layers. Let the glue dry fully before painting. Heavy layers may need extra drying time.
This project has a simple shape but a strong visual effect. It is similar to a small sculpture for your wall.
10. Photo Grid or Memory Wall
Photos can become wall art when arranged with care. You can use family photos, travel pictures, children’s drawings, postcards, or ticket stubs.
For a neat grid:
-
Measure the wall area.
-
Choose the number of rows and columns.
-
Keep the space between pieces consistent.
-
Use matching frames or one shared color.
-
Mark the placement with painter’s tape.
-
Hang the pieces from the center outward.
For a relaxed display, mix sizes and shapes. Keep one feature, such as color or frame style, consistent so the wall does not feel chaotic.
Use acid-free paper when storing valuable photographs. Direct sunlight can fade photos, so place the display away from bright windows when possible.
How to Choose the Right Wall Art Style
The best easy DIY wall art ideas at home should match the room, not fight against it. Start by looking at the colors and textures already in the space.
Use these simple guidelines:
• Choose soft colors for bedrooms and quiet areas.
• Use bold shapes for entryways and creative rooms.
• Add natural fibers to balance modern furniture.
• Use black, white, or neutral art in busy rooms.
• Match the size of the art to the wall and furniture.
A small picture above a large sofa may look lost. A large canvas can give the wall enough visual weight. As a general design rule, artwork above furniture often looks best when it spans about two-thirds of the furniture width.
This is a guide, not a strict law. Stand back and trust your eye. A wall should feel balanced, not measured like a math problem.
How to Arrange a DIY Gallery Wall
A gallery wall can display several easy DIY wall art ideas at home in one area. The key is to plan before making holes.
Place your art on the floor first. Move the pieces until the arrangement feels balanced. Take a photo so you can copy the layout on the wall.
Try one of these layouts:
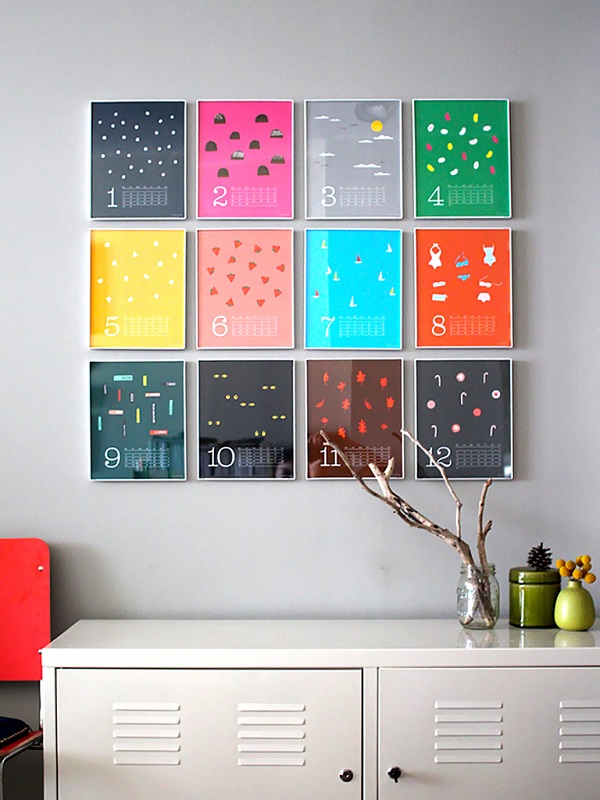
• A clean grid with equal spacing
• A centered row of three pieces
• A salon-style cluster with mixed sizes
• A vertical arrangement for a narrow wall
• A corner display that turns onto two walls
Leave enough space between each piece. Around two to four inches often works well, but larger art may need more breathing room.
Hang the center of the arrangement near eye level. In many homes, the center works well around 57 to 60 inches from the floor, though furniture and household height can change the best position.
Common Mistakes to Avoid
Even easy DIY wall art ideas at home can go wrong without a little planning. Most mistakes are simple to fix.
Using too many colors
A large mix of colors can make the wall look busy. Start with two or three main colors and one accent shade.
Skipping the test piece
Paint may look different when dry. Test colors on scrap cardboard before applying them to your final canvas.
Hanging art too high
Art often looks disconnected when it is placed far above furniture. Keep the relationship between the art and nearby furniture in mind.
Ignoring wall weight
Heavy frames need proper anchors. Do not rely on a small adhesive strip for a large glass frame.
Rushing the drying time
Wet paint, glue, and sealer can smudge or stick to the wall. Let each layer dry as directed on the product label.
Forgetting natural light
Sunlight may fade paper, fabric, and paint. Use curtains, UV-protective glazing, or a less sunny wall for delicate pieces.
When I make a project that feels too crowded, removing one or two details usually improves it. Simple art needs room to breathe.
Safety Tips for DIY Wall Decor
Most wall art projects are low risk, but a few safety steps matter.
• Use scissors and craft knives on a stable surface.
• Cut away from your body.
• Ventilate the room when using spray paint or strong glue.
• Keep paint and adhesives away from children and pets.
• Wear gloves when working with rough wood or metal.
• Use proper anchors for heavy frames.
• Check for pipes or electrical wires before drilling.
• Follow the instructions on adhesive and paint labels.
If you have asthma, allergies, or strong sensitivity to odors, choose water-based products and work near an open window. Materials vary, so always read the label instead of assuming that a product is safe for every surface.
Budget-Friendly Ways to Make Wall Art
You can create attractive wall decor without buying a full craft kit. Look around your home before shopping.
Good low-cost materials include:
• Leftover paint from another room
• Cardboard shipping boxes
• Old calendars
• Paper grocery bags
• Fabric scraps
• Unused wrapping paper
• Thrifted frames
• Pages from damaged books
• Fallen branches
• Children’s artwork
Thrift stores often have frames that cost less than new canvases. A fresh coat of paint can make mismatched frames feel like a set.
The goal is not to hide the low cost. The goal is to make the materials look intentional. Repetition, clean edges, and a thoughtful color palette can make simple supplies look refined.
Frequently Asked Questions About Easy DIY Wall Art Ideas at Home
What is the easiest DIY wall art for beginners?
Abstract painted canvas is often the easiest choice because it does not require perfect drawing. You can use simple lines, shapes, and a small color palette to create a finished design.
How can I make wall art without a canvas?
Use thick cardstock, cardboard, fabric, old frames, wood scraps, magazine pages, or pressed leaves. A frame or foam board can give lightweight materials a more finished appearance.
How do I hang DIY wall art without damaging the wall?
Use removable strips or adhesive hooks that match the weight of the piece. Test them first, follow the package instructions, and avoid using adhesive on dusty, damp, or freshly painted walls.
What colors work best for DIY wall art?
Choose colors that already appear in the room. A simple palette of two main colors plus one accent usually looks balanced and is easier to use than many unrelated shades.
How long does homemade wall art take to dry?
Acrylic paint may feel dry within minutes, but thick layers can need much longer. Glue, sealer, and layered materials should dry according to their product labels before you hang the piece.
Can I use recycled materials for wall art?
Yes. Cardboard, magazines, packaging, old fabric, paper bags, and unused frames can all become wall decor. Clean the materials first and avoid anything damp, moldy, sharp, or unstable.
How large should wall art be above a sofa?
A useful starting point is artwork that spans about two-thirds of the sofa width. You can use one large piece or several smaller pieces grouped within that visual space.
Conclusion
Easy DIY wall art ideas at home make it possible to refresh your rooms with simple tools, low-cost materials, and your own creative style. Painted canvases, fabric hoops, paper flowers, collages, photo grids, and textured designs can all bring warmth to a blank wall.
Start with one small project. Choose a limited color palette, plan your layout, let each layer dry, and use safe hanging methods. Your first piece does not need to be perfect; it only needs to make your home feel more like yours.
Pick an empty wall this week and try one of these ideas. Then share your favorite design or explore more simple home decor projects for your next creative afternoon.