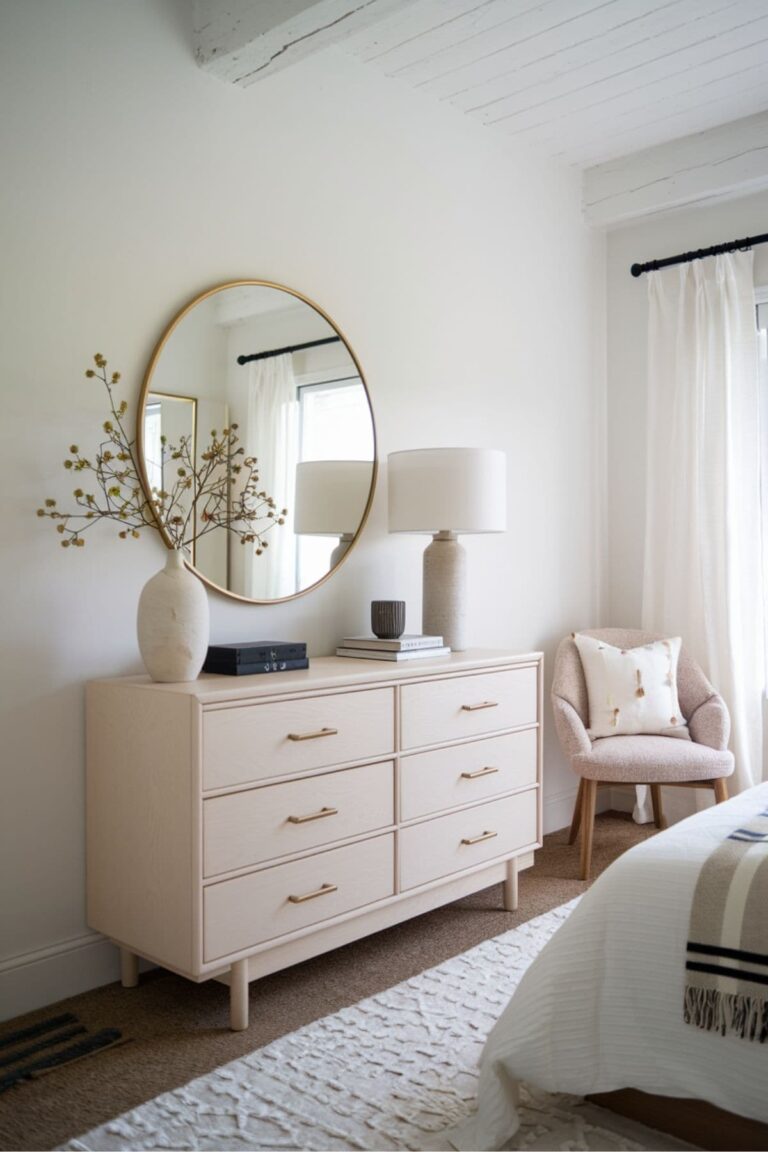
You can make a dresser taller with risers, new legs, or a sturdy plinth.
Learning how to make a dresser taller can improve storage, comfort, and room style without buying new furniture. The best method depends on the dresser’s weight, base design, desired height, and how safely you can keep it stable. This guide explains tested methods, useful tools, safety checks, and simple design ideas so your finished dresser looks intentional, not improvised.

Choose the Right Way to Make a Dresser Taller
Before learning how to make a dresser taller, inspect the dresser from every side. Look at the bottom, the frame, the drawer boxes, and the back panel. Some dressers have removable feet, while others sit directly on a solid base.
Your target height also matters. Adding 2 inches is a small update. Adding 8 inches requires a stronger base and better anchoring. A taller dresser becomes more top heavy, so stability must guide every choice.
Common options include:
• Furniture risers for a fast, low cost change
• Replacement legs for a clean, modern look
• A wooden plinth for strong support and a built in appearance
• Casters for mobility, if the dresser design allows them
• A custom platform for unusual sizes or very heavy dressers
Measure the current height from the floor to the top surface. Then measure the height you want to add. Remember that thick legs, pads, and floor protectors all affect the final measurement.
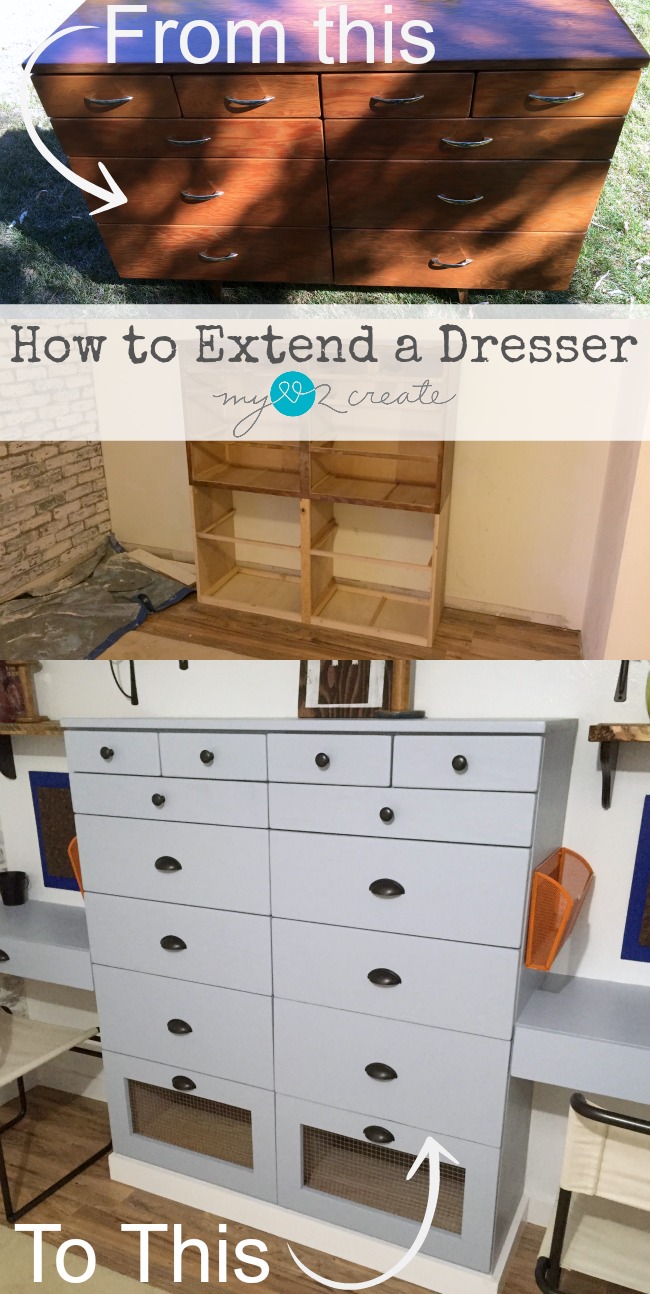
Measure the Dresser and Plan the Height
Good measuring prevents most problems. Use a tape measure to record the dresser’s width, depth, height, and base dimensions. Also measure the space where the dresser will stand, including nearby doors, windows, and wall trim.
For example, a dresser that is 32 inches tall may feel more useful at 36 inches. That extra 4 inches can make the top easier to reach and can improve its look beside a taller bed. However, a large increase may require wall anchoring.
Use this simple planning formula:
-
Desired final height minus current dresser height equals the added height needed.
-
Added height minus any floor pad thickness equals the leg, riser, or platform height.
-
Check that drawers still open without hitting a wall, baseboard, or nearby furniture.
Mark the center of the dresser’s base. If you plan to install four legs, each leg should sit near a strong corner or frame rail. Avoid attaching legs only to thin plywood or fiberboard.
A useful rule is to keep the added support at least as wide as the dresser’s existing load path. In plain terms, the weight should travel from the top, through the sides and frame, into the legs, and then into the floor.

Method 1: Use Furniture Risers
Furniture risers are the simplest answer to how to make a dresser taller. They sit under the existing feet or corners and can add a small amount of height in minutes. Risers work best when you need between 1 and 6 inches.
Choose risers made from solid wood, strong plastic, or metal. Check the weight rating for each riser. Divide the dresser’s estimated loaded weight by the number of risers, then choose products with extra capacity.
For example, if the dresser and its contents weigh about 240 pounds, four risers should support at least 60 pounds each. A larger safety margin is better because drawers shift weight as they open.
To install risers:
-
Empty every drawer.
-
Ask another adult to help lift or tilt the dresser.
-
Place one riser under each existing foot or solid corner.
-
Check that all risers sit flat on the floor.
-
Test each drawer slowly.
-
Check for rocking before replacing the contents.
Risers are convenient, but they may look unfinished. You can hide them with a matching frame, a short trim board, or a painted toe kick. Do not stack risers on top of other risers. That setup can slide and create a serious tip hazard.

Method 2: Install New Furniture Legs
New legs offer a polished solution for how to make a dresser taller. They can change the style from traditional to modern, raise the bottom for easier cleaning, and provide a more permanent result.
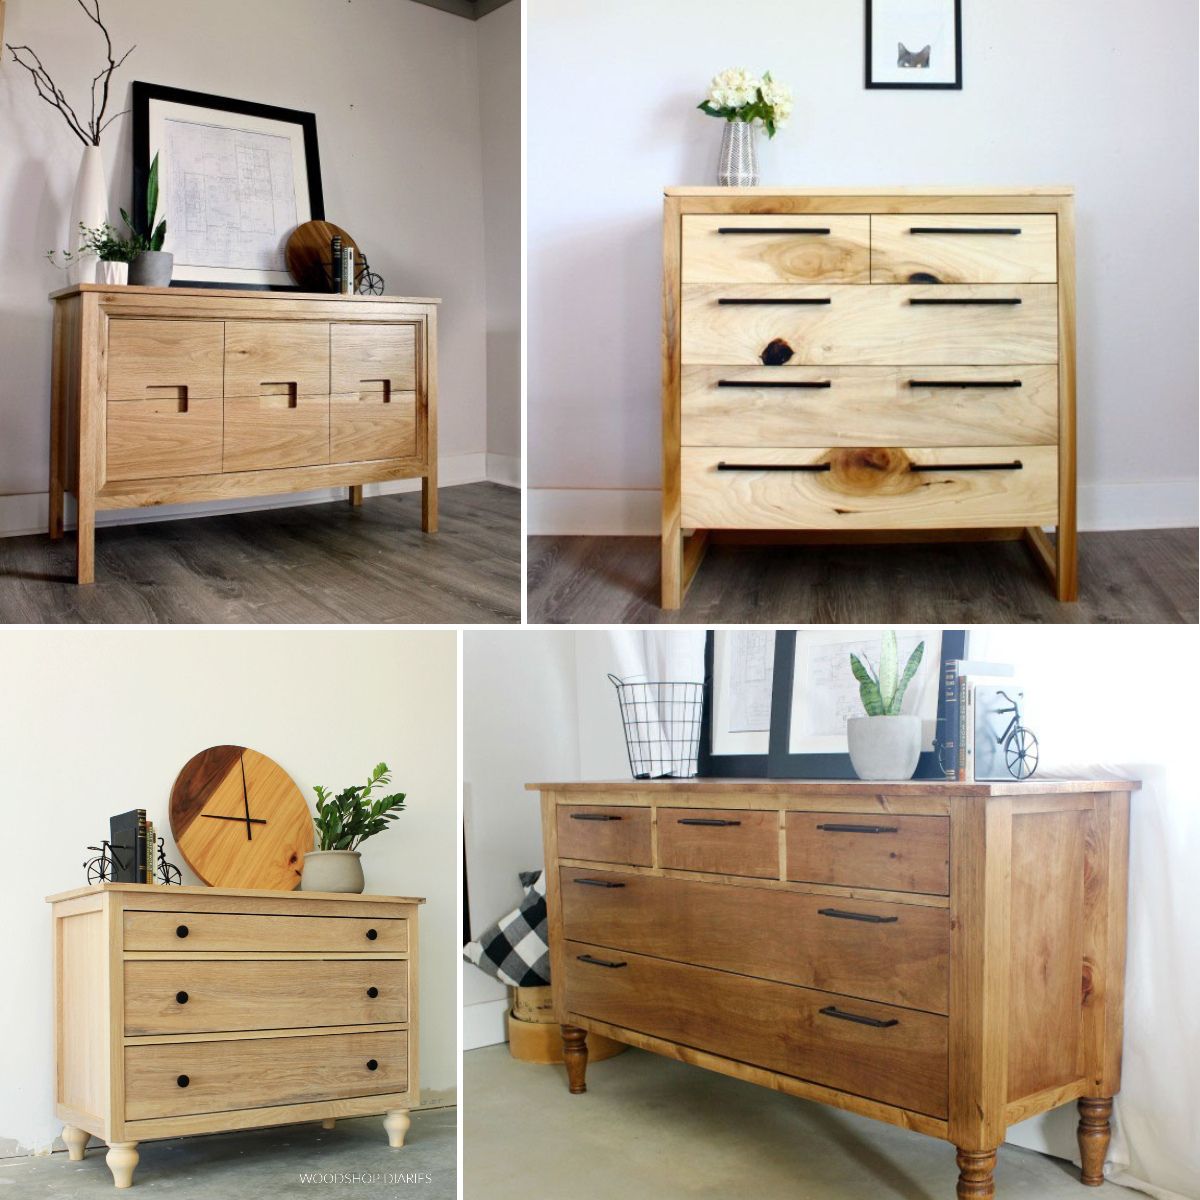
Common leg styles include tapered wood legs, square block legs, metal hairpin legs, and short bun feet. Select legs that match the dresser’s visual weight. A wide, heavy dresser usually needs sturdy legs with a broad mounting area.
You may need these tools:
• Drill and drill bits
• Measuring tape
• Pencil
• Screwdriver or driver bit
• Level
• Clamps
• Wood screws
• Mounting plates, if required
First, turn the empty dresser upside down on a padded surface. Find the strongest areas under the frame. Mark the leg locations so they are equal from the front and side edges.
Pre-drill holes before driving screws. This helps prevent splitting, especially in solid wood. Use screws that are long enough to hold the leg firmly but short enough to avoid piercing the dresser floor or drawer space.
If the dresser has a thin bottom, add small hardwood mounting blocks inside the base. Secure the blocks to the side rails or frame, not just to the thin bottom panel. This spreads the load and creates a stronger connection.
I have seen many DIY furniture upgrades fail because the legs were attached too close to the center. The dresser then looked fine but rocked when a drawer opened. Keeping the legs near the strong outer frame usually gives much better balance.
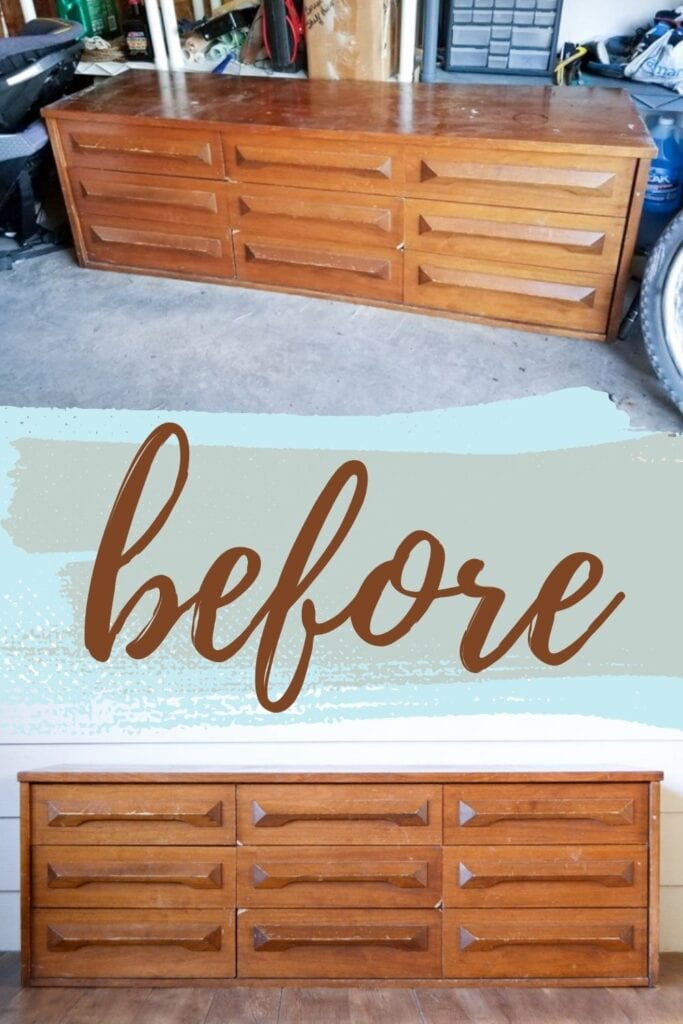
Method 3: Build a Wooden Plinth
A plinth is a box shaped base that sits under the dresser. It is one of the strongest answers to how to make a dresser taller, especially for wide, heavy, or older dressers.
A simple plinth can be made from four boards that form a rectangle. You can also add a center support for extra strength. The plinth should be slightly smaller than the dresser footprint so it remains hidden from normal viewing angles.
Basic construction steps include:
-
Measure the dresser’s width and depth.
-
Decide how much height the plinth should add.
-
Cut two long boards and two short boards.
-
Join the boards with wood glue and screws.
-
Add a center brace if the dresser is wide.
-
Sand the edges and test the base on the floor.
-
Paint or stain the plinth to match the dresser.
-
Attach the dresser to the plinth with screws through strong frame sections.
A plinth can also include adjustable feet. These feet help level furniture on uneven floors. Place a thin rubber pad under the base if you want to protect hardwood or tile.
Do not use a hollow cardboard box, loose boards, or stacked scraps as a permanent platform. These materials can compress, shift, or fail under a loaded dresser.
Method 4: Add Casters Carefully
Casters can raise a dresser and make it easier to move. They are useful in craft rooms, studios, guest rooms, and rental homes. However, they are not right for every dresser.
Use locking casters with a suitable weight rating. Four casters may work for a small dresser, while a wide or heavy dresser may need six casters. The mounting points must connect to strong parts of the base.
Lock all casters before opening drawers. Even locked wheels may allow slight movement on smooth floors. For extra safety, place the dresser against a wall and use an anti tip strap.
Avoid casters if:
• The dresser is already narrow or top heavy
• The floor slopes sharply
• Children may climb on the drawers
• The base is weak or damaged
• The wheels cannot lock securely
Casters are also taller than they may appear in product photos. Measure the full wheel height, including the mounting plate, before buying them.
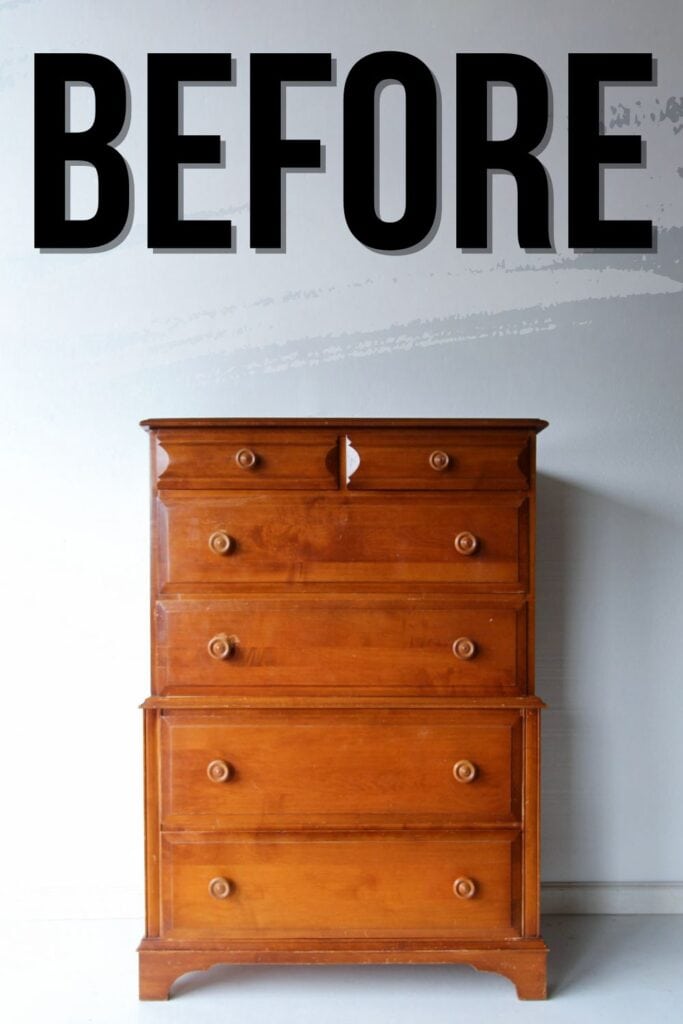
How to Anchor a Taller Dresser Safely
Safety is the most important part of learning how to make a dresser taller. A raised dresser has a higher center of gravity. Open drawers can pull that weight forward, especially when several drawers are full.
Empty the dresser before lifting or modifying it. Use two people for large units. Keep fingers away from pinch points, and wear eye protection when drilling.
After raising the dresser, check these points:
• The dresser does not rock from side to side.
• Each leg or riser sits fully on the floor.
• Drawers open without shifting the dresser.
• The back remains square and does not lean.
• The wall behind the dresser can accept an anchor.
Use an anti tip kit to connect the dresser to a wall stud or another approved structural point. For drywall, use the correct anchor system, but a stud is usually the stronger choice. Follow the hardware instructions and check the connection after installation.
Furniture safety guidance commonly recommends anchoring tall storage units, especially in homes with children. Do not rely only on the dresser’s weight. A loaded drawer can create a strong forward force.

Improve the Style After Raising the Dresser
The best answer to how to make a dresser taller should look like part of the original design. Match the new legs or plinth to the existing finish. You can sand and paint the entire lower section for a smooth, unified look.
Try these design ideas:
• Use natural wood legs with a stained wood dresser.
• Paint the legs the same color as the dresser for a built in look.
• Add a black metal base to create a modern contrast.
• Install a recessed plinth for a floating appearance.
• Add trim around a platform to make it resemble factory furniture.
Check the drawer alignment after the height change. If the dresser twists during installation, drawers may rub or fail to close. A level helps, but also measure the diagonal distances from corner to corner. Similar diagonal measurements usually indicate a square frame.
You can place a thin felt or rubber layer between the dresser and a platform. This reduces sliding and protects the finish. Avoid thick, soft padding because it can compress unevenly and make the dresser unstable.
Common Mistakes to Avoid
Many problems come from rushing the support work. A taller dresser must be treated like a small structural project, even if the change looks simple.
Avoid these mistakes:
• Choosing legs based only on appearance
• Ignoring the total weight of the dresser and contents
• Attaching screws to thin board without reinforcement
• Using legs that are too narrow for the dresser
• Skipping the wall anchor
• Stacking loose risers
• Failing to test drawers one at a time
• Making the dresser so tall that it becomes uncomfortable to use
Do not fill the drawers until the base passes a movement test. Open the top drawer, then the middle drawer, and then the bottom drawer. If the dresser shifts at any point, stop and improve the base or anchoring.
Another common mistake is raising a dresser to match a bed or counter without considering reach. A surface may look balanced but still be awkward to use. Comfort and safety should come before visual symmetry.
A Simple Project Example
Suppose your dresser is 34 inches tall and you want a final height of 38 inches. You need to add 4 inches. A 4 inch plinth may be the best choice if the dresser is wide and heavy.
For a lighter dresser with a solid frame, four 4 inch legs may work well. If the dresser has tiny existing feet, 4 inch risers could be faster. In each case, confirm the added height, weight rating, attachment strength, and wall clearance.
This example shows why how to make a dresser taller has no single answer. The right method depends on the furniture, the room, and how much weight the base must carry.
Frequently Asked Questions About How to Make a Dresser Taller
What is the easiest way to make a dresser taller?
Furniture risers are usually the fastest option because they need little or no permanent modification. Choose a strong, weight rated set and make sure each riser sits flat under a solid part of the dresser.
Can I put legs on a dresser that has a flat bottom?
Yes, but the legs must attach to strong frame areas or reinforced mounting blocks. Attaching them only to thin fiberboard may cause the base to sag or the screws to pull out.
How tall can I make a dresser safely?
There is no universal height limit because stability depends on width, depth, weight, and anchoring. As the dresser becomes taller, use a wider base, stronger supports, and a wall anchor.
Should I anchor a dresser after adding height?
Yes. Raising a dresser increases its tipping risk, especially when drawers are open. Attach it to a wall stud or use a properly rated anchor system that matches your wall type.
Can I use bed risers under a dresser?
You can use them only if they are designed to support the dresser’s total weight and fit its feet or corners securely. Never stack risers, and replace them if they crack, slide, or deform.
How do I make a tall dresser look balanced?
Choose legs or a plinth that match the dresser’s width and visual weight. A wide dresser usually looks better with broad legs or a recessed platform than with thin, widely spaced legs.
Can I make a dresser taller without drilling?
Yes. You can use properly sized furniture risers or a fitted platform. Even without drilling, test for movement and use an anti tip strap when the dresser is tall or heavy.
Conclusion
Learning how to make a dresser taller is a practical way to improve comfort, storage, cleaning access, and room style. Risers suit quick changes, new legs create a custom look, and a wooden plinth offers strong support for heavy furniture. Measure carefully, attach supports to strong areas, test every drawer, and anchor the finished dresser to the wall.
Choose the method that fits your dresser instead of forcing a one size solution. With a few careful measurements and the right materials, you can give an old dresser a safer, taller, and more useful second life. Share your furniture project or explore more DIY repair guides for your next upgrade.