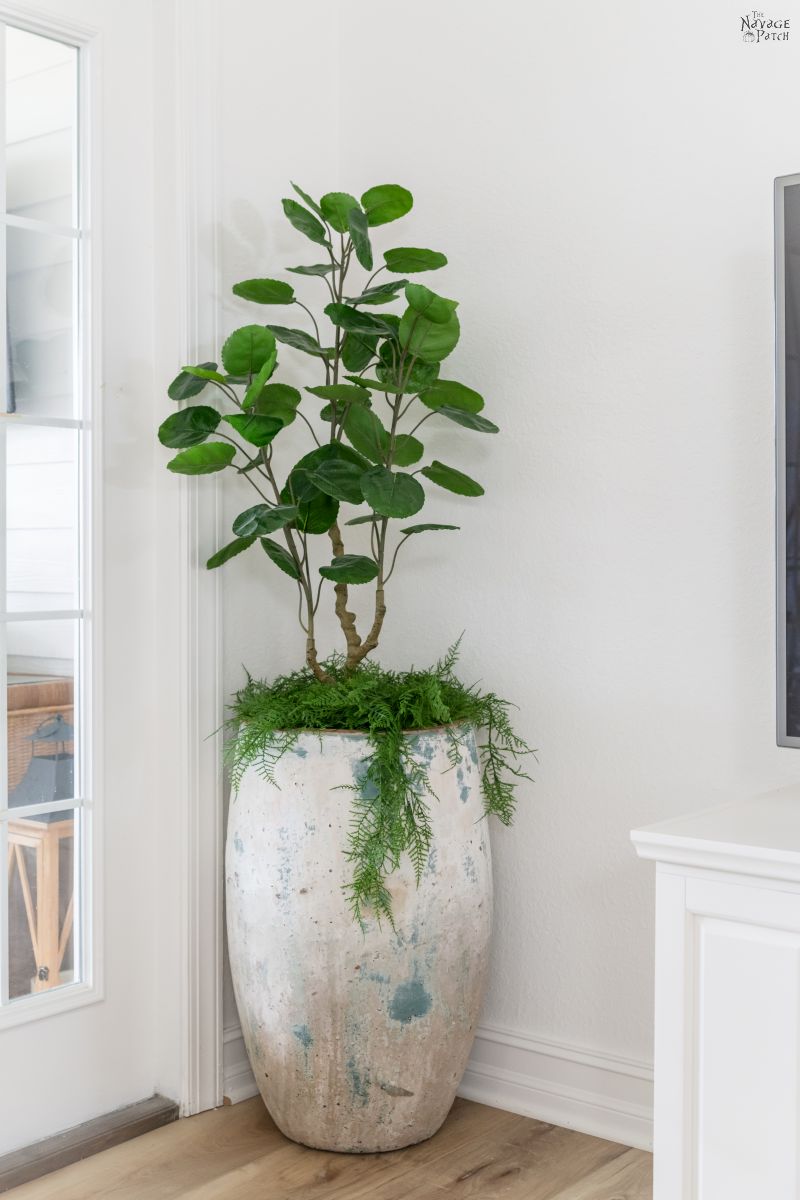
Use stones, foam, and moss to anchor and style a fake plant in any planter.
I’ve filled dozens of planters with artificial greens for homes and shops. I know what works, what looks real, and what fails. This guide shows step-by-step how to fill a planter with a fake plant so it looks natural, stays stable, and lasts for years.
Why pick a faux plant and how it helps your space
Fake plants give green without care. They never need water or light. They stay perfect through travel, busy weeks, and low-light rooms. Knowing how to fill a planter with a fake plant helps you match scale, hide stems, and make the display believable. I prefer faux where real plants would die or need too much time. The right fill makes a fake plant read as real at a glance.
Materials needed to fill a planter with a fake plant
Gather these items before you start. Simple tools make a tidy job.
- A clean planter that fits the fake plant
- Floral foam or oasis block to hold stems upright
- Gravel, pebbles, or broken pottery for base weight
- Moss, coconut coir, or decorative rocks for cover
- Hot glue gun or craft adhesive for small fixes
- Wire cutters for trimming stems and wiring
- Scissors and gloves for safety
- Optional: floral tape, foam sealant, or expanding foam
I always keep extras of foam and rocks. It saves time when a stem shifts. Use materials that match the planter’s style and weight needs.
Step-by-step: how to fill a planter with a fake plant
Follow these short steps for a strong, natural look.
-
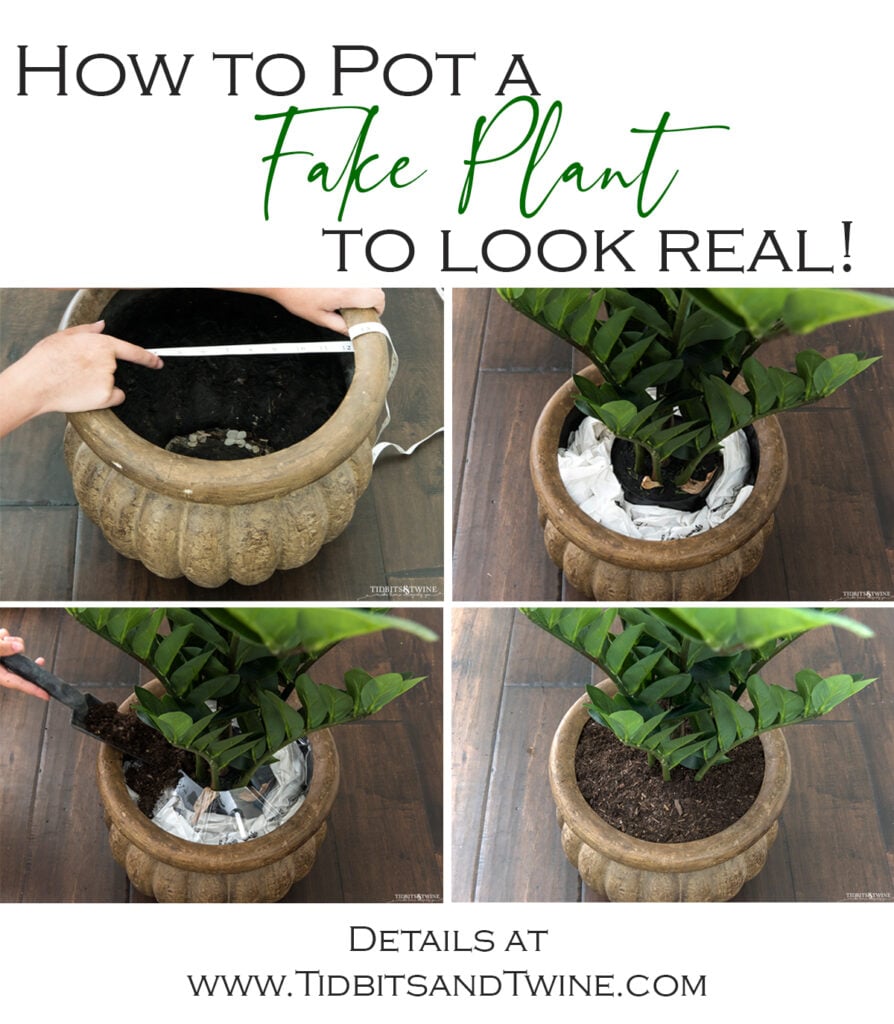
Prepare the planter
- Clean the pot. Dry it well. Check drainage holes. If the planter is lightweight, add weight at the base.
-
Add base weight
- Put gravel or broken pottery in the bottom. This prevents tipping. Fill about one third of the height for large, top-heavy plants.
-
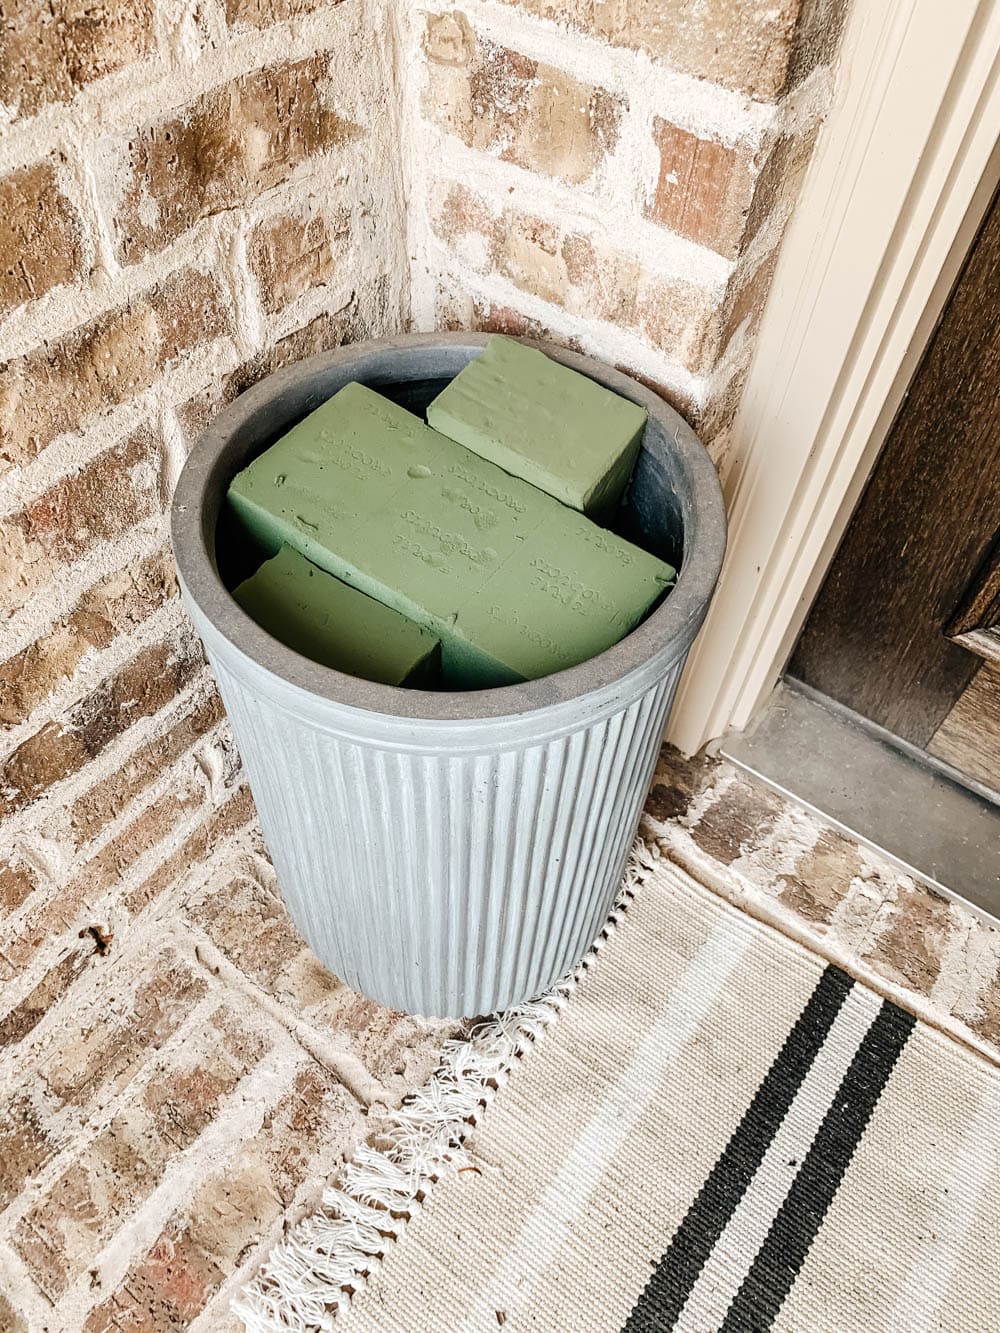
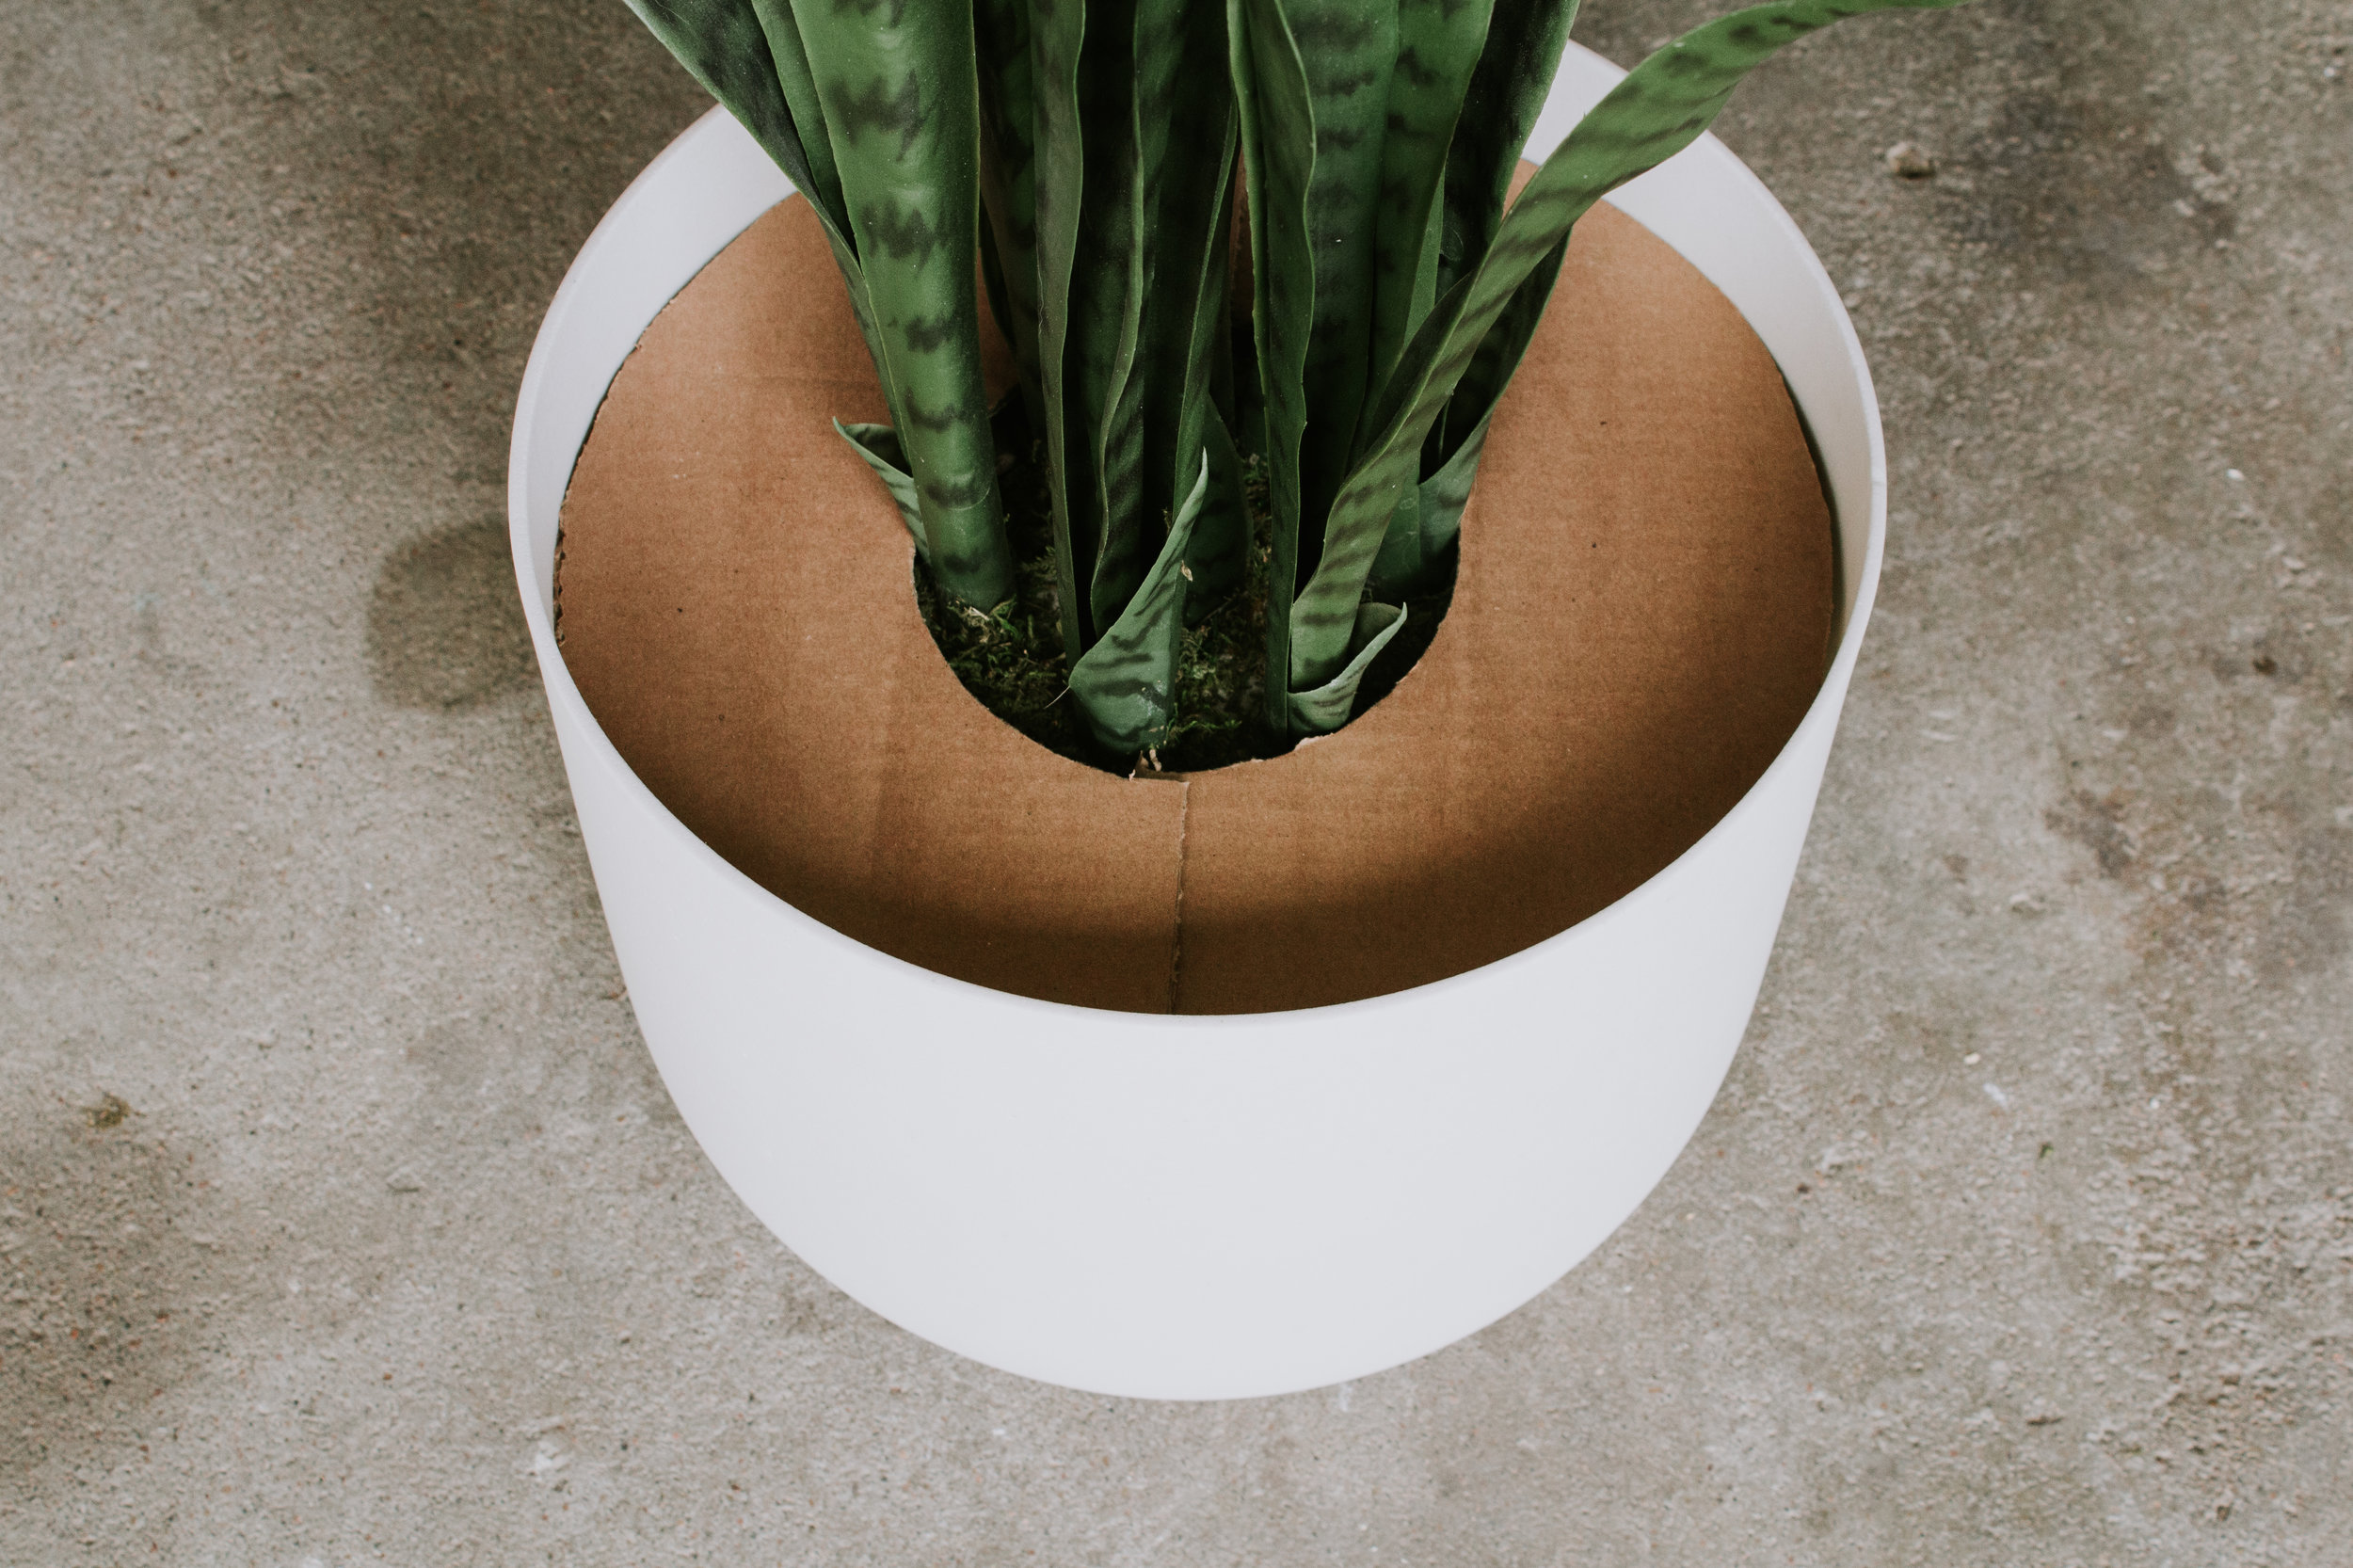
Fit the foam
- Trim floral foam to fit snugly. Insert foam so the top sits a bit below the rim. This gives room to cover the foam later.
-
Secure the foam
- Use hot glue or craft adhesive around the foam edges. Press so the foam cannot move. For outdoor planters, choose waterproof foam or sealant.
-
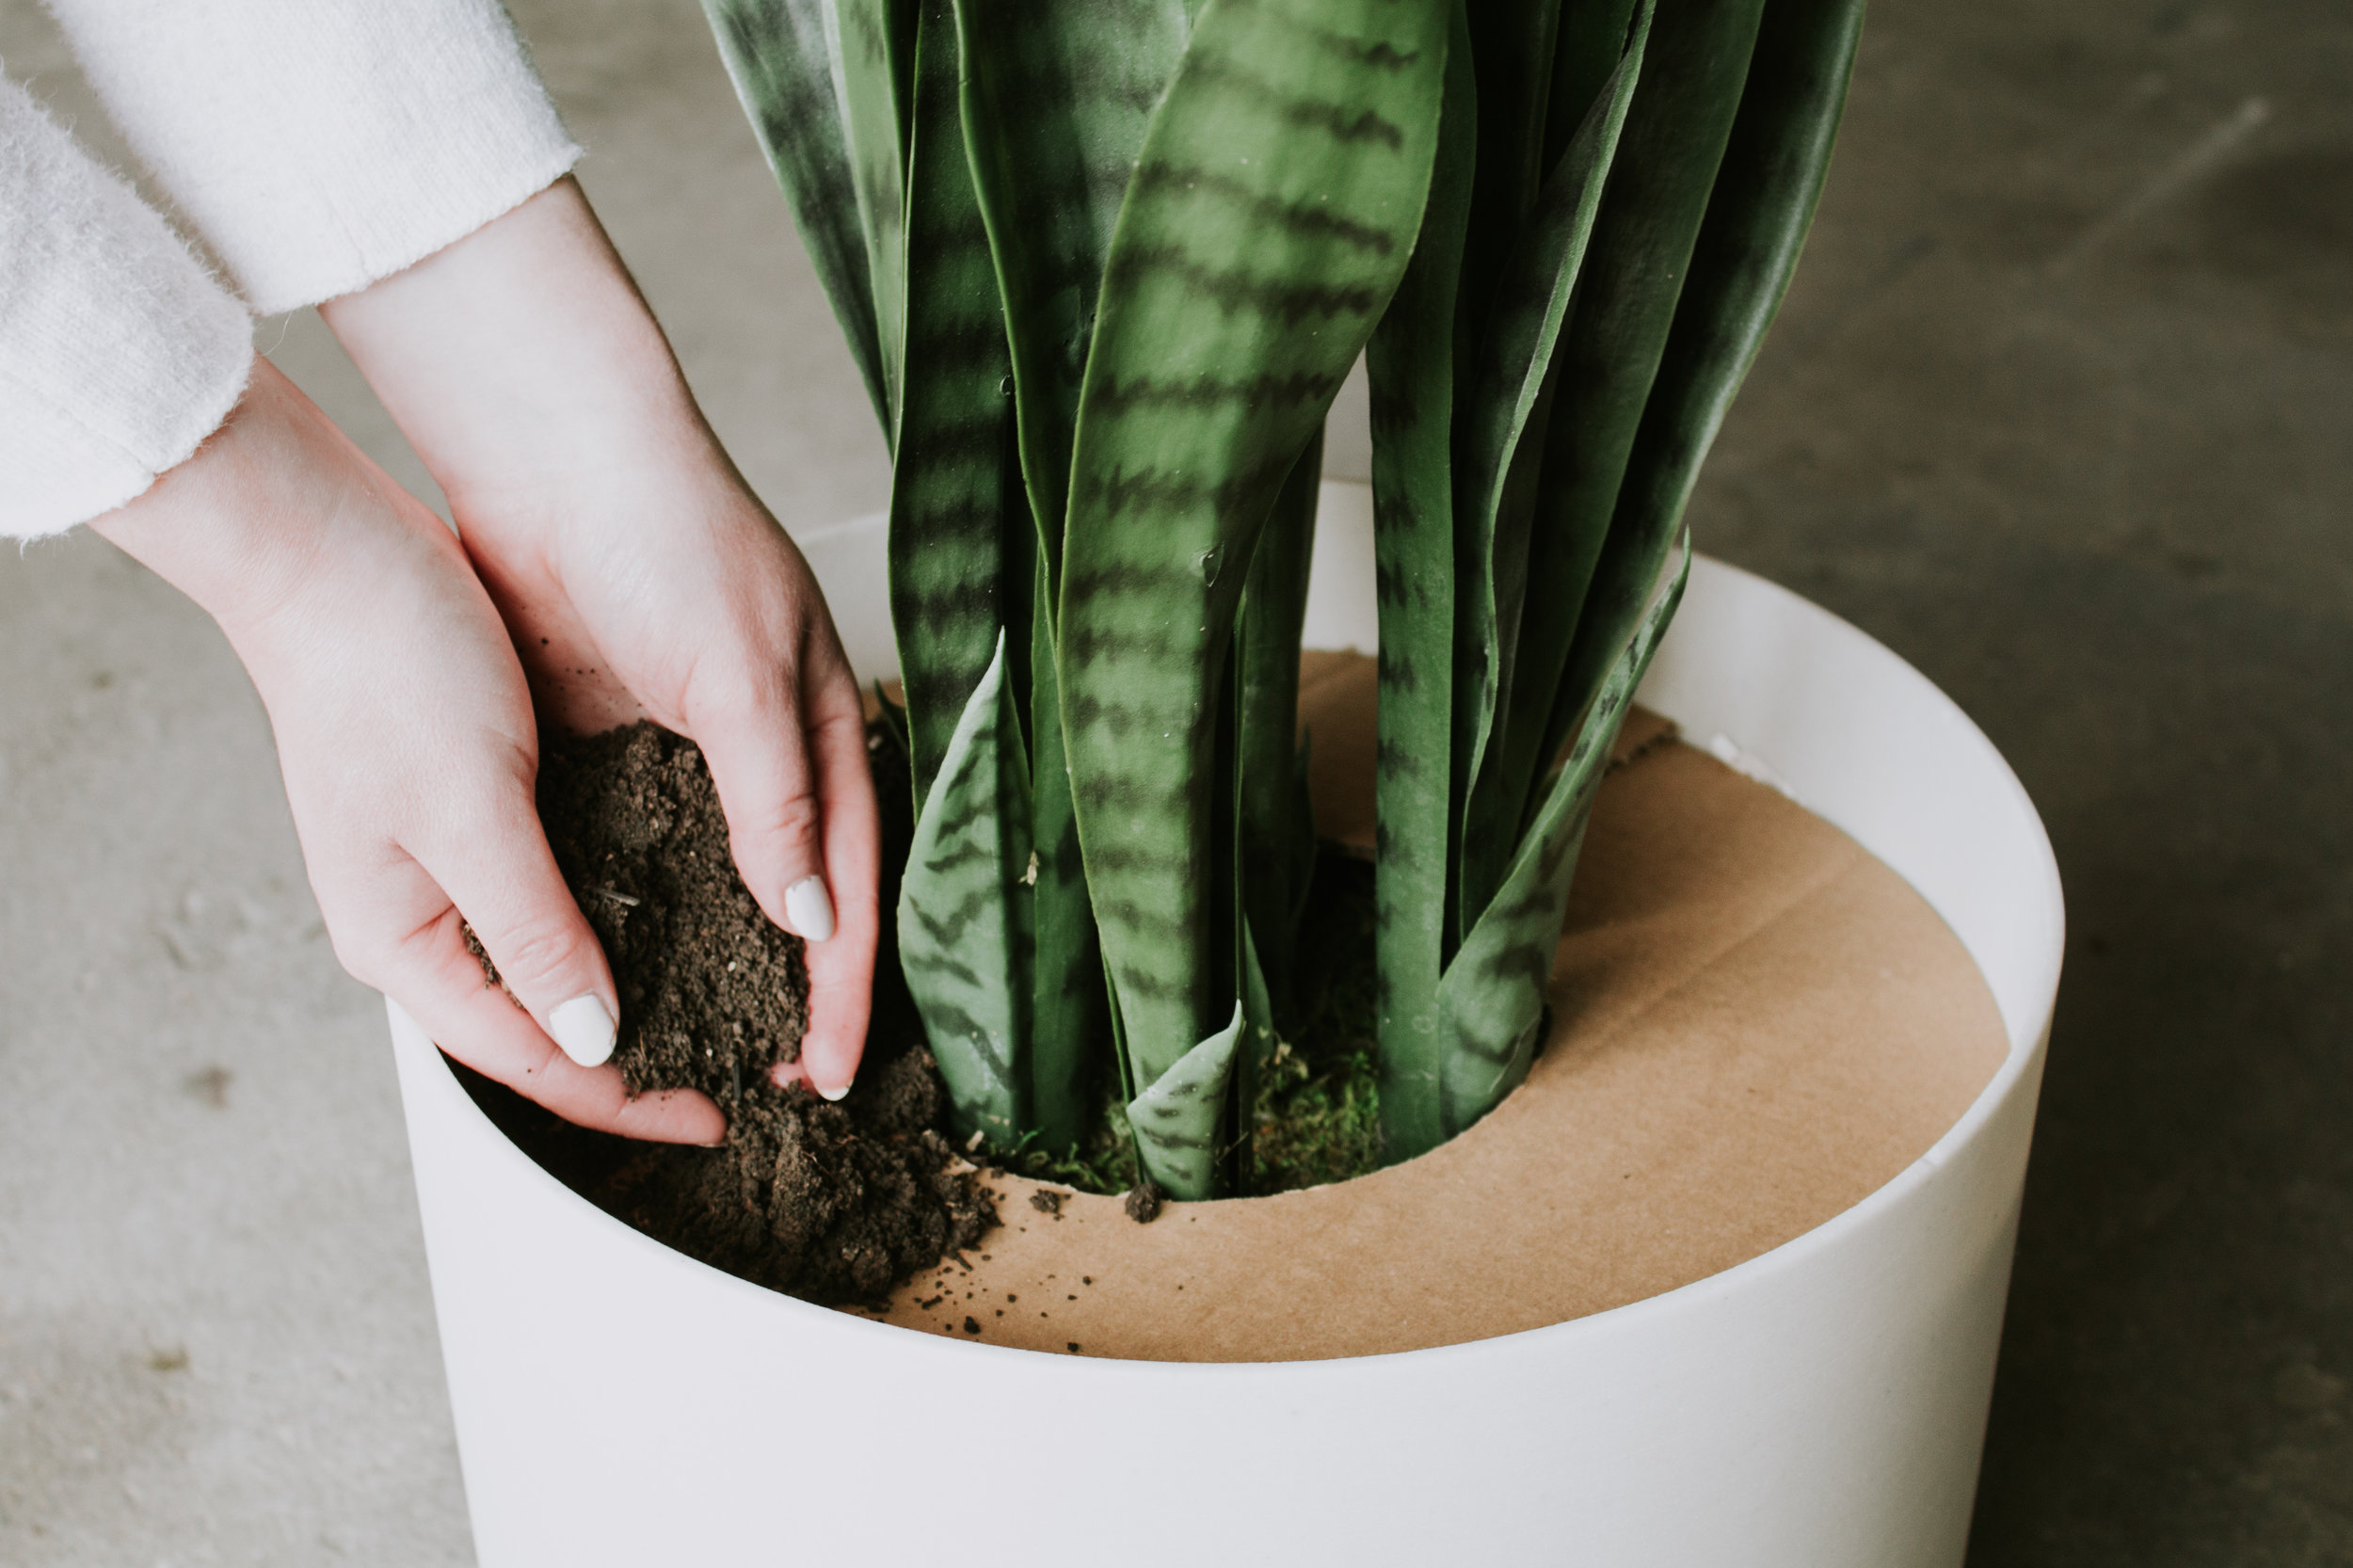
Place the fake plant
- Trim the stem to the right length. Insert the stem into the foam. If the stem is thin, wrap it with floral tape or add glue for a tight fit.
-
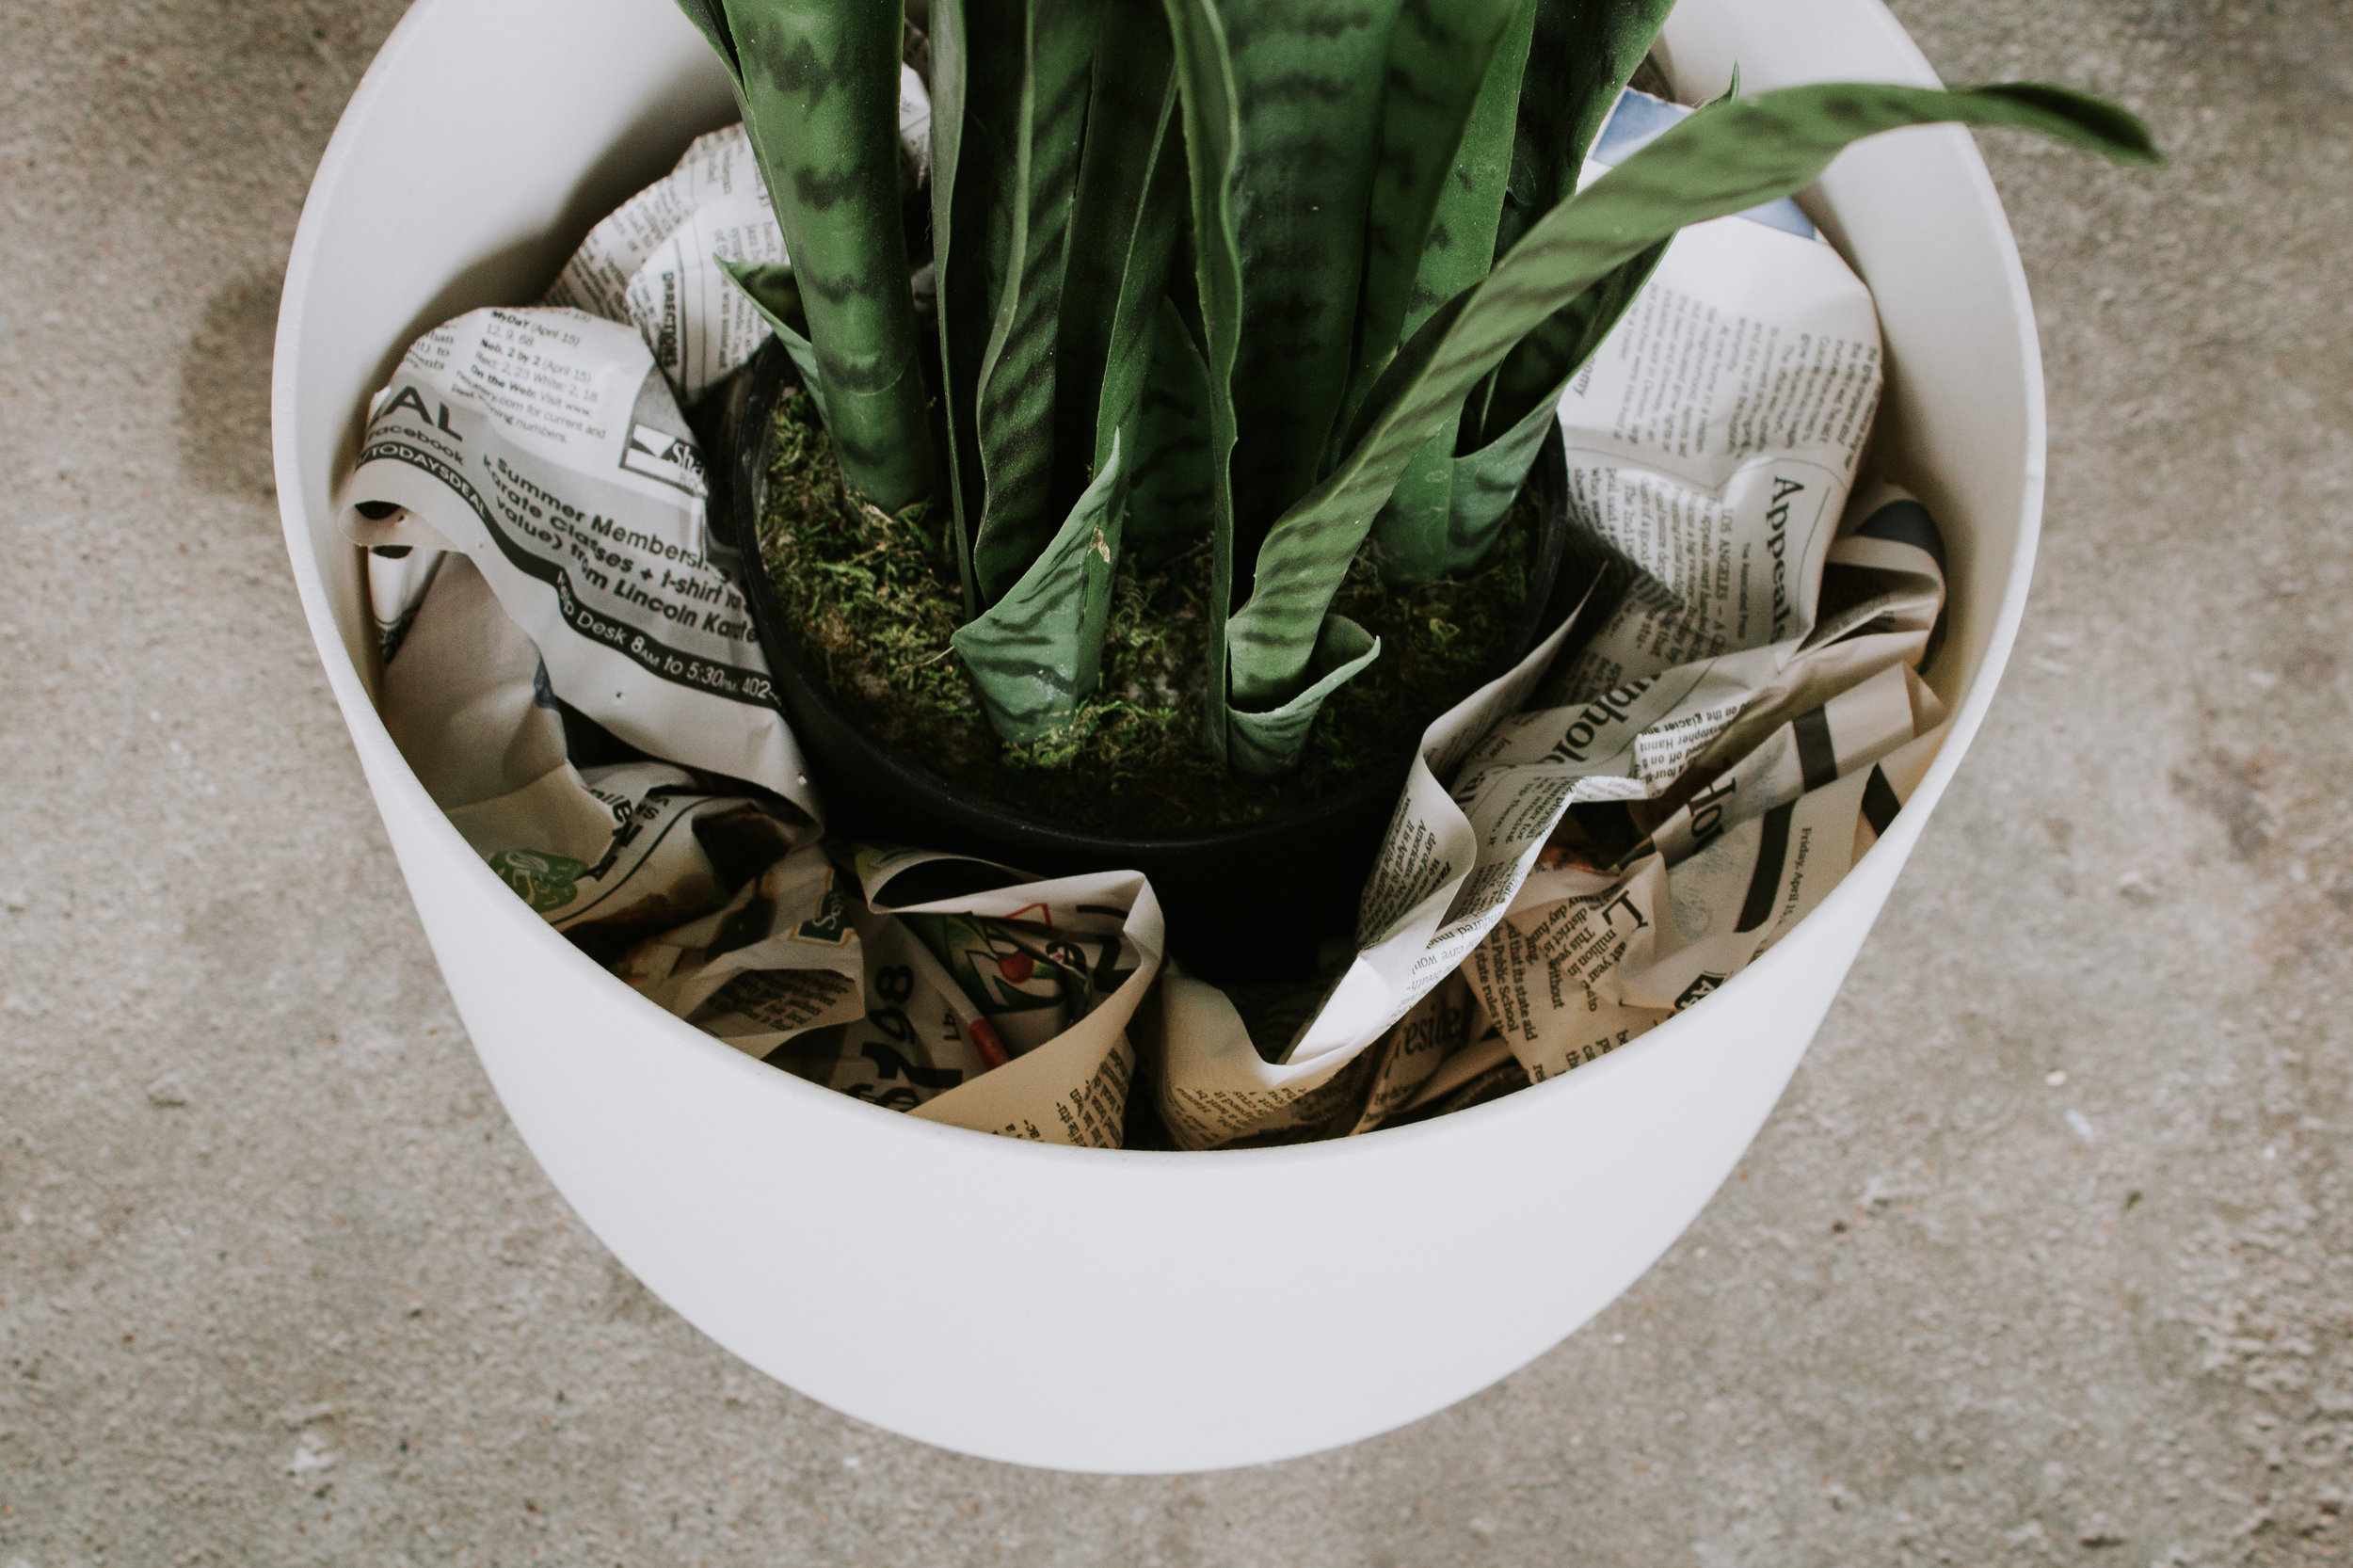
Add filler for realism
- Cover the foam with moss, coir, or decorative rocks. Tuck moss around stems to hide foam and glue marks.
-
Final shaping and weight check
- Step back and look from different angles. Bend stems and leaves for a natural pose. Add more weight if the planter tips.
I use this routine for every planter. It takes little time. The result holds up and looks real.
Styling tips to make a fake planter look real
Small choices boost realism. Try these quick tips.
-
Choose the right scale
- Match the plant size to the planter and the room. Tiny plants in big pots look odd.
-
Vary textures
– Mix moss and small stones. Use broken shells for beachy looks. Texture hides foam edges. -
Hide stems and glue
- Tuck fine moss or tiny pebbles around stems. A ribbon or bark strip around the rim also helps.
-
Natural leaf placement
- Bend some leaves downward and others up. Slight asymmetry reads as real.
-
Layer colors and heights
- Add short faux succulents or grasses at the base. This creates depth and hides foam.
These styling moves make your fake plant feel alive and part of the room.
Common mistakes to avoid when filling a planter with a fake plant
Avoid these pitfalls for a cleaner result.
-
Using no weight at the bottom
- Planters can tip over. Always add gravel or sand for balance.
-
Overstuffing the planter
- Too much filler can push stems out of place. Leave room for shaping.
-
Hiding foam poorly
- Visible foam or glue breaks the illusion. Cover foam fully with moss or rocks.
-
Ignoring scale
- A huge plant in a tiny pot looks off. Match height and width.
-
Skipping test views
- Check from all angles before finishing. Walk around the planter and adjust.
I learned these the hard way when I first started crafting displays. Fixing a toppled arrangement taught me to always test stability first.
Maintenance and cleaning for faux planters
Faux plants are low care, but not no care. A few minutes keeps them fresh.
-
Dust often
- Wipe leaves with a soft cloth or use a gentle vacuum brush. For delicate leaves, a hair dryer on cool clears dust.
-
Clean deeply
- Wash plastic leaves with mild soap and water when grime builds. Let parts dry fully before returning to the planter.
-
Refresh the base
- Replace moss or top rocks every year. Sun fades some materials; swap them when colors dull.
-
Check adhesives
- Re-glue loose stems. Replace foam if it breaks down in outdoor settings.
A quick wipe once a month keeps the display sharp and believable.
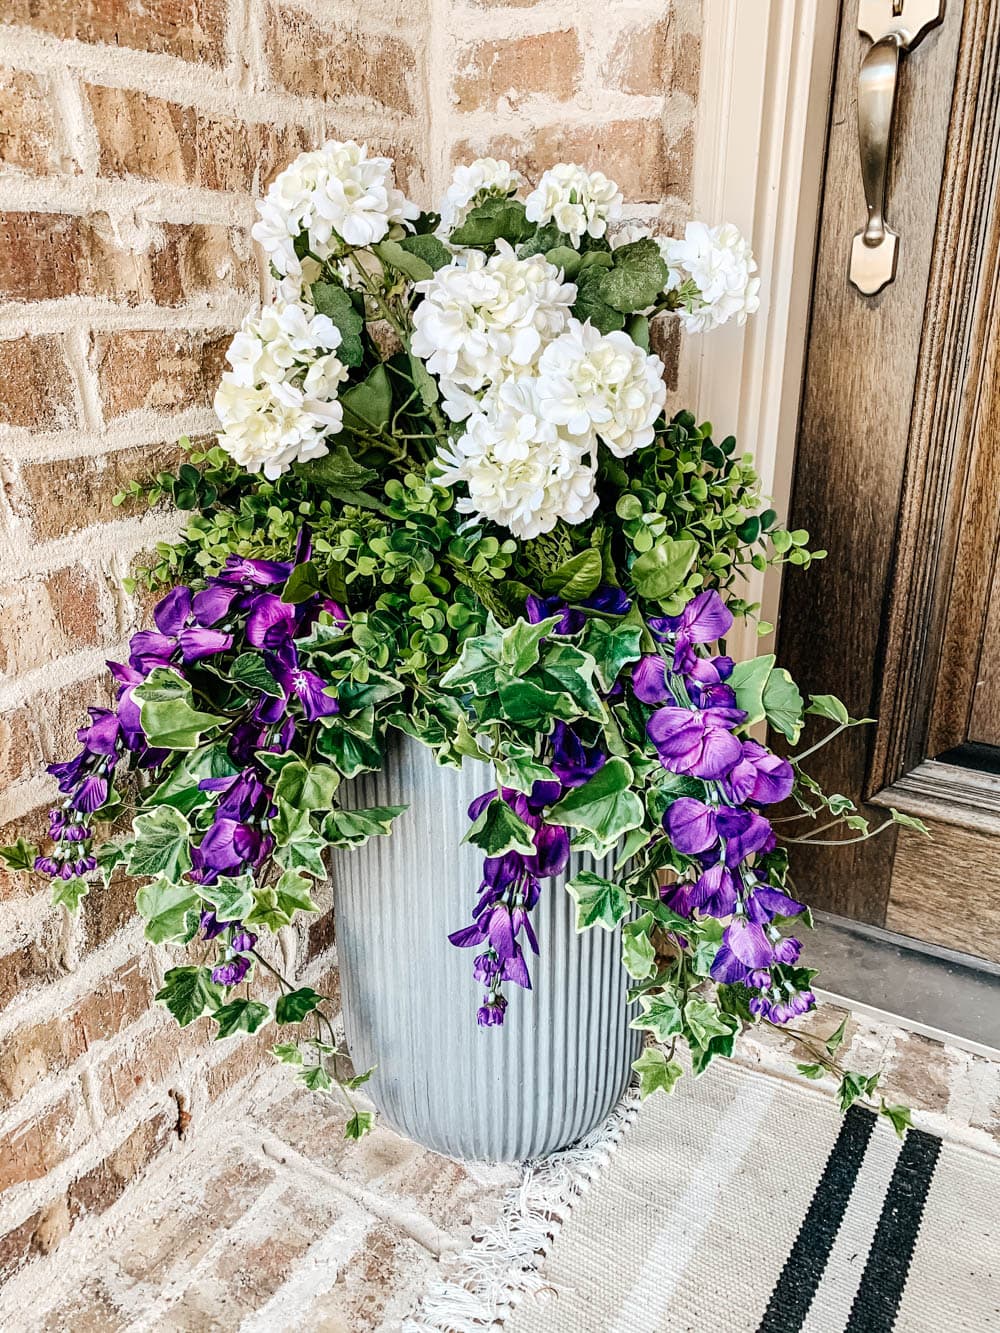
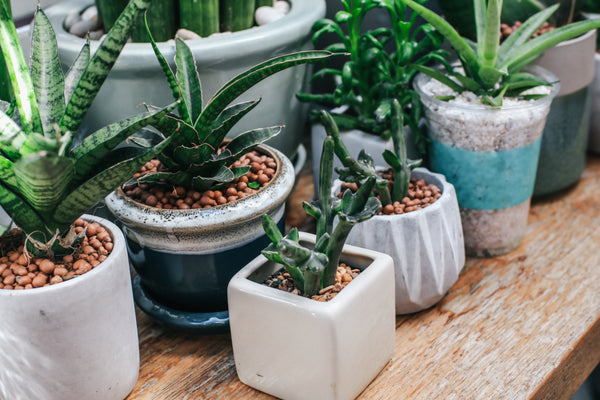
Variations and creative ideas for your planter
Try these options to match style and budget.
-
Minimal modern
- Use white stones and a sculptural faux plant. Keep lines clean.
-
Rustic look
- Use bark chips, twine, and weathered pots. Add succulents and dried stems.
-
Lush layered display
- Combine tall faux palms with small trailing vines. Use several small planters together.
-
Seasonal swaps
- Change top decor for holidays. Add mini pumpkins, pine cones, or shells on the moss.
-
Outdoor-safe options
- Choose UV-resistant faux plants and secure foam with waterproof adhesive for patios.
Mix and match ideas to fit your space and taste. I often switch covers seasonally to keep displays fresh.
Frequently Asked Questions of How to fill a planter with a fake plant
How long does a fake plant setup last?
A well-made arrangement can last many years. Replacement parts like moss or adhesive may need refresh every 1–3 years depending on sun and dust.
Can I use expanding foam to secure stems?
Yes, expanding foam works well for large planters and heavy stems. Use it sparingly and cover the foam with moss or rocks for a neat look.
Do I need drainage holes for a fake plant?
Drainage holes are not required for fake plants, but they help air flow and prevent moisture build-up from cleaning. For outdoor use, holes let water escape and prevent freeze damage.
How do I stop a fake plant from tipping over?
Add weight at the base with gravel, sand, or broken pottery. Secure the floral foam with glue and check stability before final styling.
What filler looks most natural?
Natural moss and mixed small stones look most real. For modern styles, polished pebbles or sand work well and are easy to clean.
Conclusion
You can make any planter look vibrant and real by learning how to fill a planter with a fake plant. Start with the right materials, add weight, and hide foam with moss or rocks. Style with care and check stability. Try one simple planter today and tweak it until it feels right. If you found this useful, leave a comment, share a photo, or subscribe for more hands-on styling guides.