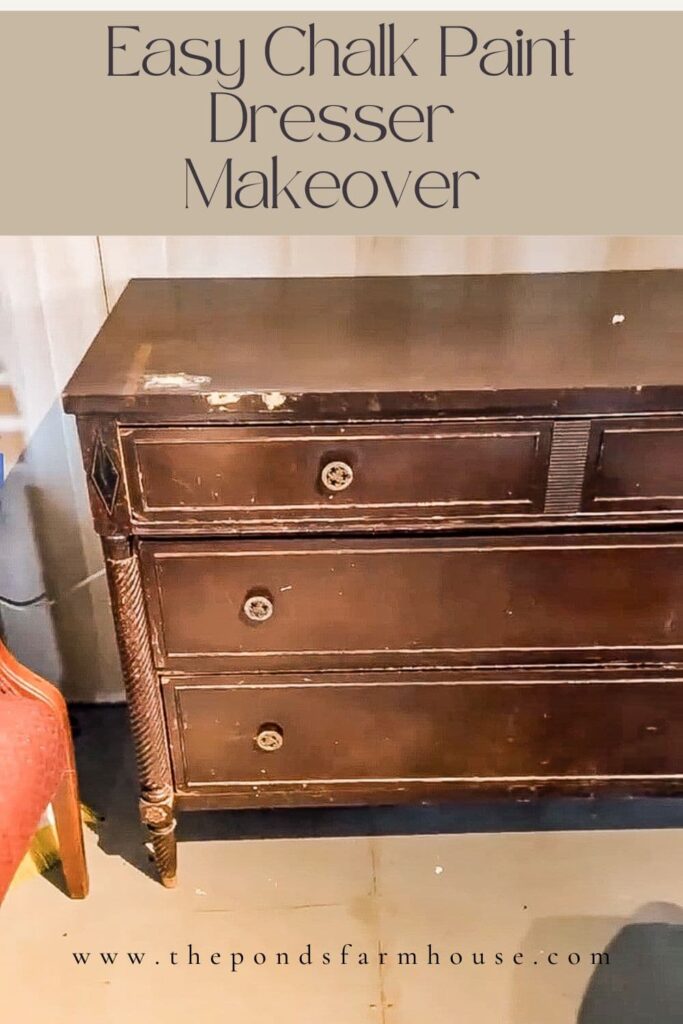
Chalk paint a dresser easily: clean, sand lightly, paint thin coats, distress, then seal.
I have refinished many dressers and teach clear, simple steps on how to chalk paint a dresser. I’ll show the exact prep, paint, distress, and sealing methods that work. Read on for easy, tested tips you can use today to get a pro-looking finish.

Why choose chalk paint for a dresser
Chalk paint is forgiving and dries fast. It sticks well to old finishes and often needs little sanding. Learning how to chalk paint a dresser saves money and gives you custom style. Chalk paint also sands and layers nicely for vintage looks. If you want a quick redo or a full makeover, chalk paint is the right choice.

Materials and tools you need to chalk paint a dresser
Gathering the right supplies makes the job smooth and fast. Below is a clear list to prepare you for how to chalk paint a dresser.
- Chalk paint in your chosen color, about one pint for a small dresser and one quart for a medium dresser.
- Clear wax and dark wax for shading if you want a distressed or aged finish.
- Sandpaper: 120 and 220 grit for light sanding and smoothing.
- Tack cloth or lint-free rags to remove dust.
- Mild degreaser or TSP substitute to clean the surface.
- Quality synthetic brushes and a small foam roller for smooth coverage.
- Disposable gloves and a dust mask for safety.
- Painter’s tape and drop cloth to protect floors and hardware.
- Small putty knife and wood filler for dents or gouges.
- Screwdriver to remove hardware and drawer pulls.
Prep steps: how to chalk paint a dresser the right way
Good prep means fewer problems later. I always spend extra time here. Follow these steps for a long-lasting finish.
- Remove all hardware and label drawers to keep them organized.
- Clean the dresser with a degreaser or mild soap. Rinse and dry fully.
- Fill holes or deep scratches with wood filler. Let dry and sand smooth.
- Lightly sand glossy or slick finishes with 120 grit to help adhesion. Wipe clean with a tack cloth.
- Use painter’s tape to cover glass or areas you won’t paint.
Step-by-step painting process for how to chalk paint a dresser
Work in thin coats and let each dry. Thin coats prevent drips and show a smoother finish.
- Step 1: Stir the chalk paint well. Avoid shaking which creates bubbles.
- Step 2: Start with drawer boxes and inside edges first. This steady routine helps coverage.
- Step 3: Use brush strokes with the grain on flat surfaces. Roll flat areas when needed for speed.
- Step 4: Apply a second thin coat after the first dries. Two coats usually give full coverage.
- Step 5: Lightly sand between coats with 220 grit if you feel rough spots. Wipe with a tack cloth.
- Step 6: Let the final coat cure for 24 hours before waxing or sealing.
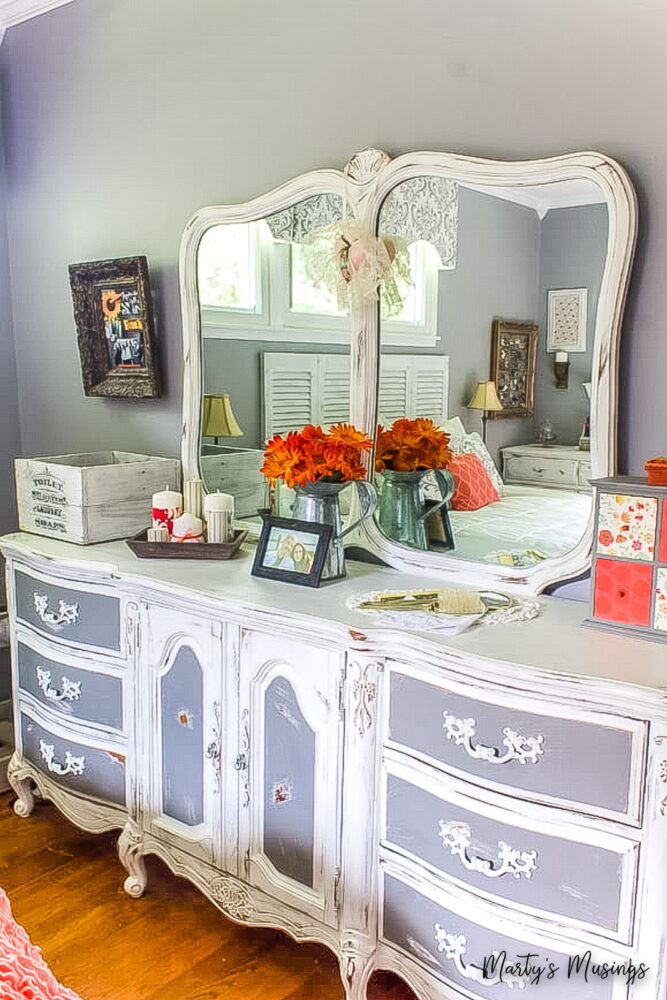
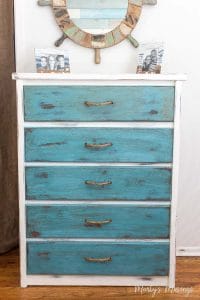
Distressing and decorative finishes for a painted dresser
Distressing adds charm and depth. I use this on many projects when I want a vintage look.
- Light distressing: sand edges and corners with 220 grit to reveal the base wood or undercoats.
- Layered color: paint a base color, then a top color. Sand key spots to show the base color through.
- Glaze or dark wax: apply sparingly in crevices and wipe back to accent details and carve lines.
- Stenciling or hand-painting: use a stencil and thin paint to add patterns. Seal when dry.

Sealing and finishing: protect your chalk-painted dresser
A good seal keeps your work safe from chips and stains. Choose wax or a water-based topcoat.
- Wax finish: apply clear wax in small sections with a rag or brush. Buff to sheen. Add dark wax for shadowing if desired.
- Polycrylic or water-based topcoat: apply thin coats with a synthetic brush. This gives more durability than wax for heavy-use dressers.
- Dry time: allow 24 hours between coats and one week of gentle use before heavy use.
Hardware and styling tips after you chalk paint a dresser
New hardware can change the whole look. I always try a few options before committing.
- Clean and reuse old hardware if you love the look. Soak in vinegar and scrub to remove grime.
- Spray paint hardware for a fresh finish. Use high-heat or metal primer if needed.
- Mix drawer liners or velvet pads to protect surfaces.
- Try glass or ceramic knobs for an updated, vintage, or modern feel.

Common problems and fixes when you chalk paint a dresser
Even simple projects can hit snags. These fixes have saved me time and headaches.
- Flaking paint: sand the flaking area and prime lightly. Repaint in thin coats.
- Brush marks: sand gently with 220 grit and add another thin coat or roller coat.
- Sticky wax: buff more vigorously or remove excess with a clean cloth and mineral spirits if needed.
- Uneven coverage: add a thin third coat and sand lightly between coats.

My best tips from real projects about how to chalk paint a dresser
These are things I learned the hard way. They cut time and give better results.
- Always test on an unseen spot first. Color looks different when dry.
- Use thin coats. Patience beats heavy brushing.
- Keep a note of paint brand and batch for future touch-ups.
- Work on one section at a time. This keeps edges neat and reduces lap marks.
- Invest in one good brush. It matters more than brand paint for a smooth finish.
Troubleshooting FAQ about how to chalk paint a dresser
Will I need to sand before using chalk paint?
You often need only light sanding. Chalk paint sticks well, but sand glossy surfaces and fix deep damage first.
How many coats of chalk paint do I need?
Most projects require two thin coats for solid coverage. Add a third coat for deep colors or harsh stains.
Can I use chalk paint on laminate dressers?
Yes, with prep. Clean thoroughly and sand lightly to key the surface before painting.
Should I use wax or polyurethane to seal chalk paint?
Use wax for a soft, vintage feel and polycrylic for durability. Choose based on use and desired sheen.
How long does chalk paint take to cure?
Chalk paint dries quickly, but full cure can take up to 30 days. Sealers dry faster; wait 24 hours between coats.
Conclusion
You can transform an old dresser by following clear steps on how to chalk paint a dresser. Start with proper prep, use thin coats, and seal well to get a lasting finish. Try a small practice piece first and enjoy the process. If you liked this guide, try a dresser of your own, share your results, or ask a question below.