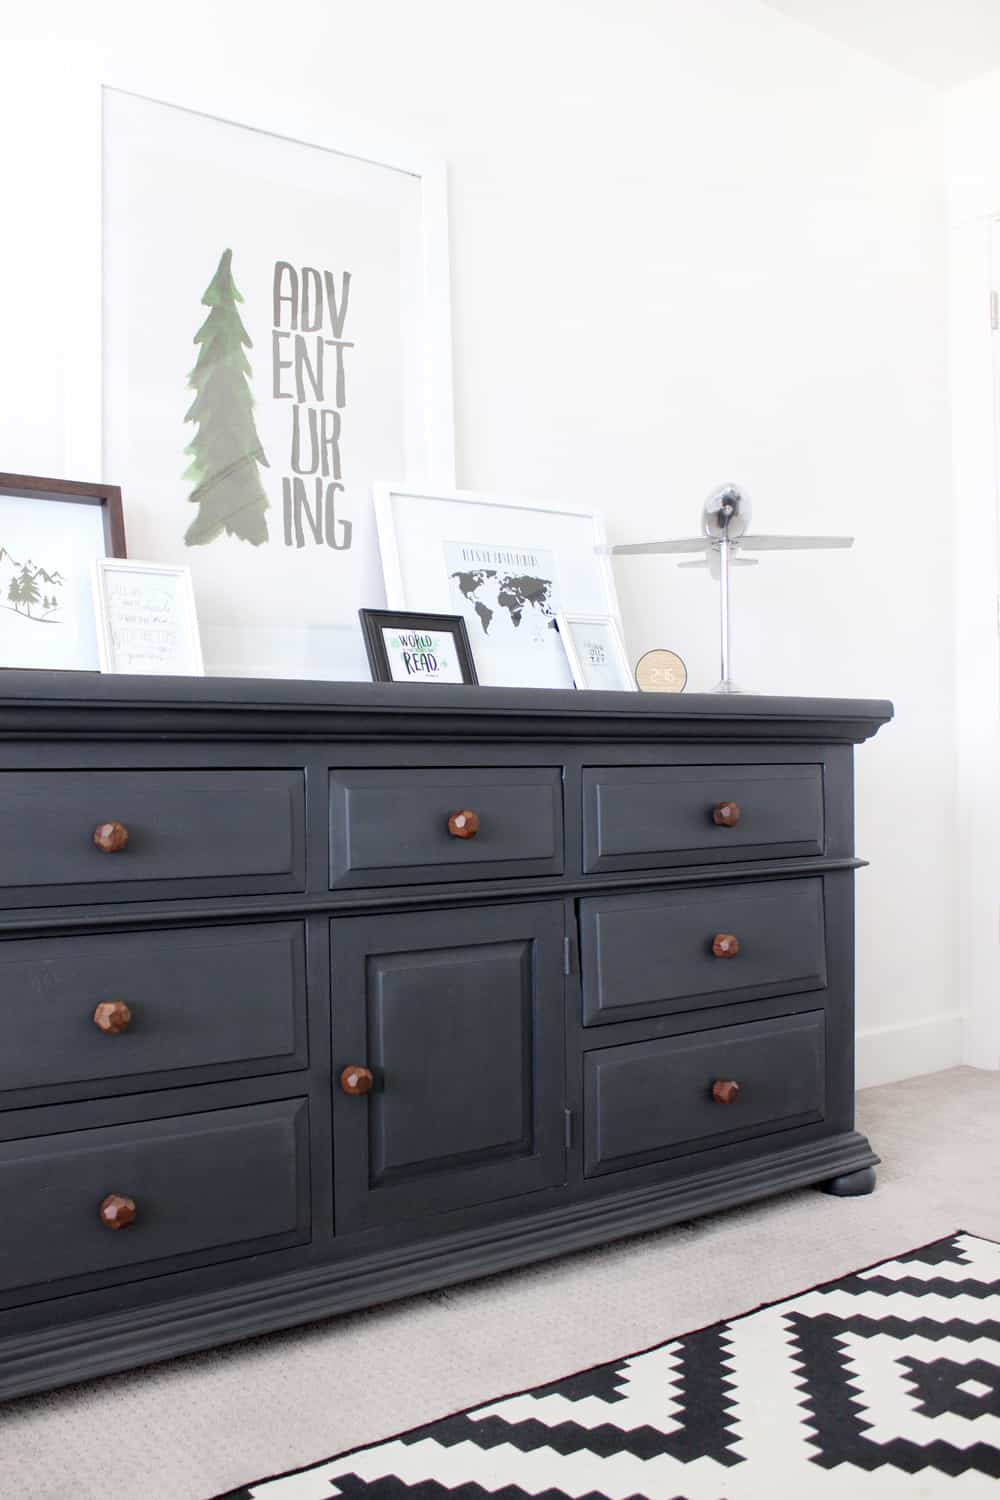
Use good prep, two thin coats of chalk paint, light sanding, then wax or seal.
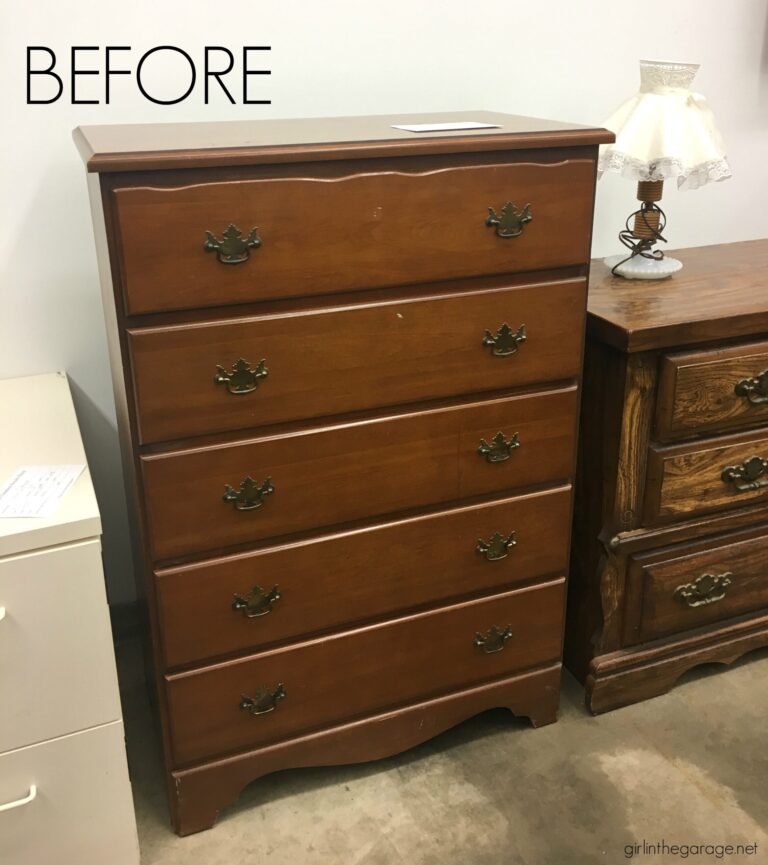
I have refinished dozens of dressers and taught workshops on how to paint a dresser with chalk paint. This guide walks you from prep to finish with clear steps, pro tips, and real mistakes I made so you don’t repeat them. Read on to learn simple, reliable methods that save time and give a long-lasting finish when you paint a dresser with chalk paint.
Materials and tools you will need
Here are the basics to paint a dresser with chalk paint. Gather these before you start to keep the job smooth.
- Chalk paint in your chosen color, plus a small jar for mixing.
- Clear wax and dark wax (optional) or water-based topcoat.
- Sandpaper: 120 and 220 grit.
- Tack cloth or lint-free cloths.
- Brushes: a 2–3 inch flat brush and a small round brush for details.
- Foam roller for smooth, flat panels.
- Screwdriver to remove hardware.
- Drop cloths and painter’s tape.
- Protective gloves and mask.
I always keep an extra small brush for trim. That saved me when a bead of paint pooled in a corner. When you plan to paint a dresser with chalk paint, having the right tools makes the process simpler and the results cleaner.
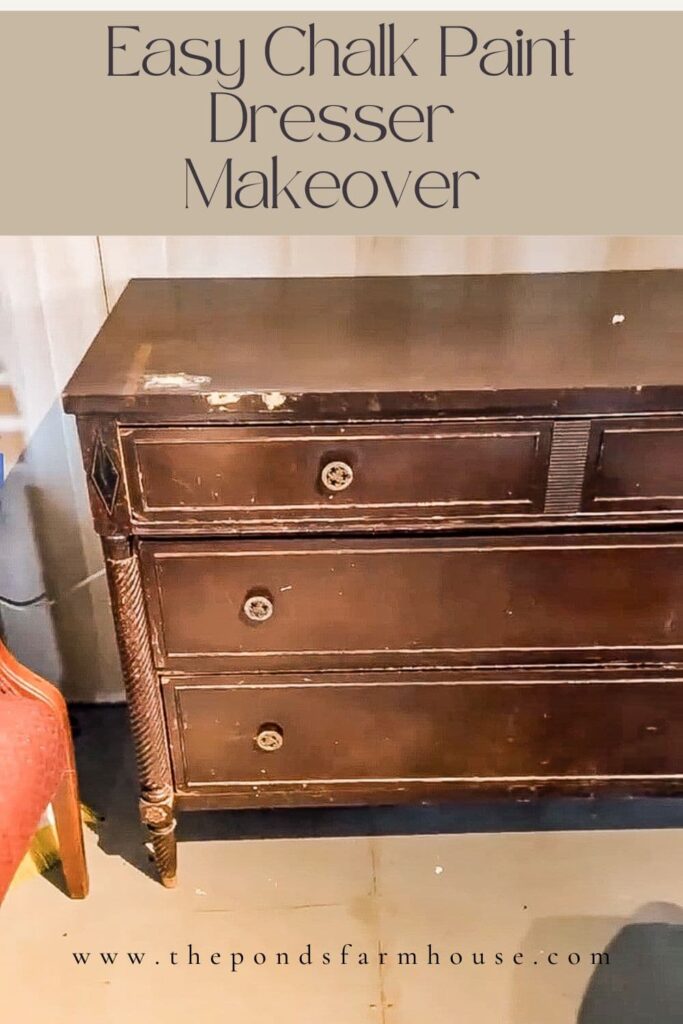
How to prepare a dresser for chalk paint
Good prep is the step that decides the final look. Spend time here and you will thank yourself later.
- Clear the area and place the dresser on a drop cloth.
- Remove all hardware and take out drawers.
- Clean every surface with a mild degreaser or TSP substitute. Rinse and dry well.
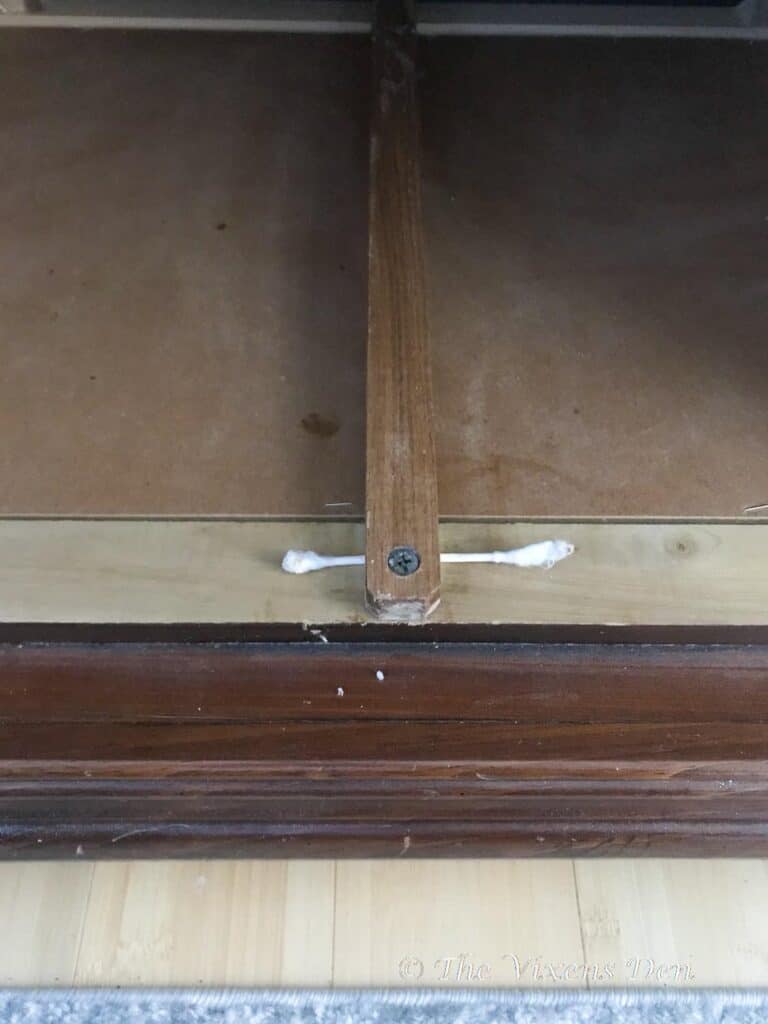
- Inspect for loose veneer or cracks. Use wood glue or filler to fix them.
- Lightly sand glossy finishes with 120 grit to scuff the surface.
- Wipe with a tack cloth to remove dust.
In my early projects, I skipped sanding and learned the hard way: paint peeled at corners. When you paint a dresser with chalk paint, even light sanding helps adhesion and reduces brush marks.

Step-by-step: how to paint a dresser with chalk paint
Follow these steps for a durable, attractive finish. Keep coats thin and work methodically.
- Prime (optional)
- Use a shellac-based primer if there are stains or tannin bleed. Most chalk paints adhere without primer, but primer can block stains and dark wood knots.
- First coat
- Stir the chalk paint gently. Apply thin, even strokes with a flat brush or foam roller. Paint panel faces first, then edges and trim. Thin coats dry faster and brush marks level out.
- Light sanding between coats
- After the first coat dries, sand very lightly with 220 grit to remove dust nibs. Wipe clean.
- Second coat
- Apply a second thin coat. Two coats often give full coverage. Allow full dry time per paint instructions.
- Detail work
- Use a small round brush for corners and carved areas. Remove excess paint from crevices with a damp cloth before it sets.
- Seal
- Choose wax for a soft, matte look or a water-based clear coat for durability. Apply wax with a rag or brush in small sections and buff. Apply topcoat in thin, even passes and allow to cure.
When you paint a dresser with chalk paint, patience between coats pays off. I let pieces dry overnight when humidity is high. That prevents tacky finishes and uneven sheen.
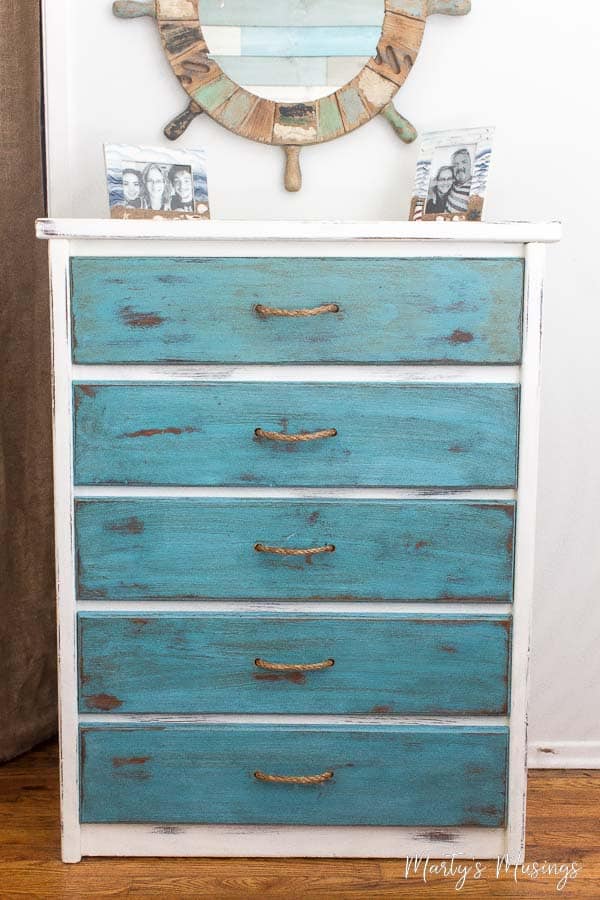
Techniques for distressing and glazing
Distressing adds personality. Glazing emphasizes edges and detail. Use gentle techniques for a natural result.
- Distress with sandpaper on corners and edges. Go light and build up the look slowly.
- Use a damp cloth to wipe small areas for a soft worn effect.
- Apply dark glaze or diluted paint into crevices. Wipe the excess with a cloth to keep it subtle.
- Seal the distressed areas with clear wax or topcoat to lock them in.
I once over-sanded the front edges of a dresser. It looked inconsistent. Now I sand in small strokes and step back often. When you paint a dresser with chalk paint and plan to distress it, experiment on a hidden spot first.

Troubleshooting common issues
Problems happen. Here are quick fixes that work.
- Brush marks
- Sand lightly and add another thin coat, using a foam roller for flat areas.
- Uneven coverage
- Apply a third thin coat or spot-prime dark areas before repainting.
- Tackiness after sealing
- Allow more cure time and ensure you used the correct product for your paint. Wax cures slower.
- Paint peel or flake
- Check that surface was clean and sanded. Strip failed spots, re-prime if needed, and repaint.
When you paint a dresser with chalk paint, most issues trace back to prep or thick coats. Fixing the root makes the repair last.
Maintenance and care tips
Caring for your dresser keeps the finish looking fresh for years.
- Dust with a soft cloth. Avoid abrasive cleaners.
- For waxed surfaces, re-wax every 6–12 months in high-use areas.
- For sealed surfaces, use mild soap and water. Dry promptly.
- Use felt pads under objects to prevent scratches.
I keep a small can of wax with my tools. A quick buff every few months keeps pieces bright. If you paint a dresser with chalk paint, plan simple upkeep when you choose wax or topcoat.

Pro tips, tricks, and lessons learned
These are things I wish I knew earlier. They save time and improve results.
- Thin paint for smoother application by adding a teaspoon of water at a time.
- Keep a test board. Try color and distressing before committing.
- Label drawer bottoms so reassembly is fast and accurate.
- Work in a well-lit area to catch missed spots.
- If you want a satin look but love waxing, use a matte topcoat under wax for durability.
My workshops often show one small trick that changes everything: a foam roller under the final coat eliminates most brush strokes on flat drawer faces. When you paint a dresser with chalk paint, small hacks like this give pro results.
Frequently Asked Questions of how to paint a dresser with chalk paint
How long does it take to paint a dresser with chalk paint?
Most projects take 1–3 days. This includes prep, two coats, and sealing. Dry and cure times vary by product and humidity.
Do I need to prime before I paint a dresser with chalk paint?
Primer is optional for most chalk paint projects. Use primer for stained wood, heavy knots, or to block strong colors.
Can I use a topcoat instead of wax when I paint a dresser with chalk paint?
Yes. A water-based topcoat offers better durability and easier cleaning than wax. Wax gives a softer, more vintage feel.
How do I get smooth finishes when I paint a dresser with chalk paint?
Apply thin coats, sand lightly between coats, and use a foam roller for flat areas. Patience and thin layers create smooth results.
Can I paint over veneer when I paint a dresser with chalk paint?
Yes, but check for lifting or loose edges first. Secure veneer with glue, sand lightly, and then paint for best adhesion.
Conclusion
You now have a clear, step-by-step path to transform a dresser by learning how to paint a dresser with chalk paint. Focus on prep, use thin coats, and choose the right sealer for your lifestyle. Try one small project this weekend, and use the tips here to avoid common mistakes. If this guide helped, leave a comment, share your before-and-after photos, or subscribe for more hands-on DIY tips.