Clean, sand, prime, and paint your dresser in thin coats, then let each coat cure fully.
Learning how to repaint a dresser can turn a tired piece of furniture into a fresh focal point. With the right prep, paint, and patience, you can get a smooth finish that looks polished rather than rushed. This guide explains the full process, including which supplies to use, how to avoid common mistakes, and how to make the new finish last.
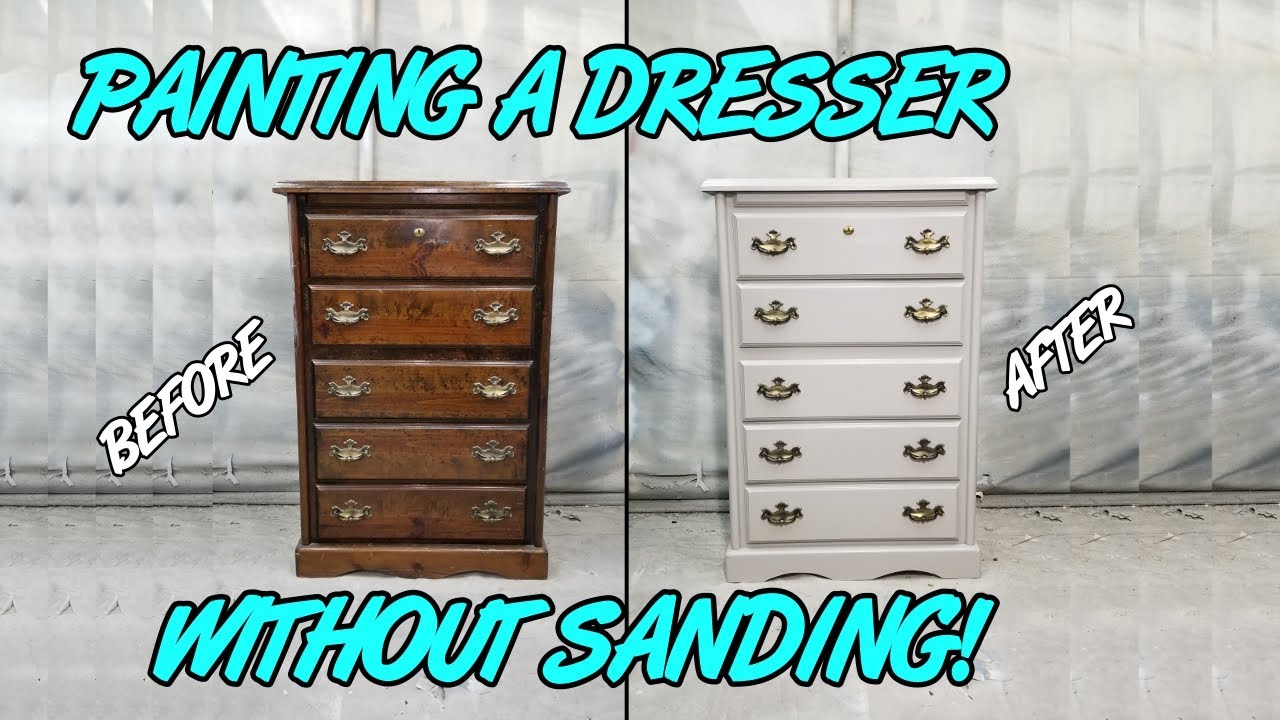
Why Repaint a Dresser?
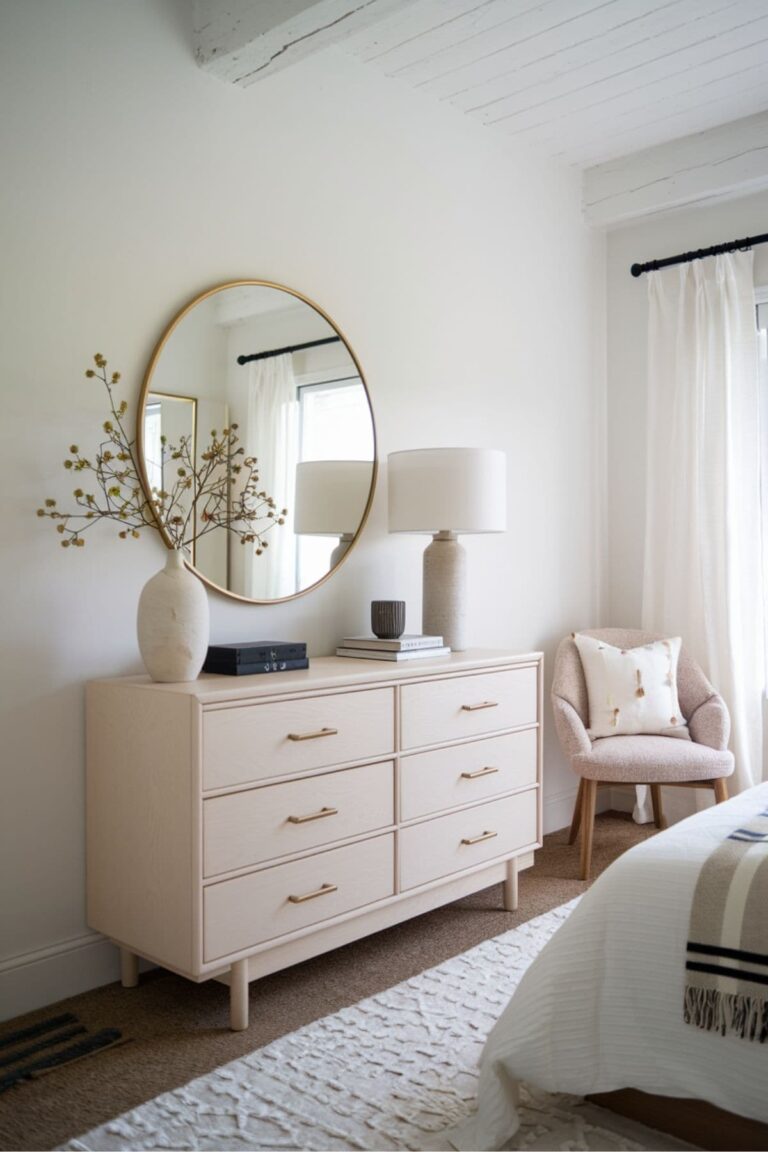
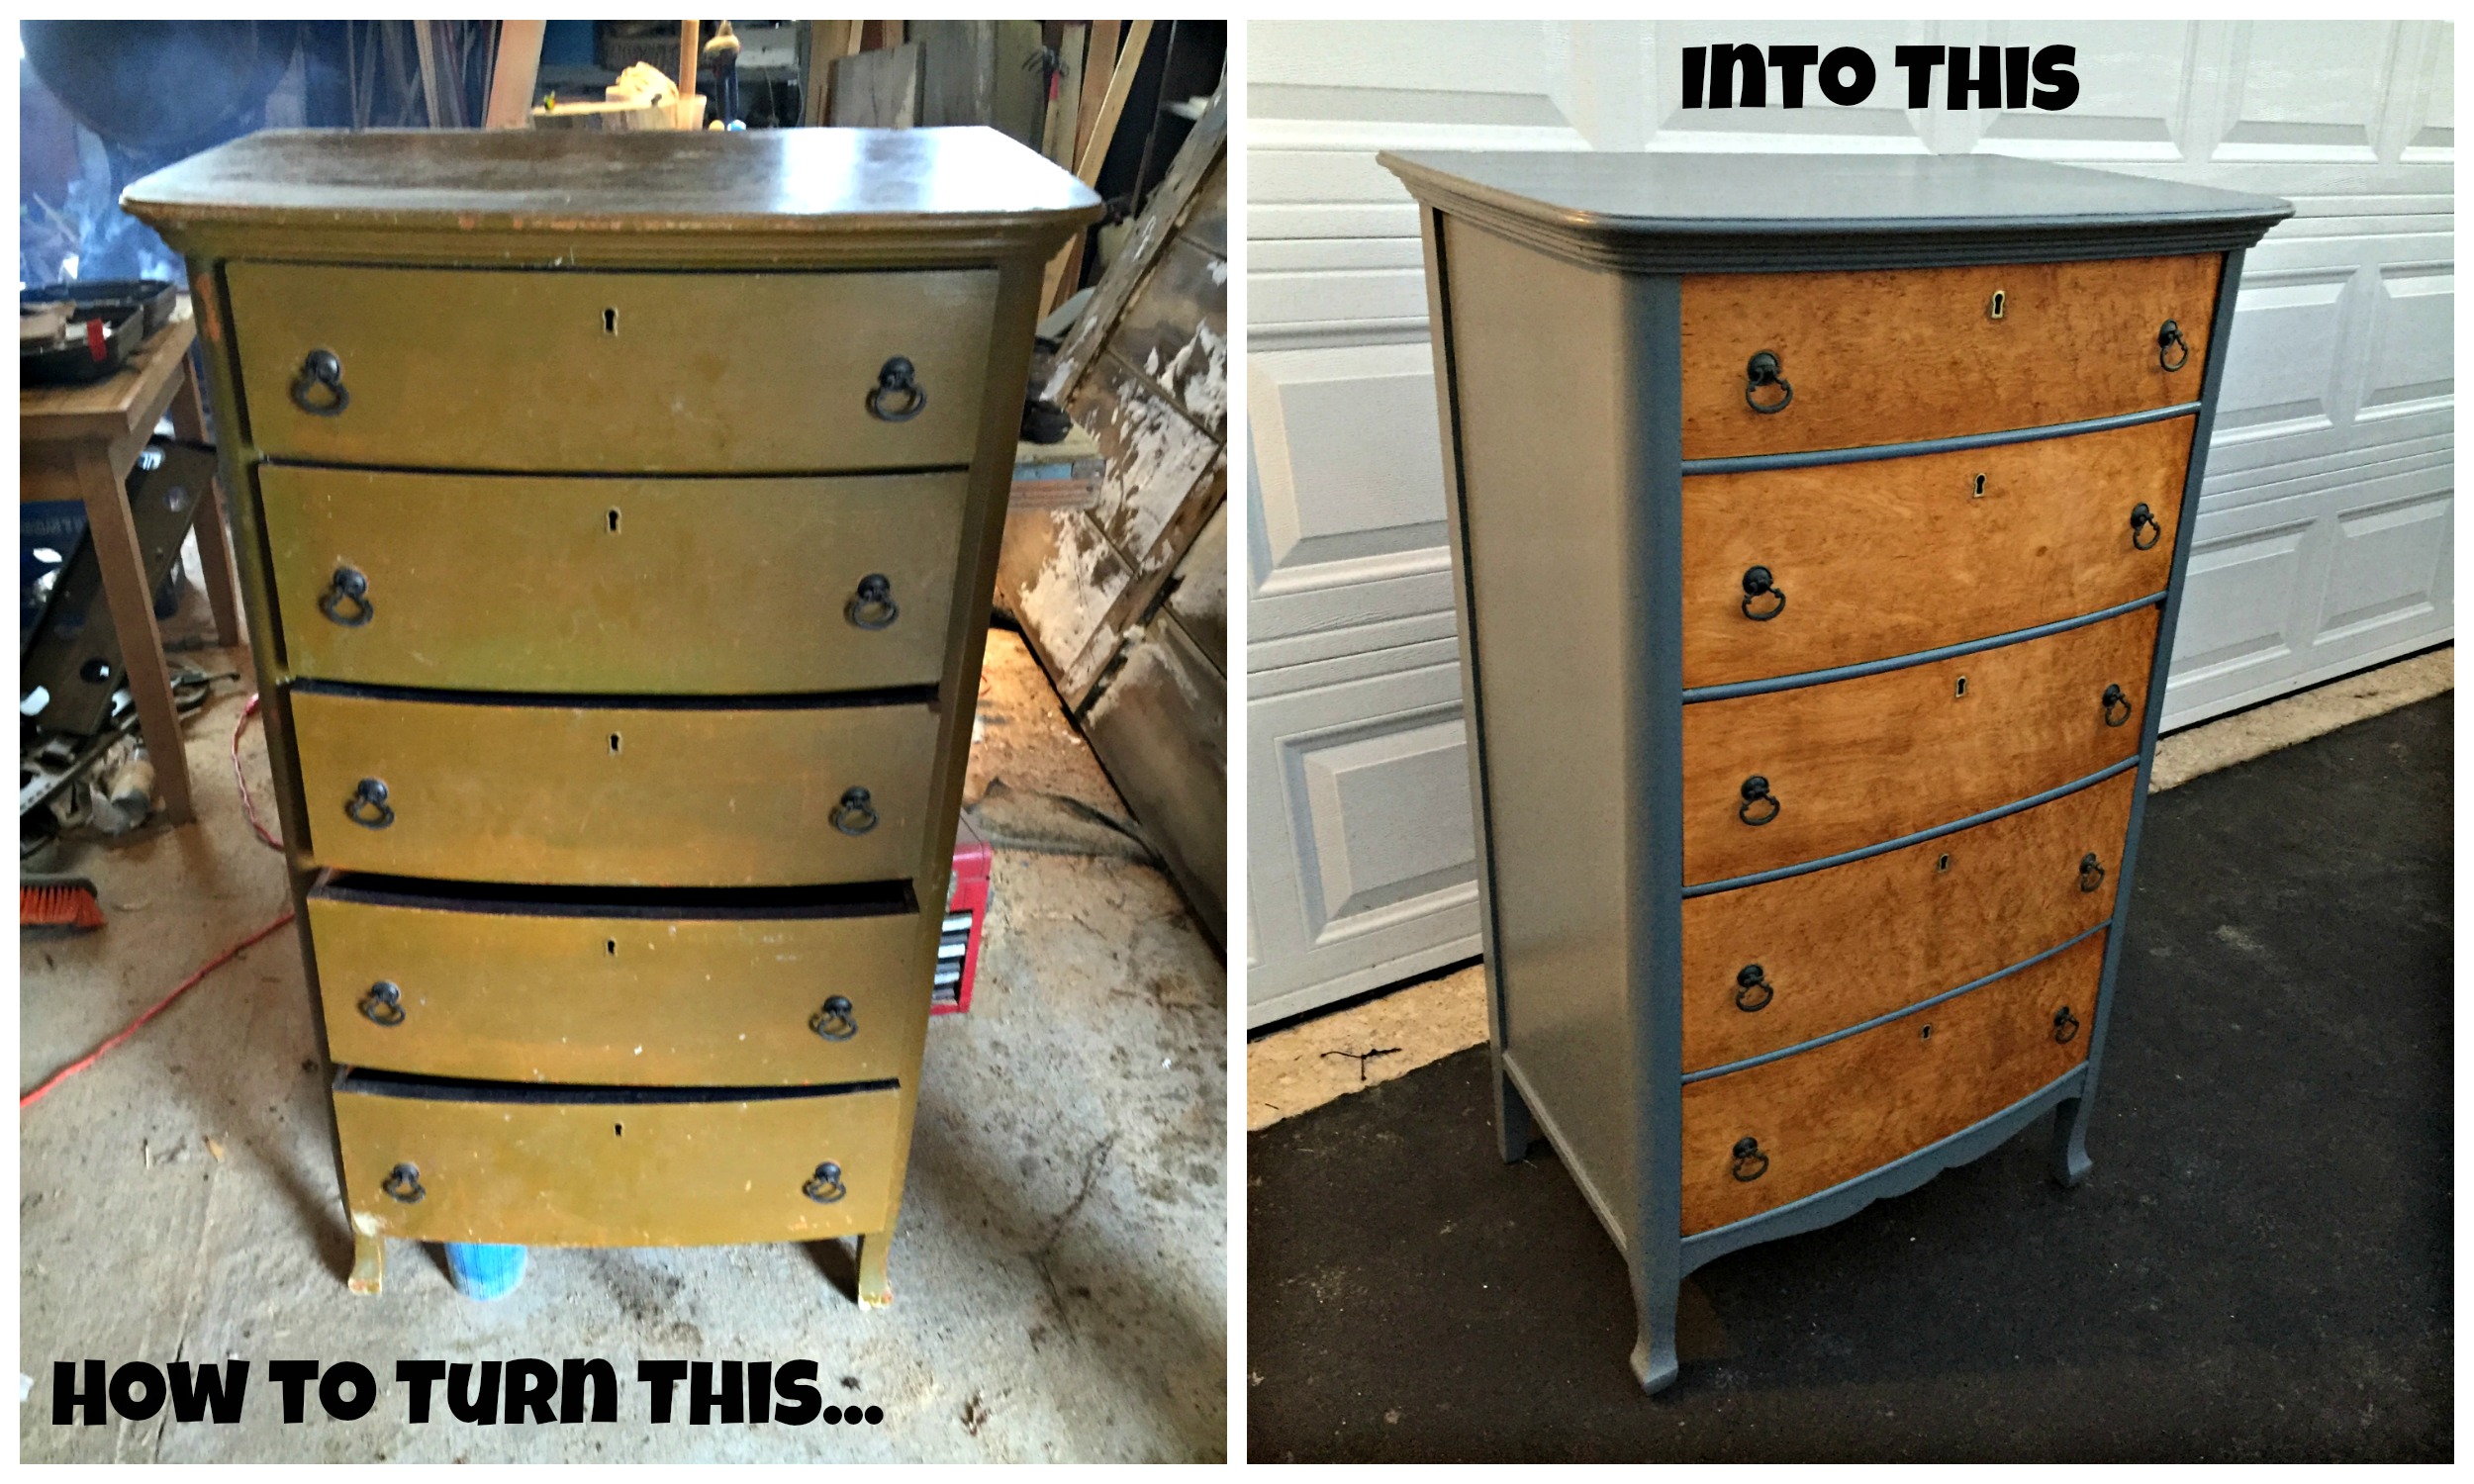
Repainting a dresser is one of the simplest ways to update a bedroom, guest room, nursery, or entryway. It costs less than buying new furniture and lets you choose a color that fits your style.
A painted dresser can also hide light scratches, faded stain, and small surface flaws. However, paint will not fix loose joints, swollen wood, or deep damage. Repair those problems before you begin.
The best results come from treating the dresser like a small restoration project. Think of the paint as the final layer of a sandwich. The finish can only be as good as the surface underneath it.
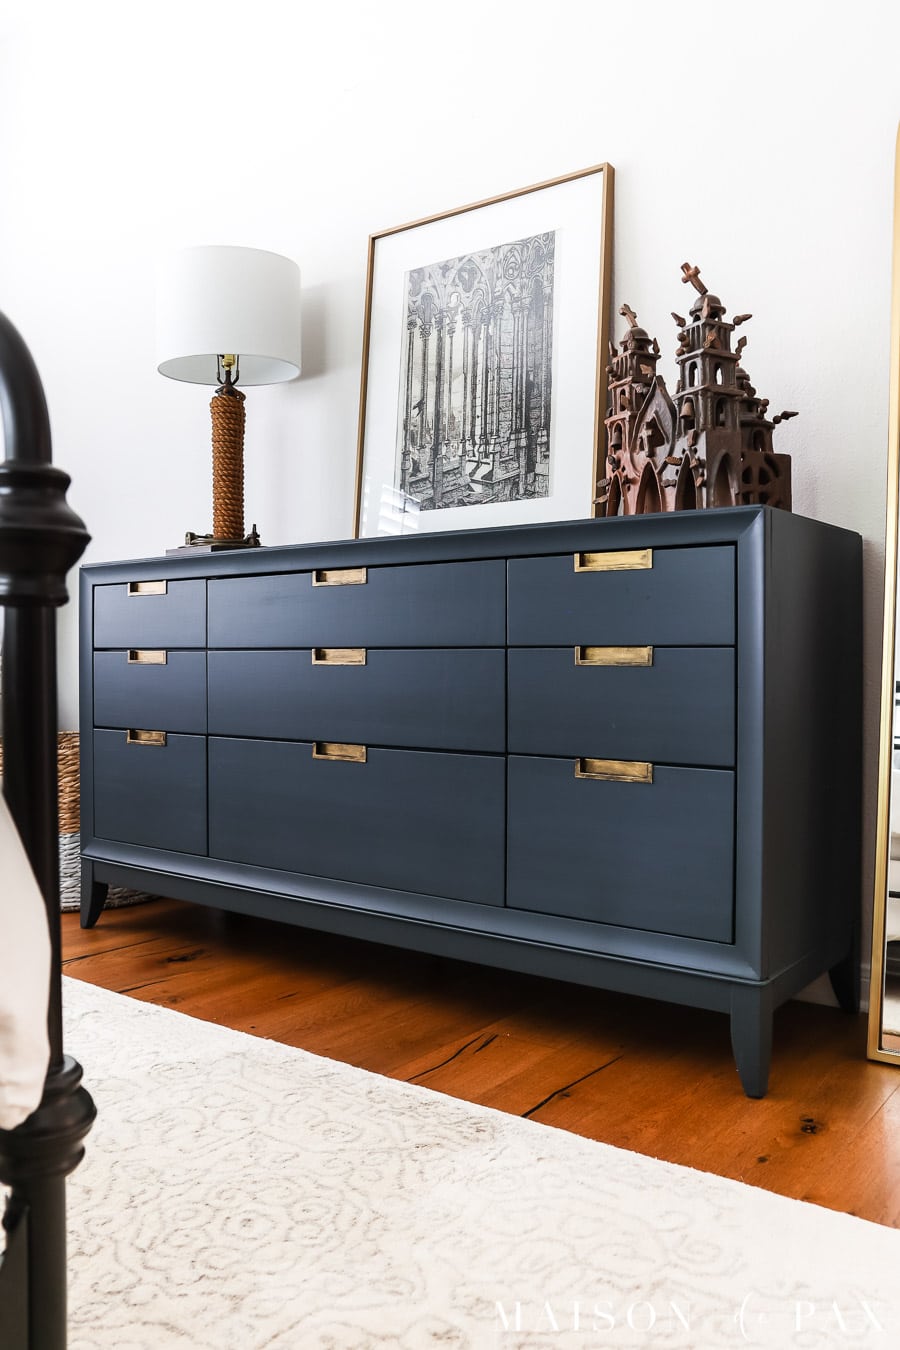
Supplies You Need
Before learning how to repaint a dresser, gather all your tools. Having everything ready keeps the work area clean and prevents rushed decisions.
Basic supplies
• Screwdriver or drill
• Drop cloth or cardboard
• Mild dish soap or wood-safe cleaner
• Clean water and lint-free cloths
• Wood filler
• Putty knife
• Sandpaper in 120, 180, and 220 grit
• Tack cloth or a clean microfiber cloth
• Bonding primer
• Cabinet, furniture, or acrylic-latex paint
• High-quality angled brush
• Small foam roller
• Paint tray
• Painter’s tape
• Nitrile gloves
• Safety glasses and a dust mask
Choose a paint made for furniture, cabinets, or trim. These paints often level well and resist daily wear better than basic wall paint.
Water-based products are usually easier to clean and produce less odor. Oil-based products can create a hard finish, but they dry slowly and need stronger cleanup products. Always read the label for drying time, ventilation, and recoat instructions.

How to Prepare a Dresser for Paint
Good preparation is the most important part of how to repaint a dresser. Skipping it may save an hour at the start, but it can cause peeling, brush marks, and rough texture later.
1. Remove the hardware
Take off all knobs, pulls, and drawer handles. Remove the drawers if possible, and label them with small pieces of painter’s tape. For example, mark one drawer “top left” and another “bottom right.”
Place screws and hardware in a small bag. This simple step prevents the frustrating search for missing parts at the end.
2. Clean every surface
Dressers collect dust, skin oils, polish, and furniture wax. Paint will not bond well to a greasy surface.
Wash the dresser with warm water and a small amount of mild dish soap or a suitable degreaser. Wipe it again with clean water, then let it dry fully. Do not soak unfinished wood or leave moisture around joints.
If the dresser has an unknown old finish, work in a well-ventilated space. Older furniture may contain lead-based paint. In homes built before 1978, the U.S. Environmental Protection Agency recommends lead-safe practices and testing before disturbing old painted surfaces.
3. Repair damage
Fill dents, holes, and deep scratches with wood filler. Press the filler into the damaged area, scrape away the extra, and let it dry according to the label.
Once dry, sand the repair until it feels level. If a drawer is loose or a leg wobbles, repair it before painting. A beautiful color cannot hide a structural problem.
4. Sand the finish
You do not always need to sand a dresser down to bare wood. The goal is to remove shine and create a surface the primer can grip.
Start with 120-grit sandpaper if the finish is rough or damaged. Use 180-grit paper for a sound finish, then lightly smooth the surface with 220-grit paper. Sand with the grain when working on exposed wood.
Wipe away dust with a vacuum and a slightly damp microfiber cloth. A tack cloth can pick up fine particles, but do not press it so hard that residue transfers to the surface.
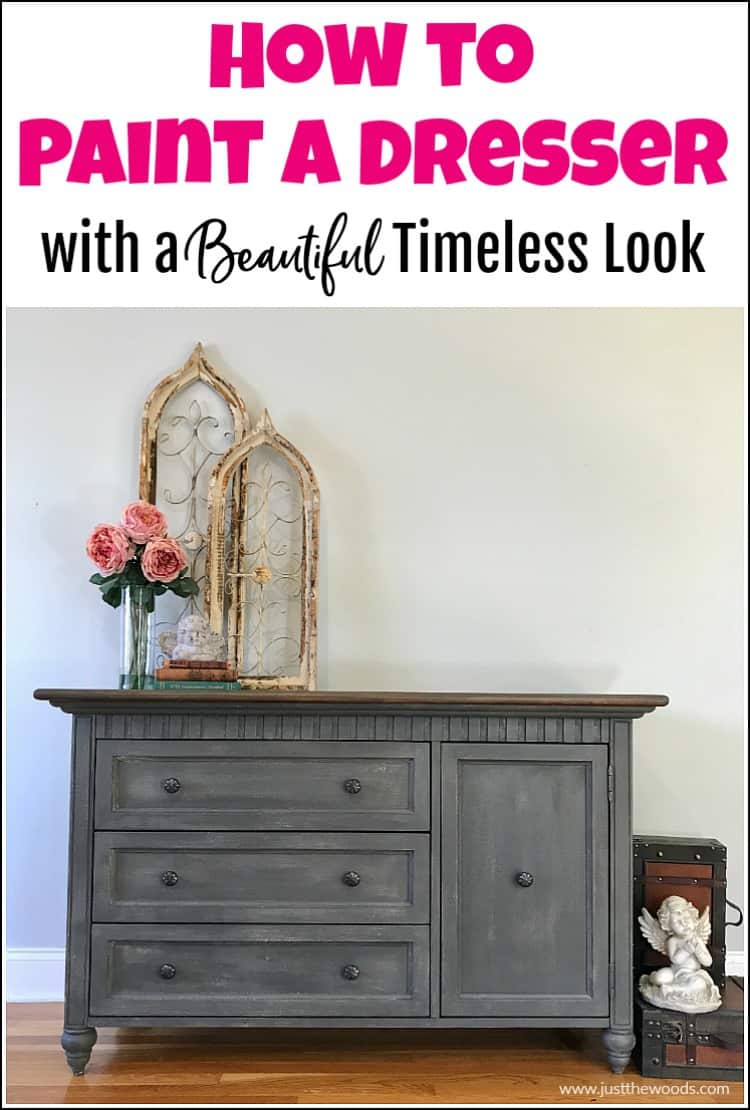
Choosing the Best Paint and Primer
The right primer and paint make how to repaint a dresser much easier. They also help prevent stains from showing through the new color.
Pick a suitable primer
Use a bonding primer for laminate, veneer, glossy paint, or smooth manufactured wood. A stain-blocking primer is useful when the dresser has dark wood, water marks, smoke odor, or knots.
Shellac-based primers block stubborn stains well, but they have a strong smell and require careful ventilation. Water-based primers are easier to use and clean up, but they may need more than one coat on difficult surfaces.
Test your primer on a hidden area if you are unsure about adhesion. Let it dry, then scratch the spot lightly with your fingernail. If the primer lifts easily, clean and sand the surface again or choose a stronger bonding product.
Pick a durable paint
Good options include:
• Furniture paint for a simple, low-fuss project
• Acrylic-latex enamel for a durable water-based finish
• Cabinet paint for a smooth, hard-wearing surface
• Chalk-style paint for a soft, matte look with less prep
Chalk-style paint is not magic. It may reduce sanding for some projects, but the surface still needs cleaning. It also usually needs a protective topcoat, especially on a dresser that receives regular use.
Choose satin or semi-gloss if you want easy cleaning. Matte paint can look elegant, but it may show fingerprints and scuffs more easily.
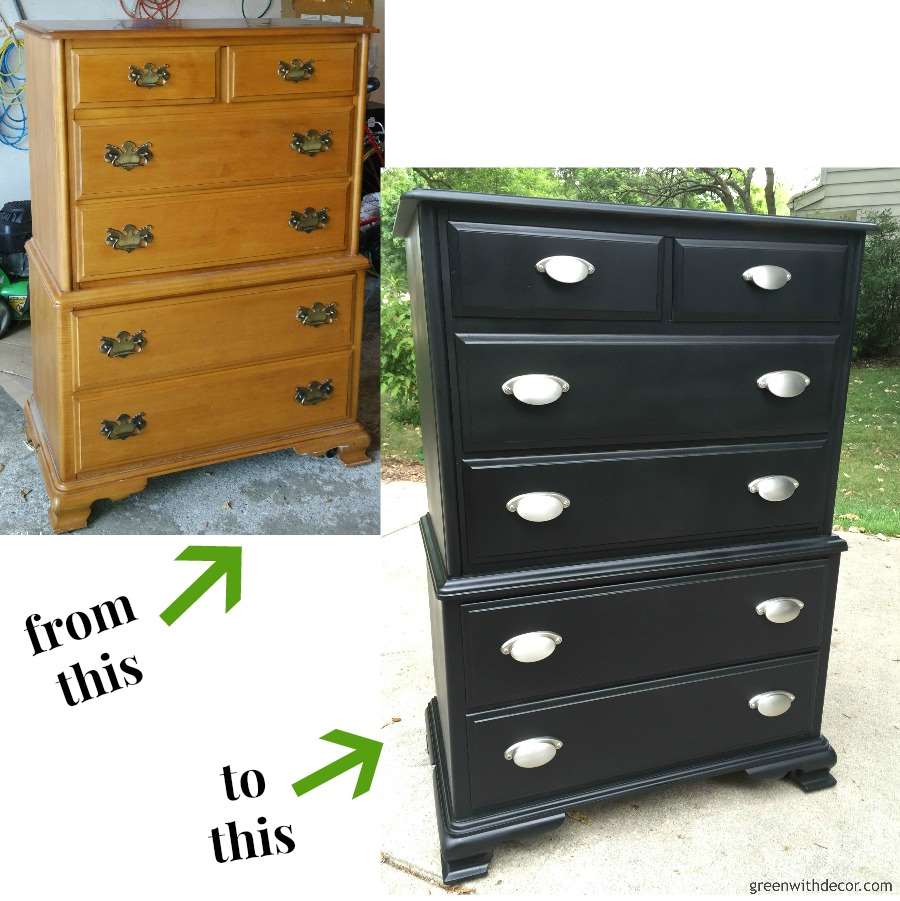
How to Repaint a Dresser Step by Step
Now you are ready to follow the main process. The secret to how to repaint a dresser is using thin coats and allowing enough drying time between them.
1. Set up a safe work area
Place the dresser on a drop cloth in a dry, dust-free space. Open windows or use fans for ventilation, but avoid strong airflow directly across wet paint.
Keep pets and children away from the work area. Wear gloves and eye protection, and follow every safety warning on the product label.
2. Apply primer
Stir the primer gently. Avoid shaking the can because shaking can create bubbles.
Use a brush for corners, edges, and carved details. Use a foam roller on broad, flat areas. Apply a thin, even layer instead of trying to cover everything in one pass.
Let the primer dry for the time listed on the label. If the surface feels rough, sand it lightly with 220-grit paper. Remove the dust before applying paint.
3. Apply the first coat of paint
Stir the paint from the bottom of the can. Load your brush lightly and spread the paint in long, smooth strokes.
Do not keep brushing an area after it begins to dry. Overworking the paint can create ridges and visible brush marks. A small foam roller can give flat drawer fronts a smooth look, while a brush works better around edges.
Paint drawer fronts separately when possible. Keep the drawers slightly open or place them on painter’s pyramids so paint does not seal them shut.
4. Apply a second coat
Most dressers need two coats of paint. Dark colors, bright colors, and pale paint over dark wood may need a third coat.
Wait until the first coat is dry enough for recoating. “Dry to the touch” does not always mean “ready for another coat.” Follow the product label, since temperature and humidity affect drying time.
Use the same thin application method for the second coat. Check the surface from different angles so you can spot missed edges or uneven coverage.
5. Inspect the finish
Look for drips, dust, thin areas, and paint buildup around corners. Fix small problems after the paint has dried enough to sand.
If you find a rough spot, sand it gently with 220-grit paper, remove the dust, and touch it up. Do not rush to apply a thick patch. Thin repairs blend better.
6. Add a protective finish
A topcoat is helpful on high-use furniture. It can protect against water rings, scratches, and everyday handling.
Use a compatible water-based polyurethane, furniture wax, or clear furniture topcoat. Test it first on a hidden area because some products can change a pale color slightly.
Apply the topcoat in thin layers. A thick clear coat may stay tacky, show brush marks, or turn cloudy. Let the dresser cure before placing heavy items on it.
How to Paint Different Dresser Materials
Not every dresser has the same surface. Understanding the material helps you choose the right prep method.
Solid wood
Solid wood is usually forgiving. Clean it well, repair dents, sand the finish, and use primer if the wood is glossy or likely to bleed through.
Open-grain woods such as oak may show texture under paint. If you want a very smooth finish, apply a suitable grain filler before priming.
Wood veneer
Veneer is a thin layer of real wood attached to a core material. Sand it gently because aggressive sanding can cut through the veneer.
Do not soak veneer with cleaner or water. Once dry, use a bonding primer and light coats of paint.
Laminate or melamine
Laminate is smooth and can reject ordinary paint. Clean it carefully, scuff the shine with fine sandpaper, and use a high-adhesion primer.
Do not rely on paint alone for adhesion. Primer acts like a bridge between the slick surface and the new color.
Previously painted furniture
Check for peeling, cracking, or chalky paint. Scrape loose areas, sand the edges smooth, and clean away dust.
If the old paint may contain lead, stop before sanding. Use an appropriate test kit or contact a lead-safe professional for guidance.
Common Mistakes to Avoid
Many problems with how to repaint a dresser come from rushing the early steps.
• Painting over grease or furniture polish can cause peeling.
• Skipping primer can allow stains and wood tannins to bleed through.
• Using thick coats can create drips and long drying times.
• Reassembling the dresser too soon can leave dents and fingerprints.
• Sanding too aggressively can damage veneer.
• Painting drawer runners can make drawers stick.
• Using cheap, worn brushes can leave loose bristles in the finish.
• Applying a topcoat before the paint cures can cause cloudiness or tackiness.
One lesson I often share with DIY painters is to protect the drawer slides and runners. Paint buildup in those areas can change the fit by only a small amount, yet the drawer may feel stiff every time you use it.
Another useful lesson is to test the color in the room. A paint chip can look different beside warm wood floors, cool gray walls, or bright daylight. Paint a small hidden area first and view it at different times of day.

How Long Does It Take to Repaint a Dresser?
A small dresser may take a weekend, while a large or damaged piece can take several days. The actual painting may take only a few hours, but drying and curing require patience.
A typical schedule looks like this:
• Day one: clean, repair, sand, and prime
• Day two: apply the first and second paint coats
• Day three: add a topcoat and reinstall the hardware
Drying time and curing time are different. Paint may feel dry within hours, but it can take days or weeks to reach full hardness. Avoid placing heavy objects on the dresser or stacking items in the drawers until the finish feels firm.
Temperature and humidity also matter. Most water-based paints perform best in moderate conditions, often around 50 to 90 degrees Fahrenheit, but always follow the label for the exact product.
How Much Does It Cost to Repaint a Dresser?
The cost depends on the supplies you already own and the condition of the dresser. A basic project may cost about $30 to $80 for cleaner, sandpaper, primer, paint, and a few tools.
Your budget may increase if you need:
• Specialty stain-blocking primer
• New knobs or pulls
• Wood repair products
• A clear protective finish
• A sander or other equipment
• Professional lead-safe preparation
Repainting is often less expensive than replacing a quality dresser. It also keeps usable furniture out of the landfill and gives you control over the style, color, and hardware.
The limitation is time. If the dresser needs major repairs, professional restoration may be more practical than a quick weekend makeover.
Care Tips for a Newly Painted Dresser
Proper care helps the finish stay attractive for years.
Clean the dresser with a soft, damp cloth and mild soap. Avoid abrasive powders, rough scrub pads, and strong solvents unless the finish manufacturer approves them.
Use coasters or small mats under items that may leak or scratch. Open and close drawers by their handles rather than pulling on painted edges.
If a small chip appears, save a little leftover paint in a sealed container. Write the paint color and finish on the lid. A small touch-up is much easier when you do not need to match the color later.
Frequently Asked Questions About How to Repaint a Dresser
Do I need to sand a dresser before painting?
Usually, yes. Light sanding removes shine and helps primer bond, even when you do not sand down to bare wood. Always clean the surface first, and sand veneer gently to avoid damaging it.
Can I repaint a dresser without primer?
Sometimes, but primer is the safer choice. Use it when the surface is glossy, laminate, dark, stained, or likely to bleed through the paint.
What type of paint is best for a dresser?
Furniture paint, cabinet enamel, and acrylic-latex enamel are common choices. Select a product with good adhesion and durability, then match the sheen to your cleaning needs and style.
How many coats of paint should a dresser have?
Most dressers need two thin paint coats after priming. A third coat may be needed for strong color changes or uneven coverage.
How long should I wait before using a repainted dresser?
Wait at least until the paint and topcoat are dry according to the product label. For heavy use, allow several days of curing time so the finish can harden.
Can I paint over a stained wood dresser?
Yes, but clean and sand it first, then use a stain-blocking primer. Without the right primer, wood tannins or old stains may bleed into the new paint.
How do I prevent brush marks?
Use a quality brush, apply thin coats, and avoid repeatedly brushing paint that has started to dry. A small foam roller can help create a smooth finish on flat surfaces.
Conclusion
Learning how to repaint a dresser is mostly about preparation, not speed. Clean the piece, repair damage, sand the surface, use the right primer, and apply several thin coats of durable paint. Give each layer enough time to dry and cure before putting the dresser back into daily use.
Start with a simple piece, work in a well-ventilated space, and test your products on a hidden area. With patience, even an outdated dresser can become a useful, personal piece that feels new again. Try your makeover, and share your color choice or results in the comments.