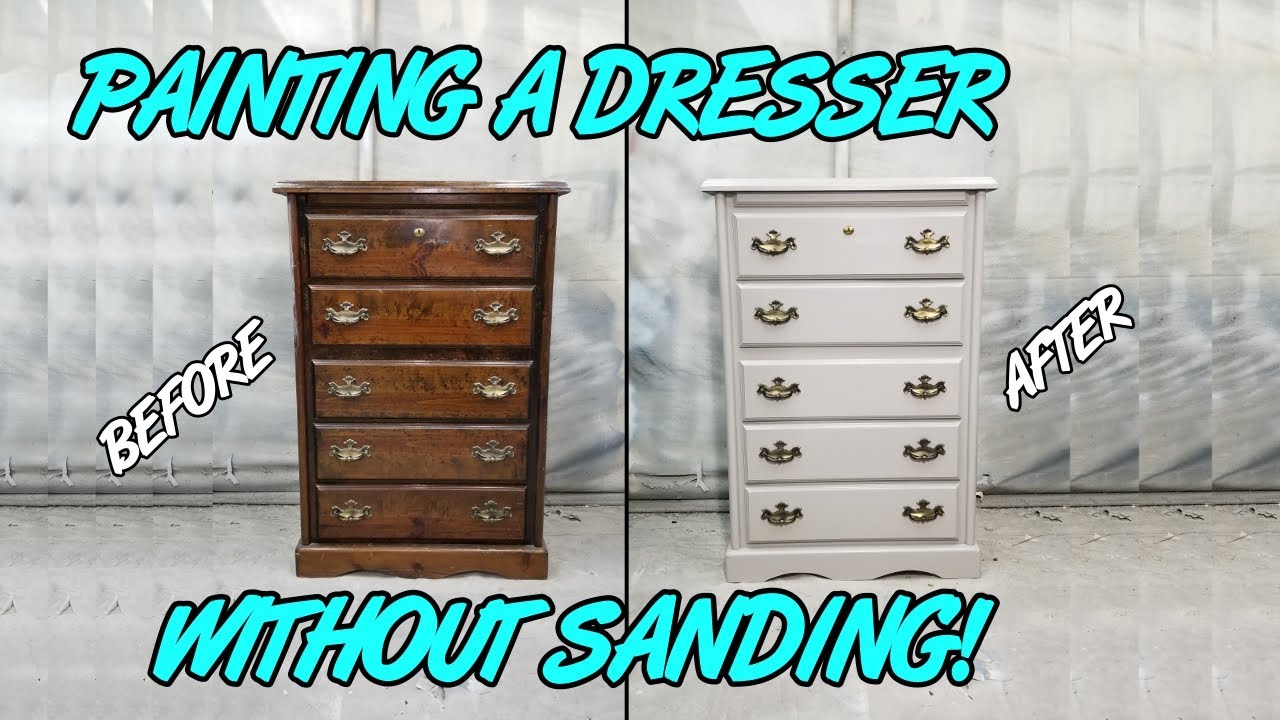
Repaint a dresser in a weekend with sanding, primer, two coats of paint, and a clear topcoat.
I’ve refinished many pieces over the years, and I’ll guide you through every step of how to repaint a dresser with clear, practical advice. You’ll learn what tools to buy, how to prep surfaces, which paints and primers work best, and how to avoid common mistakes. This guide balances hands-on tips from my projects with trusted best practices so you can get a durable, beautiful finish that looks like new.
Tools and materials you’ll need
Start with the right gear. Good tools make the job easier and the finish last longer.
- Sandpaper: 80, 120, 220 grit
- Orbital sander or sanding block
- Tack cloth or lint-free rags
- Paint scraping tool or putty knife
- Wood filler or putty
- Painter’s tape
- Screwdriver set to remove hardware and drawers
- Primer suitable for furniture (stain-blocking or bonding primer)
- Paint: latex, acrylic, or chalk paint depending on desired finish
- Brush set: synthetic bristle on latex, foam for smooth finish
- Mini foam roller for flat panels
- Clear topcoat: water-based polyurethane or clear wax
- Drop cloths and gloves
- Respirator mask and safety glasses
I learned to invest in a good sanding block and a foam roller. Cheap brushes create brush marks. A respirator saved me from headaches on long days.

Prep: cleaning and disassembly
Proper prep is half the job. Clean and remove what you can.
- Empty drawers and remove hardware.
- Clean surfaces with a mild degreaser or TSP substitute to remove oils and grime.
- Label drawers so they go back in the same order.
- Remove or tape glass, mirrors, or decorative elements.
Take photos before you remove hardware. This helps when reassembling. On one early project I forgot a small bracket and had to improvise. Labeling avoids that.

Repairing and sanding
Good sanding and small repairs make paint stick and look smooth.
- Start with 80 or 100 grit only for old varnish or badly scratched areas.
- Move to 120 grit to even the surface.
- Finish with 220 grit for a smooth base.
- Fill holes, dents, or gouges with wood filler and sand again when dry.
If the dresser has thick veneer or delicate trim, sand lightly by hand. I once sanded through a thin veneer. Take it slow on fragile areas. Always wipe with a tack cloth after sanding.
Stripping old finishes (when needed)
Not all dressers need chemical stripping, but some do.
- Use a stripper for thick lacquer, multiple old coats, or glossy varnish that won’t sand down easily.
- Apply stripper in a well-ventilated area. Follow product safety directions.
- Scrape softened finish carefully, then neutralize and clean residue.
If you can sand to dull the sheen, you might skip stripping. Stripper is messy and adds time, but it can be the right call for very old finishes.

Priming and choosing paint
Primer is the bridge between old wood and new paint. Don’t skip it.
- Use a stain-blocking bonding primer for water stains, knots, or tannin bleed.
- For laminate or glossy surfaces, choose a high-bonding primer.
- Apply one thin coat of primer and sand lightly with 220 grit after it dries.
Paint choices and how to repaint a dresser with each:
- Chalk paint: No primer often needed, easy to distress, needs wax or topcoat.
- Latex or acrylic: Durable and easy to clean, needs primer for raw wood or tannins.
- Oil-based: Very durable but slower to dry and higher odor; use primer compatible with oil.
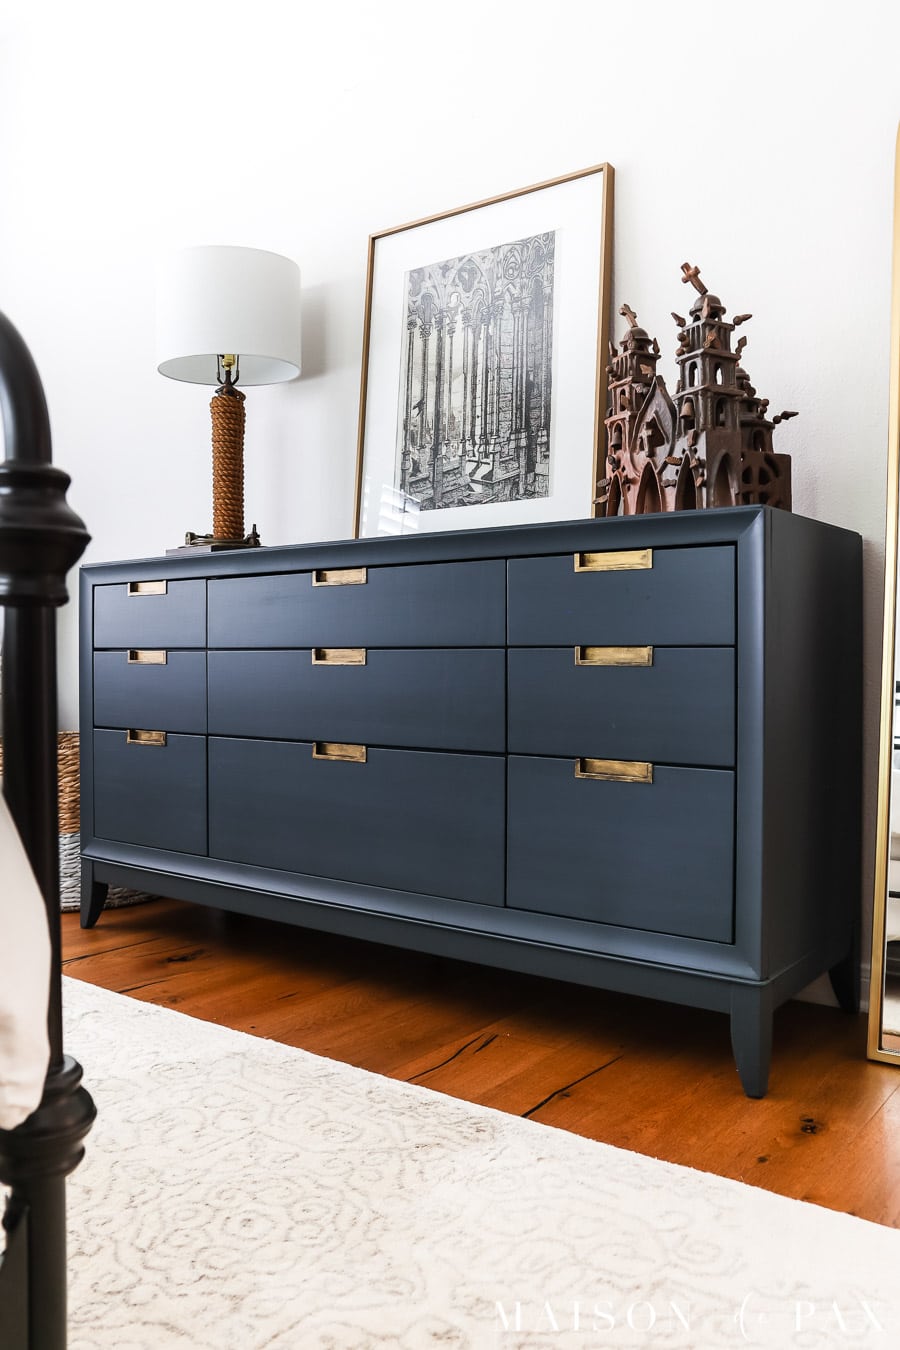
I prefer water-based enamel paint for dressers. It dries fast, cleans up easily, and gives a tough finish when sealed.
Painting step-by-step
Follow these steps to get a smooth finish when you repaint a dresser.
- Work in a clean, dust-free space. Lay drop cloths.
- Paint drawers separately on a pair of sawhorses or a table.
- Start with a thin first coat. Use a brush for crevices and a foam roller for flat panels.
- Let coats dry fully. Sand lightly with 220 grit between coats.
- Apply a second coat. Add a third coat if coverage needs improvement.
Use thin coats to avoid drips. One of my best drawers had three thin coats and no brush marks. Patience pays off.
Drying, curing, and topcoats
Paint may feel dry but still cure. Protect it properly.
- Wait at least 24 hours between coats, and longer in high humidity.
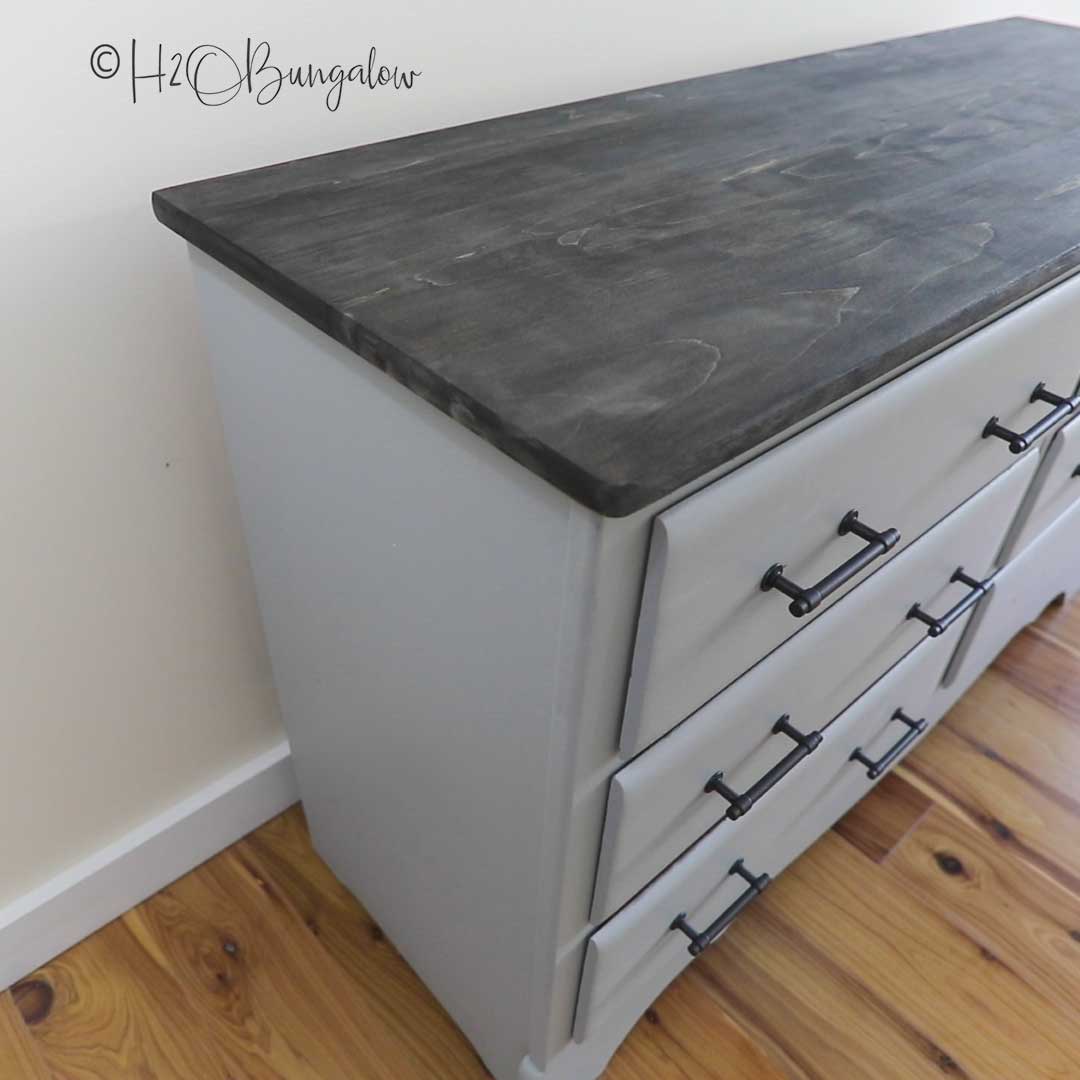
- After final paint coats, apply a clear topcoat for protection.
- Use water-based polyurethane for clear, non-yellowing protection on light colors.
- For a matte look, choose satin or matte poly or wax for chalk paint.
I let painted dressers cure for a week before heavy use. That extra time prevents scuffs and fingerprints.

Hardware and styling tips
Hardware and small details finish the look.
- Clean original hardware with a vinegar soak or light polish if you want vintage charm.
- Swap hardware for a modern look; measure before ordering new pulls.
- Distressing: sand edges lightly after paint dries for a worn finish.
- Stenciling or layering colors adds depth and a custom touch.
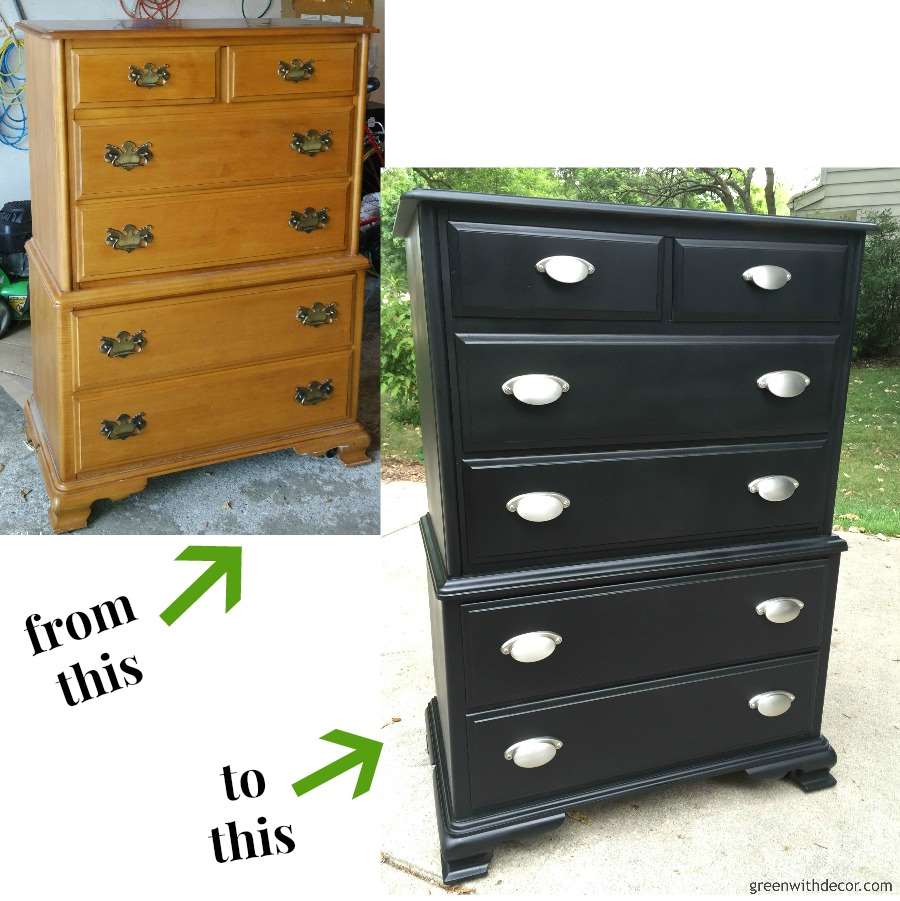
I once swapped brass knobs for matte black pulls and it transformed a dated piece into a modern showpiece.
Common mistakes and how to avoid them
Learn from common missteps to save time.
- Skipping primer can cause peeling or poor adhesion.
- Using too-thick coats leads to drips and long dry times.
- Painting in a dusty space traps grit in the finish.
- Not labeling drawers causes reassembly headaches.
When I rushed a project, brush marks and drips showed. Slowing down fixed that on my next dresser.
Troubleshooting and fixes
Simple fixes for common problems.
- Drips: sand smooth once cured and repaint that area.
- Peeling paint: sand back to sound edges and re-prime the raw area.
- Brush marks: sand between coats and use a foam roller for flats.
- Sticky drawers: add a wax rub or a strip of felt on the glide area.
If paint chips after a few days, check if you primed. Adhesion problems usually trace back to poor prep.
Frequently Asked Questions of how to repaint a dresser
How long does it take to repaint a dresser?
Most projects take 2–4 days, including drying times. Stripping or heavy repairs add extra time.
Do I need to remove old paint before repainting?
Not always. Sanding to scuff the surface often suffices unless the old paint is peeling or thick lacquer is present.
Which paint finish is best for a dresser?
Semi-gloss or satin finishes are easy to clean and durable. Matte or eggshell can hide imperfections but may need more care.
Can I use chalk paint without primer?
Yes. Chalk paint often adheres well to many surfaces and may not need primer, but a clear topcoat is recommended for durability.
How do I prevent painted drawers from sticking?
Let paint cure fully. Add felt pads or wax to drawer slides, or sand edges lightly if overpainted.
Is spray painting a dresser better than using brushes?
Spray gives a smooth finish fast, but it needs good ventilation and careful masking. Brushes plus a foam roller can match the finish with less equipment.
What topcoat should I use for light colors?
Use a water-based polyurethane to avoid yellowing. Test on a scrap piece first.
Can I repaint a laminate dresser?
Yes, with a high-bonding primer designed for laminate, followed by quality paint.
How often will a painted dresser need touch-ups?
With a good topcoat, touch-ups are rare. Expect light maintenance after several years with daily use.
Can I change the dresser color from dark to light without staining showing?
Yes, but use a stain-blocking primer to prevent old stains or tannins from bleeding through.
Conclusion
You can transform an old dresser by following clear steps: clean, sand, prime, paint, and protect. Start small, use thin coats, and give each layer time to dry. My hands-on projects taught me that slow, steady work beats rushing every time. Give it a try this weekend and enjoy a refreshed piece that matches your home. If this guide helped, try one dresser project and share your results or questions in the comments — I’d love to hear how your repainting goes.