How to paint a dresser: clean, sand, prime, paint, and seal for a smooth, durable finish.
I’ve painted dozens of dressers over the years, and I’ll walk you through how to paint a dresser step by step. This guide blends hands-on tips, common mistakes, and clear steps so you can refresh a dresser with confidence and great results.
Materials and tools you’ll need
To know how to paint a dresser well, gather the right supplies first. I always lay everything out before I start a project.
- Sandpaper: 80, 120, and 220 grit
- Tack cloth or lint-free rag
- Clean degreaser or TSP substitute
- High-quality brush and foam rollers
- Paint: latex, acrylic, or chalk paint
- Primer: stain-blocking if needed
- Topcoat: polyurethane or water-based sealer
- Painter’s tape and drop cloths
- Screwdriver and optional hardware replacer
- Respirator mask and gloves for safety
Why these matter: the right sandpaper and primer make your paint stick and last. I learned this the hard way when I skipped primer and had peeling paint later.

Prep work: the step that makes the finish last
Prep is 60% of how to paint a dresser well. Cut corners here and you’ll regret it later.
- Remove all hardware and drawers. Label drawers so reassembly is easy.
- Clean the surface with a degreaser. Remove wax and grease spots.
- Fill dents or gouges with wood filler. Let dry and sand smooth.
- Sand the dresser: start with 120 grit, then 220 for a smooth surface.
- Wipe with a tack cloth to remove dust.
Pro tip from my projects: I keep a bin for small screws and hardware. Losing one knob can stall the whole job. Use light pressure when sanding painted veneers to avoid rubbing through.
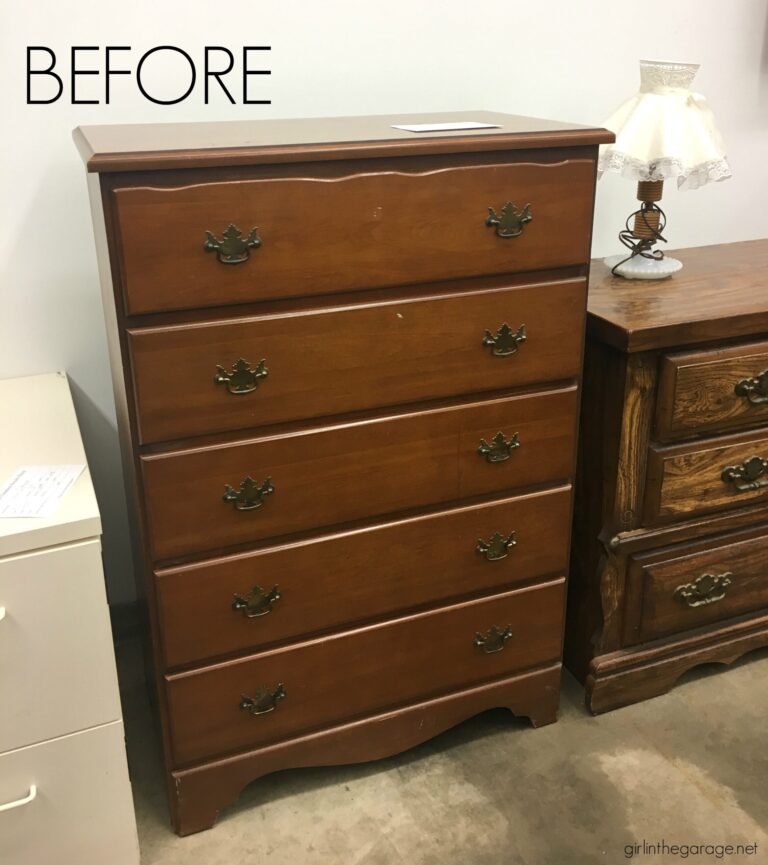
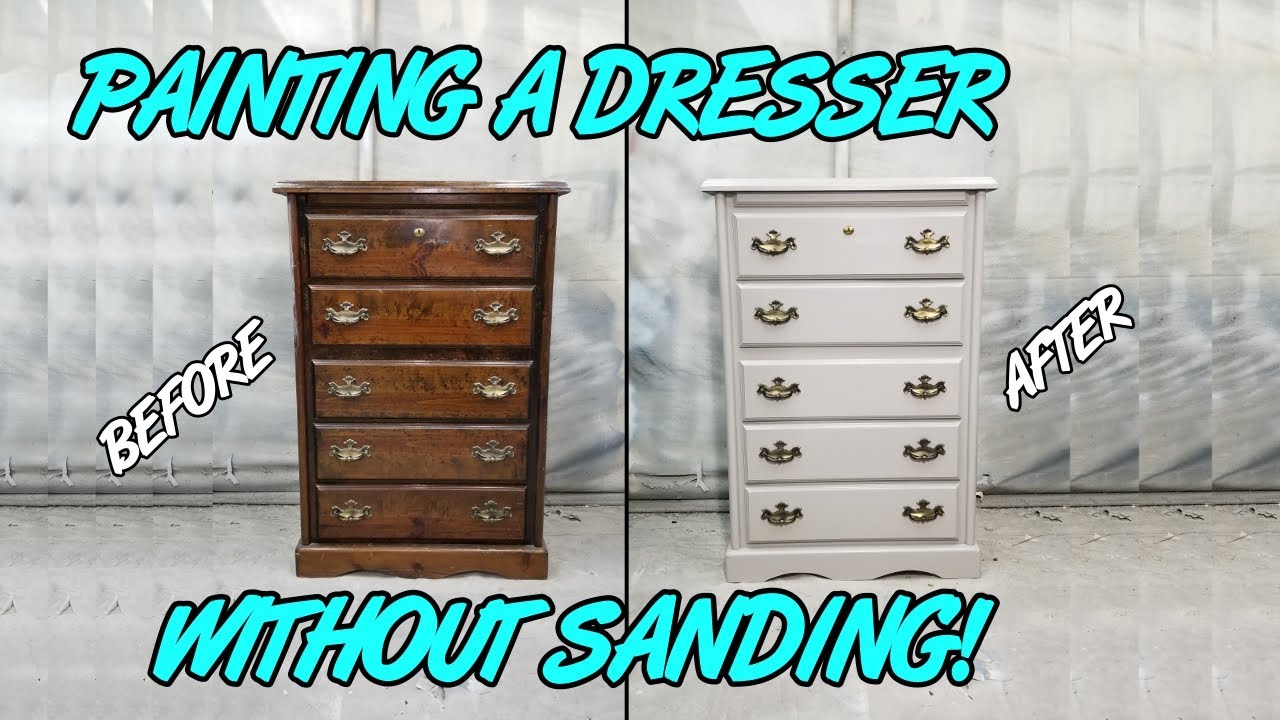
:max_bytes(150000):strip_icc()/SPR-how-to-paint-a-dresser-4628146-hero-before-after-6c8b5796f6bc4a2189a8aef89492d75a.jpg)
Choosing paint and primer: what works best
Picking paint affects the outcome a lot. When learning how to paint a dresser, choose a finish that matches use and style.
- Chalk paint: easy, often needs no primer, gives a matte look. Great for rustic styles.
- Latex or acrylic: durable and easy to clean. Works with primer for long-lasting results.
- Oil-based paint: hard finish, but longer dry time and stronger fumes.
- Primer: use stain-blocking primer on knots or dark stains. Primer helps topcoat adhesion.
From experience, a water-based primer plus latex paint gives a balance of durability and low odor. For a vintage look I used chalk paint, then waxed the surface for protection.
Step-by-step process: how to paint a dresser from start to finish
Follow these steps for predictable, professional results. I write out steps like a checklist before each project.
- Remove hardware, drawers, and label parts.
- Clean the dresser with a degreaser and let dry.
- Fill holes and sand smooth using 120 then 220 grit.
- Apply primer in thin coats; let dry per label instructions.
- Sand primer lightly with 220 grit and wipe dust.
- Paint the first coat using long, even strokes or a foam roller.
- Let the coat dry fully, then sand lightly and remove dust.
- Apply a second coat; add a third coat if needed for coverage.
- Apply a protective topcoat once paint is fully dry.
- Reattach hardware and reinsert drawers.
Quick tip: paint thin coats. Thick coats drip and take longer to cure. I once painted in a hurry and had runs that cost me three extra hours to fix. Thin coats save time overall.
Techniques: brush, roller, or spray
How to paint a dresser often depends on technique. Each method gives a different look and speed.
- Brush: best for detail and tight spots. Use a high-quality brush for fewer strokes and less brush mark.
- Roller: fast and smooth for flat areas. Use a small foam roller for a near-spray finish.
- Spray: fastest and most even, but needs a ventilated area and more prep to mask off areas.
If you have simple curves and many drawers, I like a foam roller plus an angled brush for edges. For a flawless finish, practice spraying on scrap wood before tackling the dresser.
Drying, curing, and sealing for durability
Dry vs. cure is key to how to paint a dresser that lasts. Paint may feel dry but it needs time to harden.
- Drying: paint feels dry to touch in hours depending on type and temp.
- Curing: full hardness can take days to weeks. Avoid heavy use during this time.
- Topcoat: use water-based poly for low yellowing. Apply thin coats per product instructions.
I waited 48 hours before moving a recently painted dresser and still handled it carefully for two weeks. That patience prevents scratches and dents.

Common mistakes and how to avoid them
Learn from mistakes I and others made when we learned how to paint a dresser.
- Skipping primer: can cause peeling or uneven color. Always prime when in doubt.
- Painting too thick: causes runs. Use thin, even coats.
- Not sanding between coats: leads to poor adhesion. Light sand for smoothness.
- Ignoring climate: high humidity slows drying. Paint in dry conditions for best results.
One time I painted in the garage on a humid day. It took twice as long to dry and collected dust. Check weather and humidity before you start.
Color, finish, and hardware: design tips
Color and hardware change a dresser’s personality. Think about how to paint a dresser to match your room.
- Neutral colors: white, gray, or beige fit many styles.
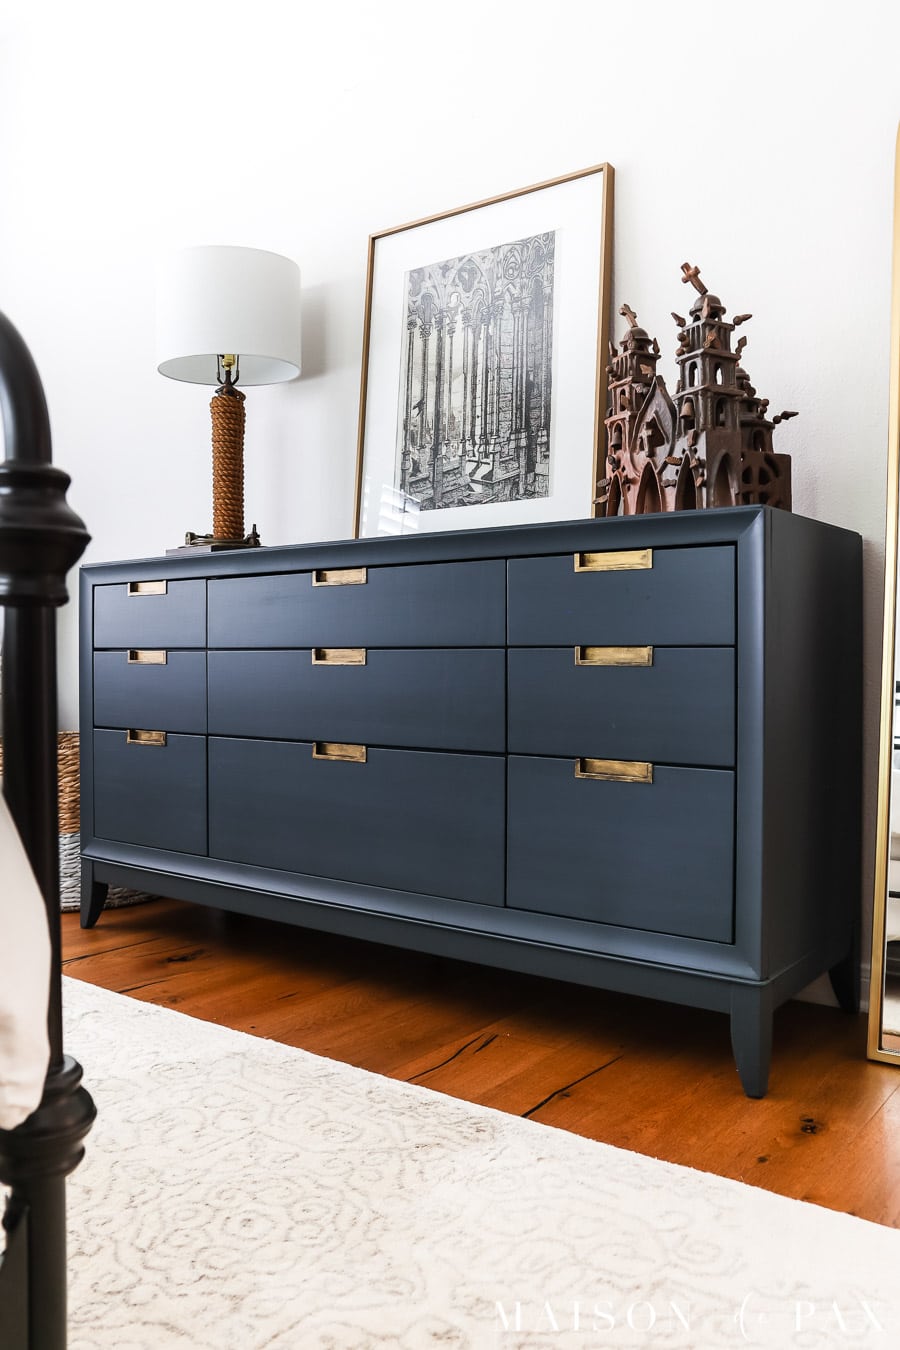
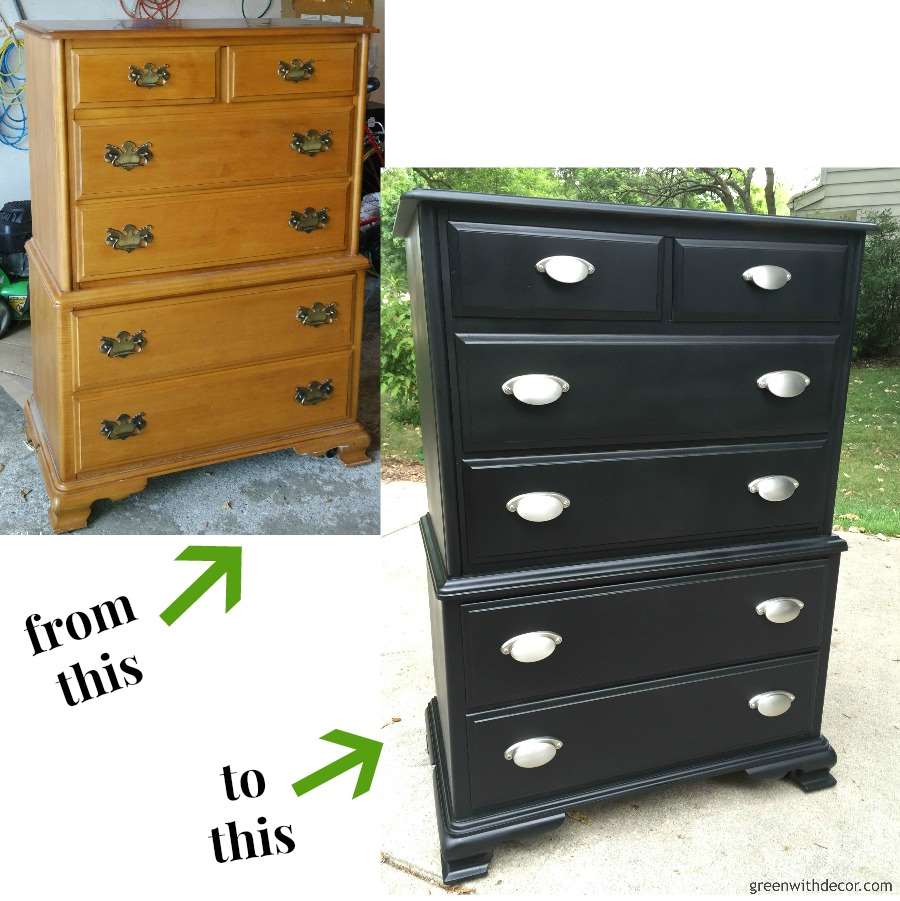
- Bold colors: navy, teal, or black make a statement.
- Finish choice: matte hides flaws, satin cleans easier, gloss is bold and durable.
- Hardware: swapping knobs can modernize a piece quickly.
When I painted a hand-me-down dresser navy and swapped brass knobs, the room looked refreshed overnight. Small changes have big impact.
Maintenance and care after painting
Good care keeps your paint job fresh. Simple steps extend life and shine.
- Wait full cure time before heavy use.
- Clean with a soft damp cloth and mild soap.
- Avoid harsh chemicals which can strip the finish.
- Touch up chips with a small brush and matching paint.
I keep extra mixed paint in a labeled jar for quick touch-ups. It saves time when a chip happens.
Troubleshooting: fixes for common problems
If things go wrong, you can fix most issues. Here are quick remedies I use.
- Drips or runs: sand smooth when dry and recoat in thin layers.
- Peeling: sand back to stable paint or bare wood and re-prime.
- Brush marks: sand between coats and use a fine foam roller for the last coat.
- Sticky finish: cure longer or use a thin topcoat suited to the paint type.
These fixes helped me salvage a project where a cat jumped on a wet topcoat. Patience and sanding saved the day.
Frequently Asked Questions of how to paint a dresser
How long does it take to paint a dresser?
A basic paint job takes 1–3 days for prep, paint, and dry time. Full cure can take up to two weeks depending on paint type.
Do I need to sand before painting a dresser?
Yes. Light sanding creates a key for the primer and paint to stick. For very worn finishes, start with coarser grit then finish with 220.
Can I paint a laminate or veneer dresser?
Yes. Use a high-build primer made for slick surfaces, sand lightly, and use a durable topcoat. Proper prep is crucial.
Is chalk paint really primer-free?
Many chalk paints claim no primer is needed, but priming can improve durability. Test a small area first and add a sealer for protection.
What topcoat is best for a painted dresser?
Water-based polyurethane is a good balance of durability and low yellowing. Choose satin or semi-gloss for easier cleaning.
Conclusion
You now know how to paint a dresser from prep to finish. Gather your tools, take your time sanding and priming, paint in thin coats, and seal the surface for long life. Start with one drawer if you feel nervous and build confidence. Try a small project this weekend, share your results, and leave a comment with questions or photos — I’d love to hear how your dresser turns out.