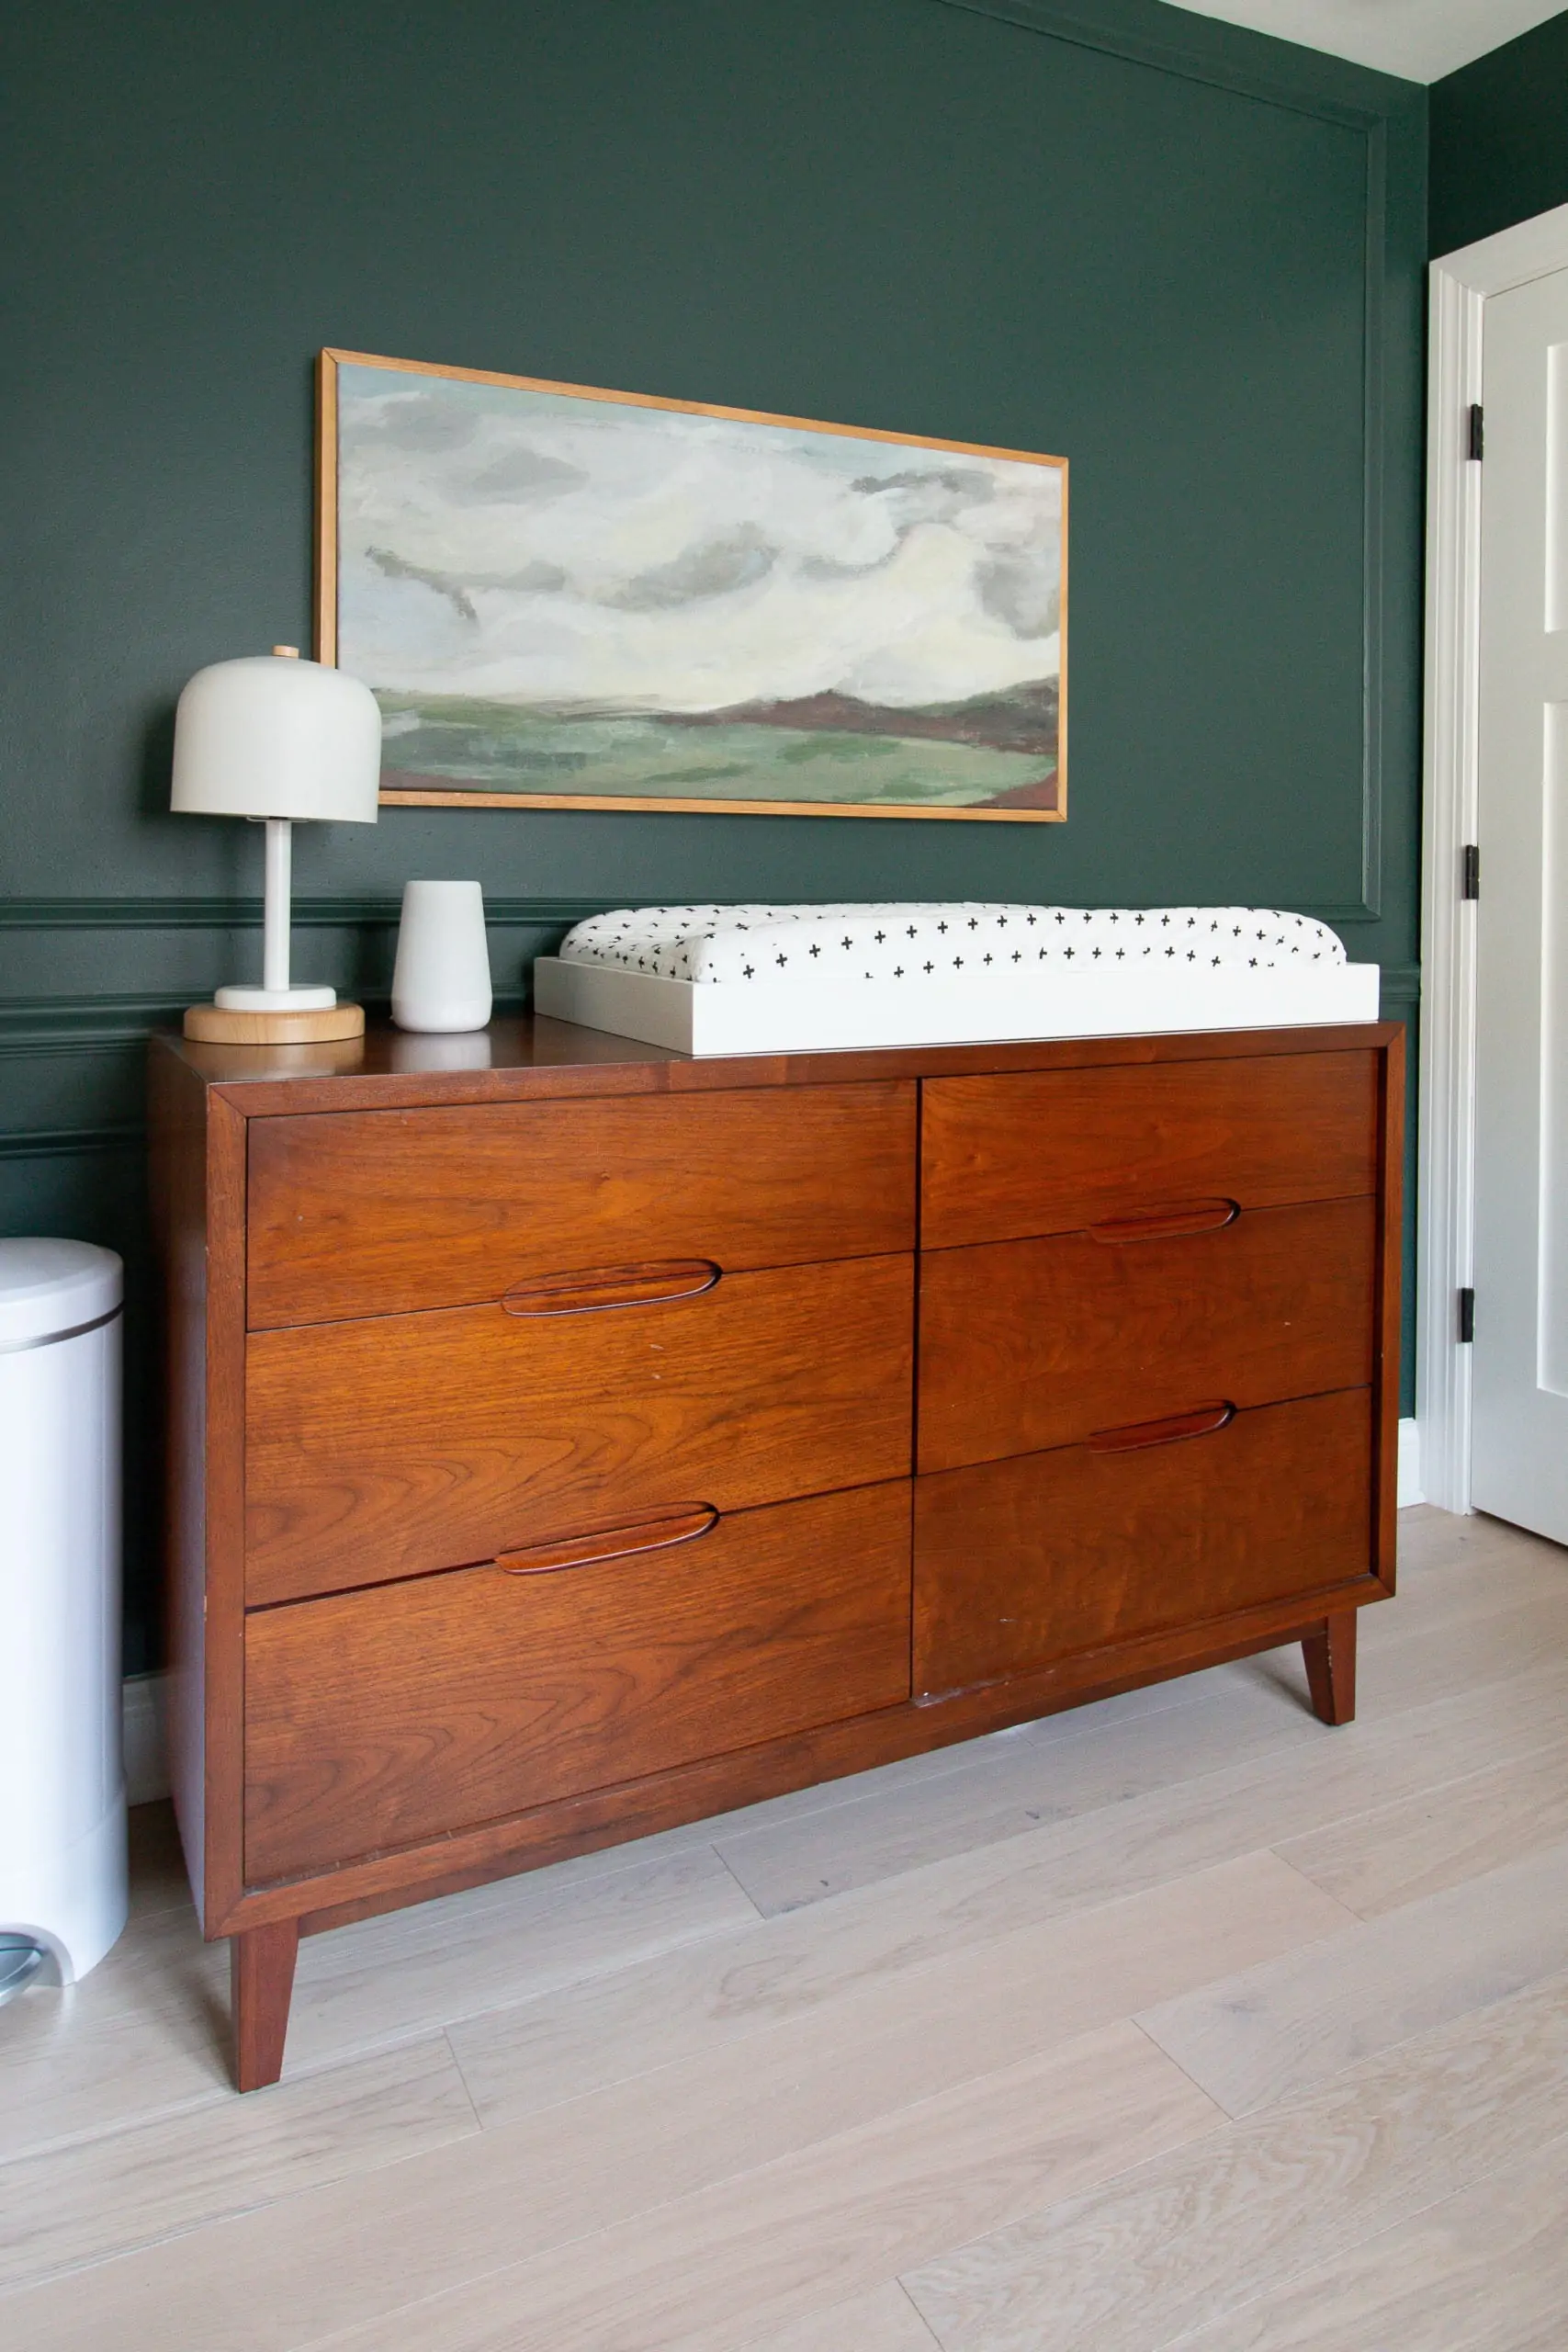
Attach the changing pad with its safety strap, secure it to the dresser as directed, and anchor the dresser to the wall.
Learning how to attach changing pad to dresser is about more than keeping the pad from sliding. A safe setup must support the pad, limit movement, prevent tipping, and keep your baby within arm’s reach at all times. This guide explains the safest methods, common mistakes, useful tools, and simple checks you can do before the first diaper change.
What You Need to Know Before Attaching a Changing Pad
A changing pad is a soft, padded surface made for diaper changes. It may sit directly on a dresser, fit inside a changing tray, or attach to a purpose-built changing table. The safest option depends on the pad design and the dresser manufacturer’s instructions.
Before you begin, check three things:
• The pad must fit the dresser top without hanging over the edges.
• The dresser must be strong, stable, and wide enough for the pad.
• The pad and dresser should have a secure way to resist sliding and movement.
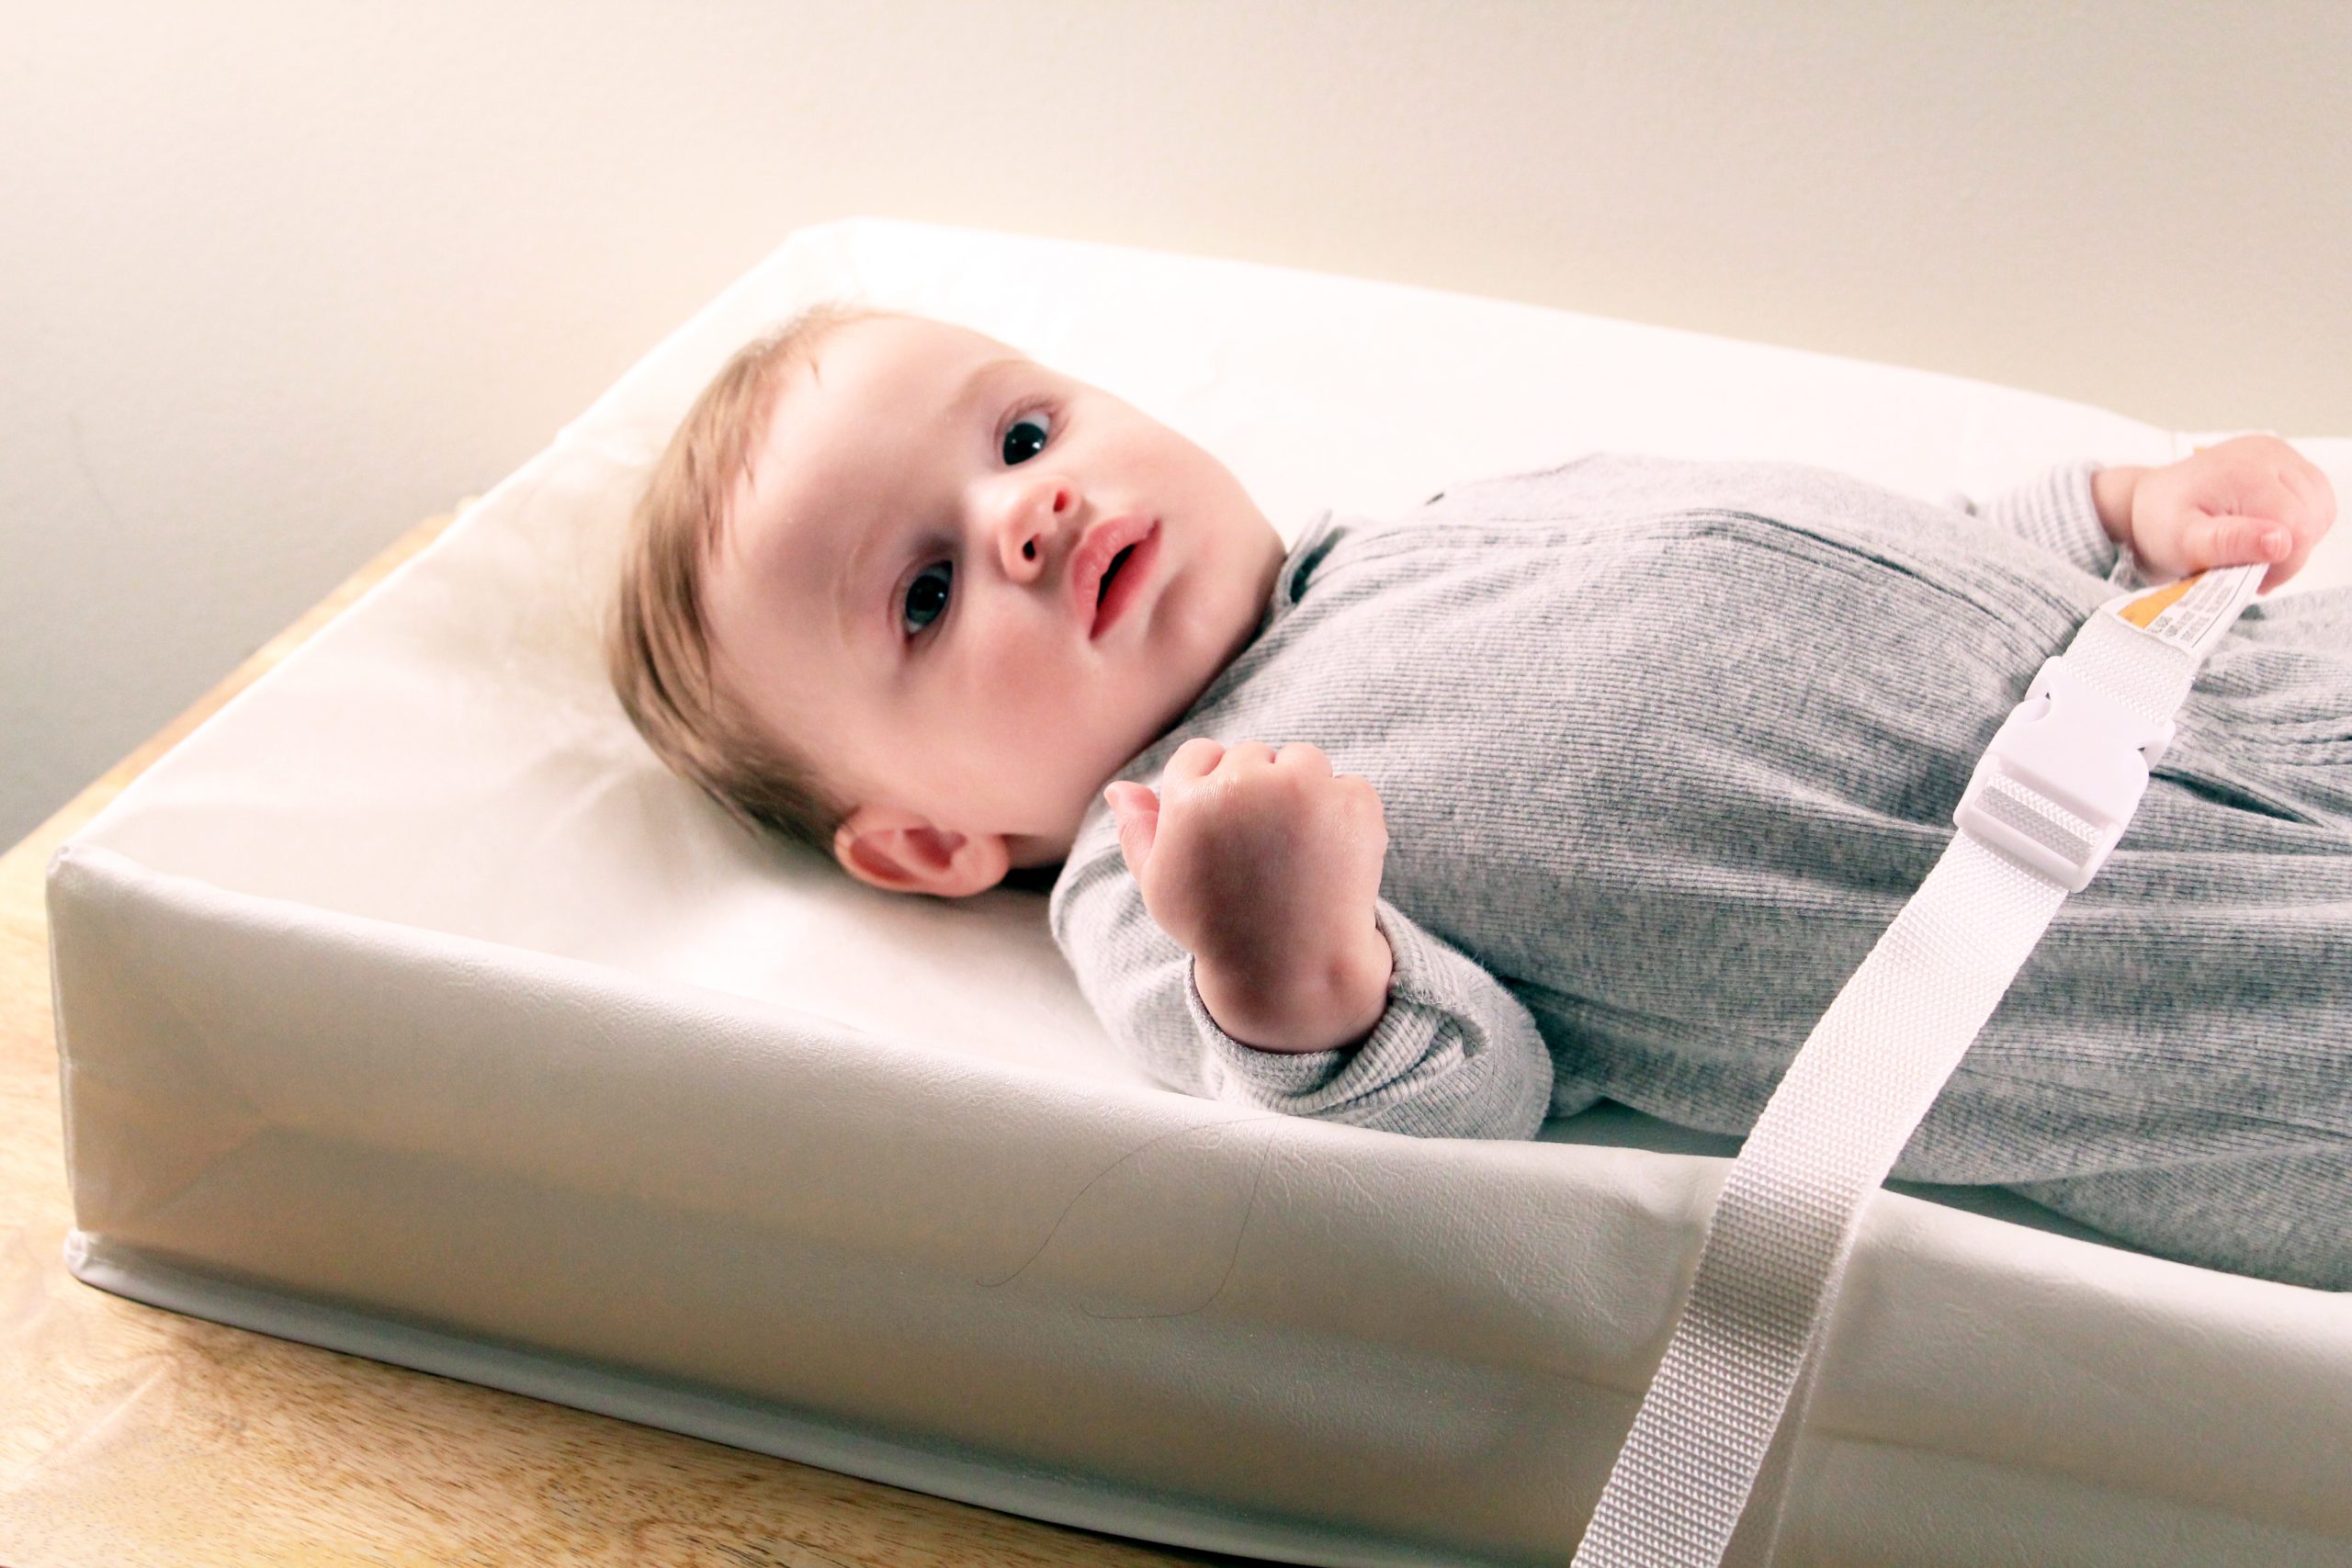
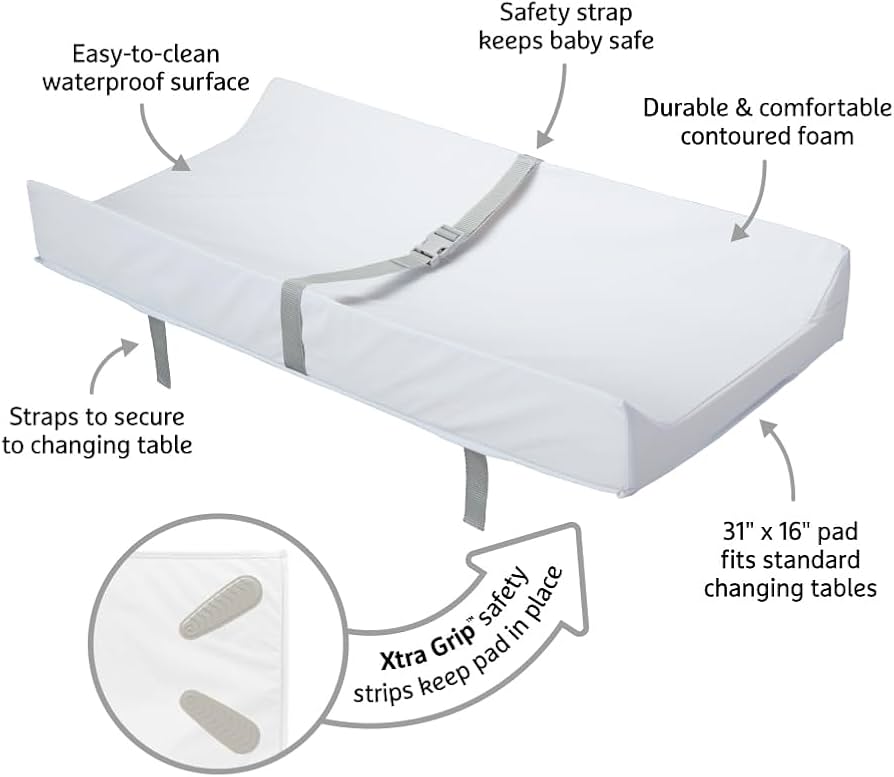
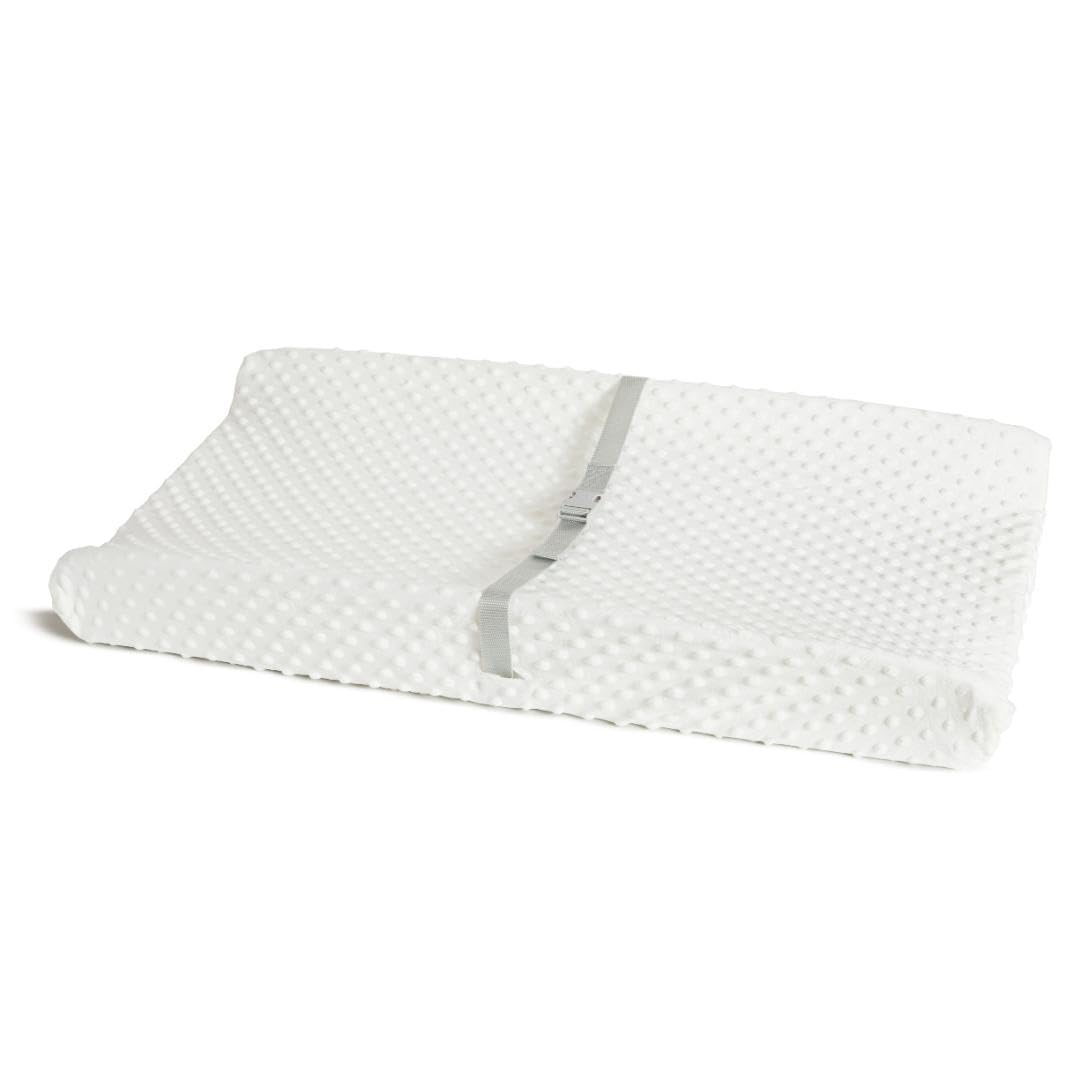
Many contoured changing pads include a safety strap. Some have a strap that attaches to the dresser. Others use a strap that secures your baby to the pad. These are not always the same thing, so read the instructions carefully.
A baby should never be left alone on a changing pad, even when the pad is attached. A safety strap may reduce movement, but it does not replace close supervision.
When I review nursery setups, the most common mistake is treating a heavy pad as if its weight alone makes it safe. A pad can feel solid but still slide when a baby kicks or rolls. Think of the pad like a small rug on a smooth floor: it needs a proper anchor, not just extra weight.
Source: thediyplaybook.com
Choose the Right attachment Method
There are several ways to attach a changing pad to a dresser. The best method is the one approved by the pad or dresser maker.
Method 1: Use the built-in safety strap
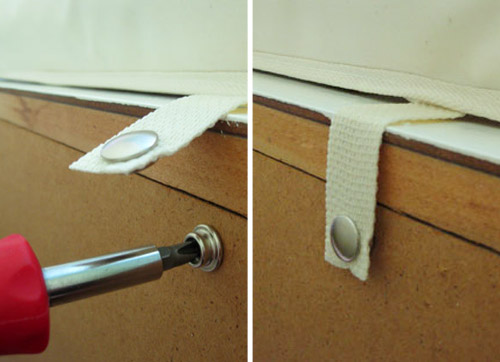
Many changing pads include a strap with a screw or mounting tab. This strap usually attaches to the back or center of the dresser top.
This method works well when:
• The dresser top is made from solid wood or a suitable material.
• The strap reaches the mounting point without stretching.
• The screw size matches the product instructions.
• The dresser remains stable after installation.
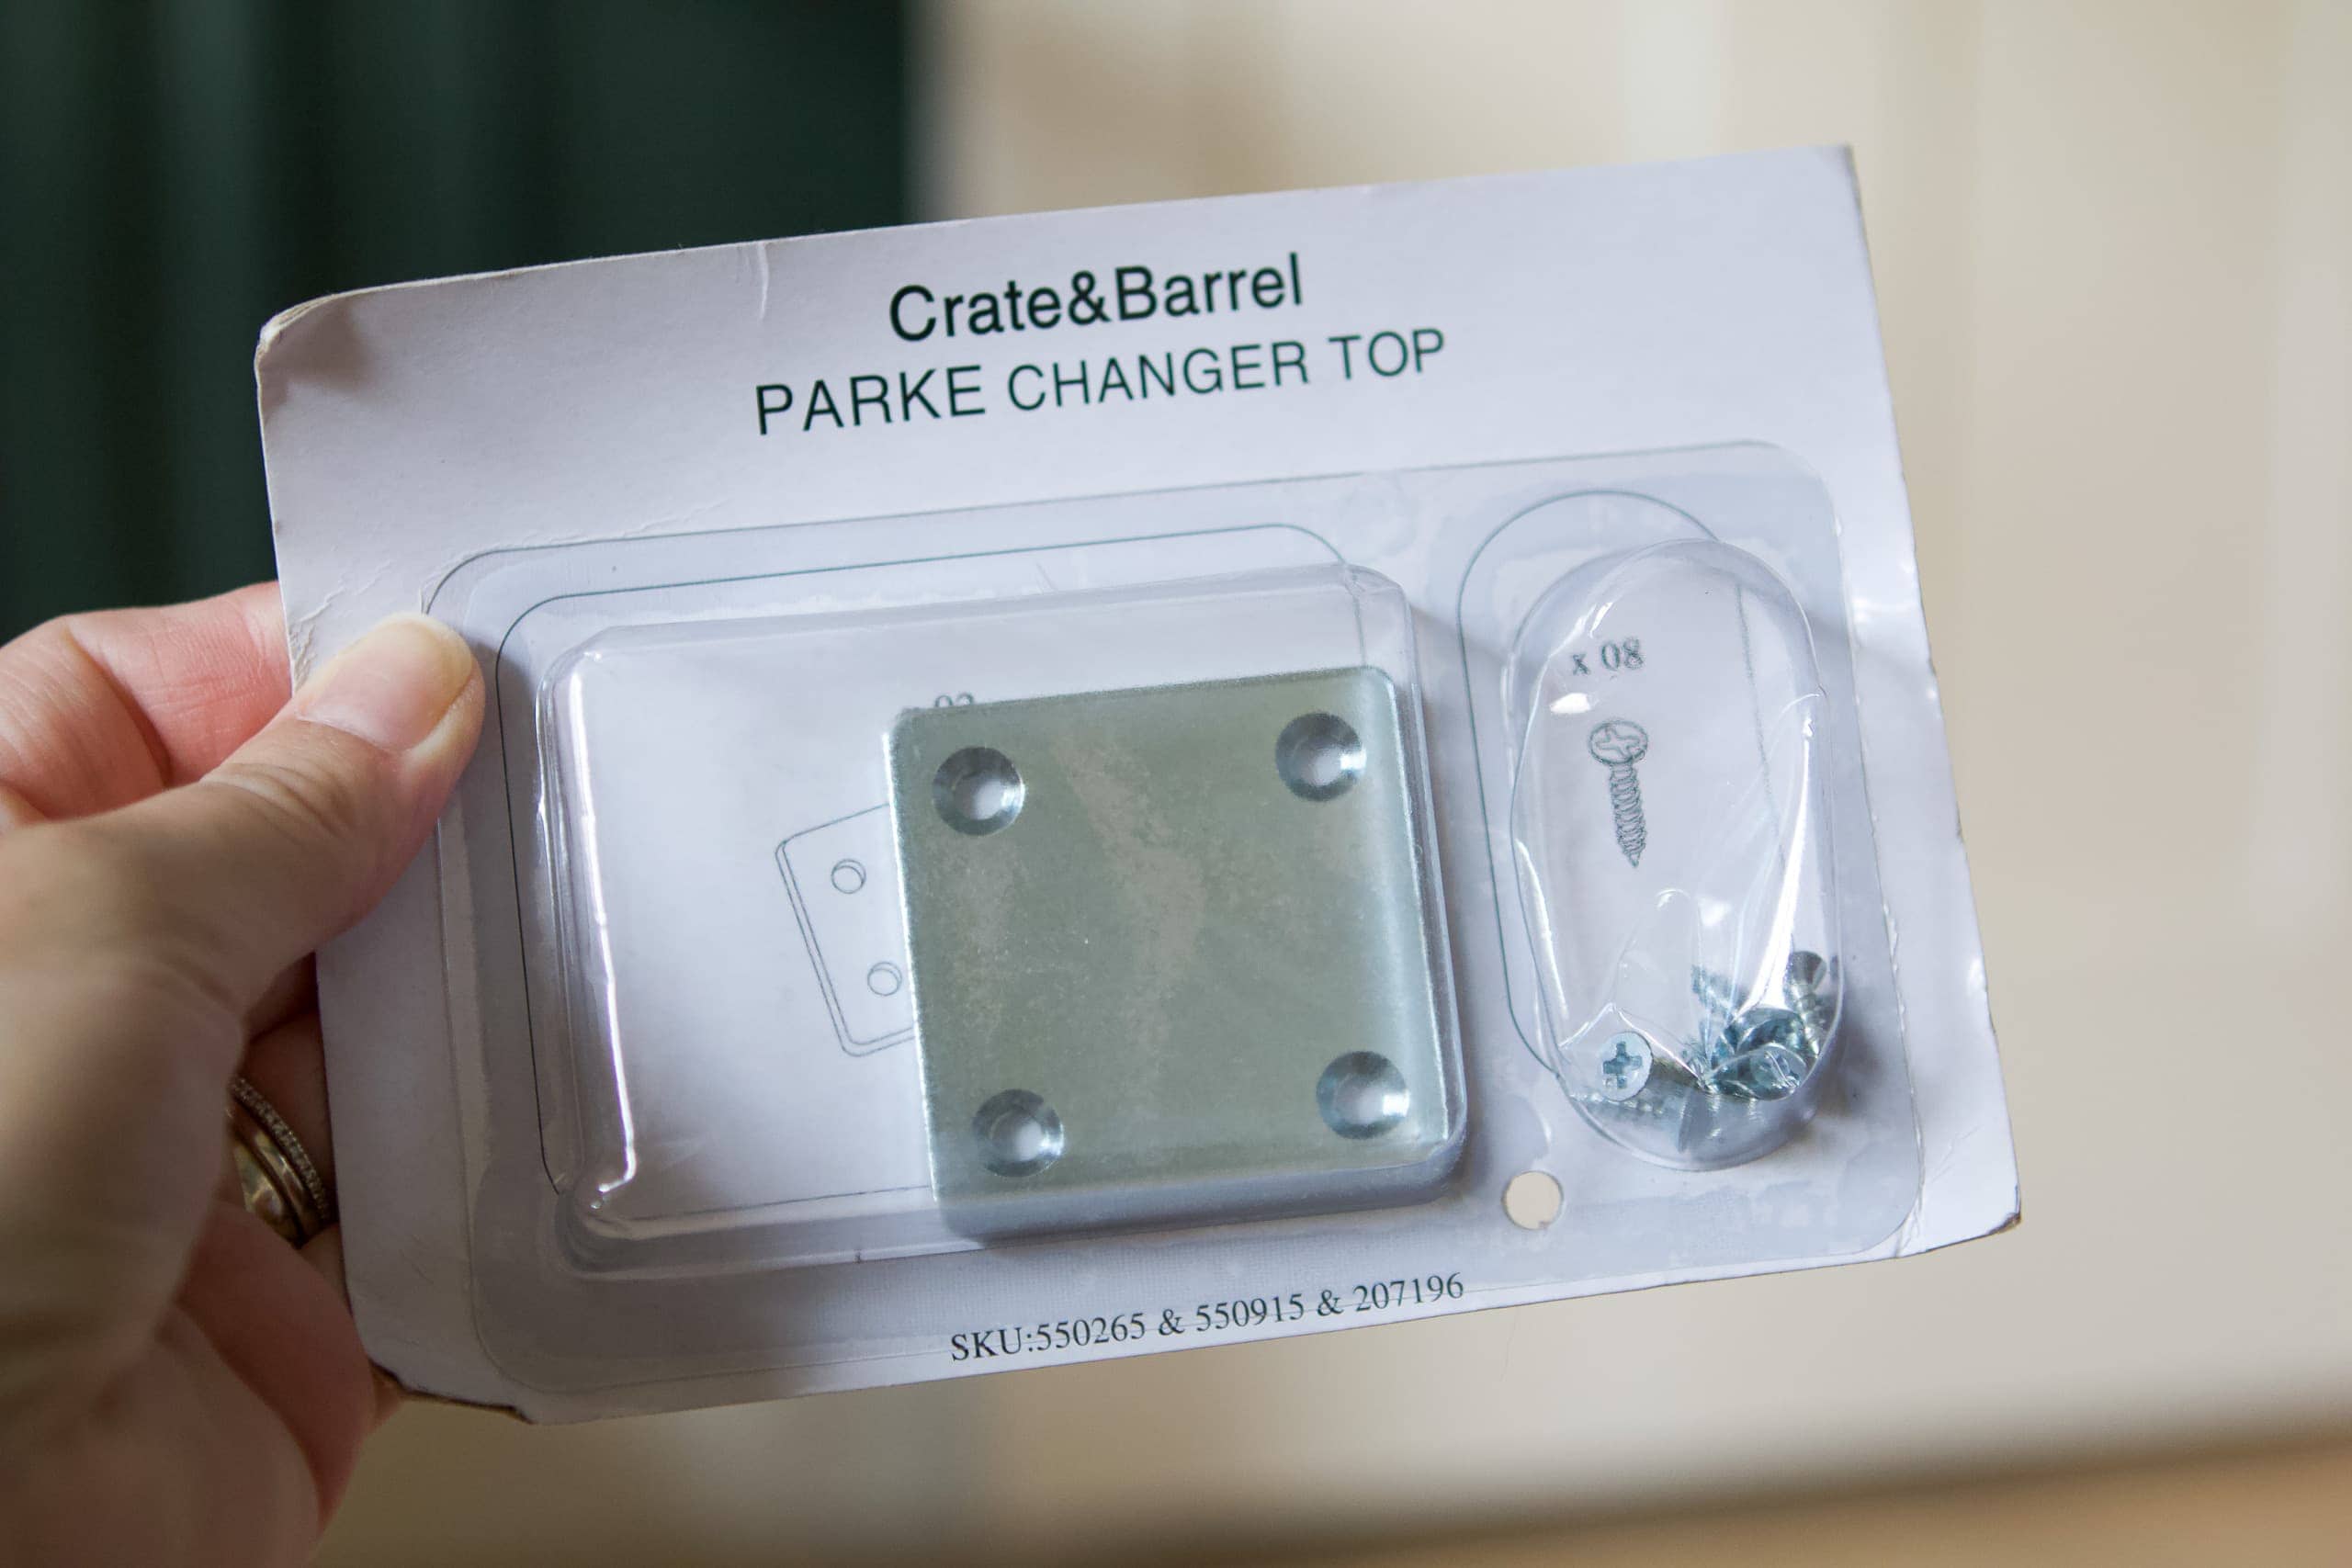
Do not replace the supplied screw with a random screw. A screw that is too short may pull out. One that is too long may damage the dresser or come through the top.
Method 2: Use a manufacturer-approved changing tray
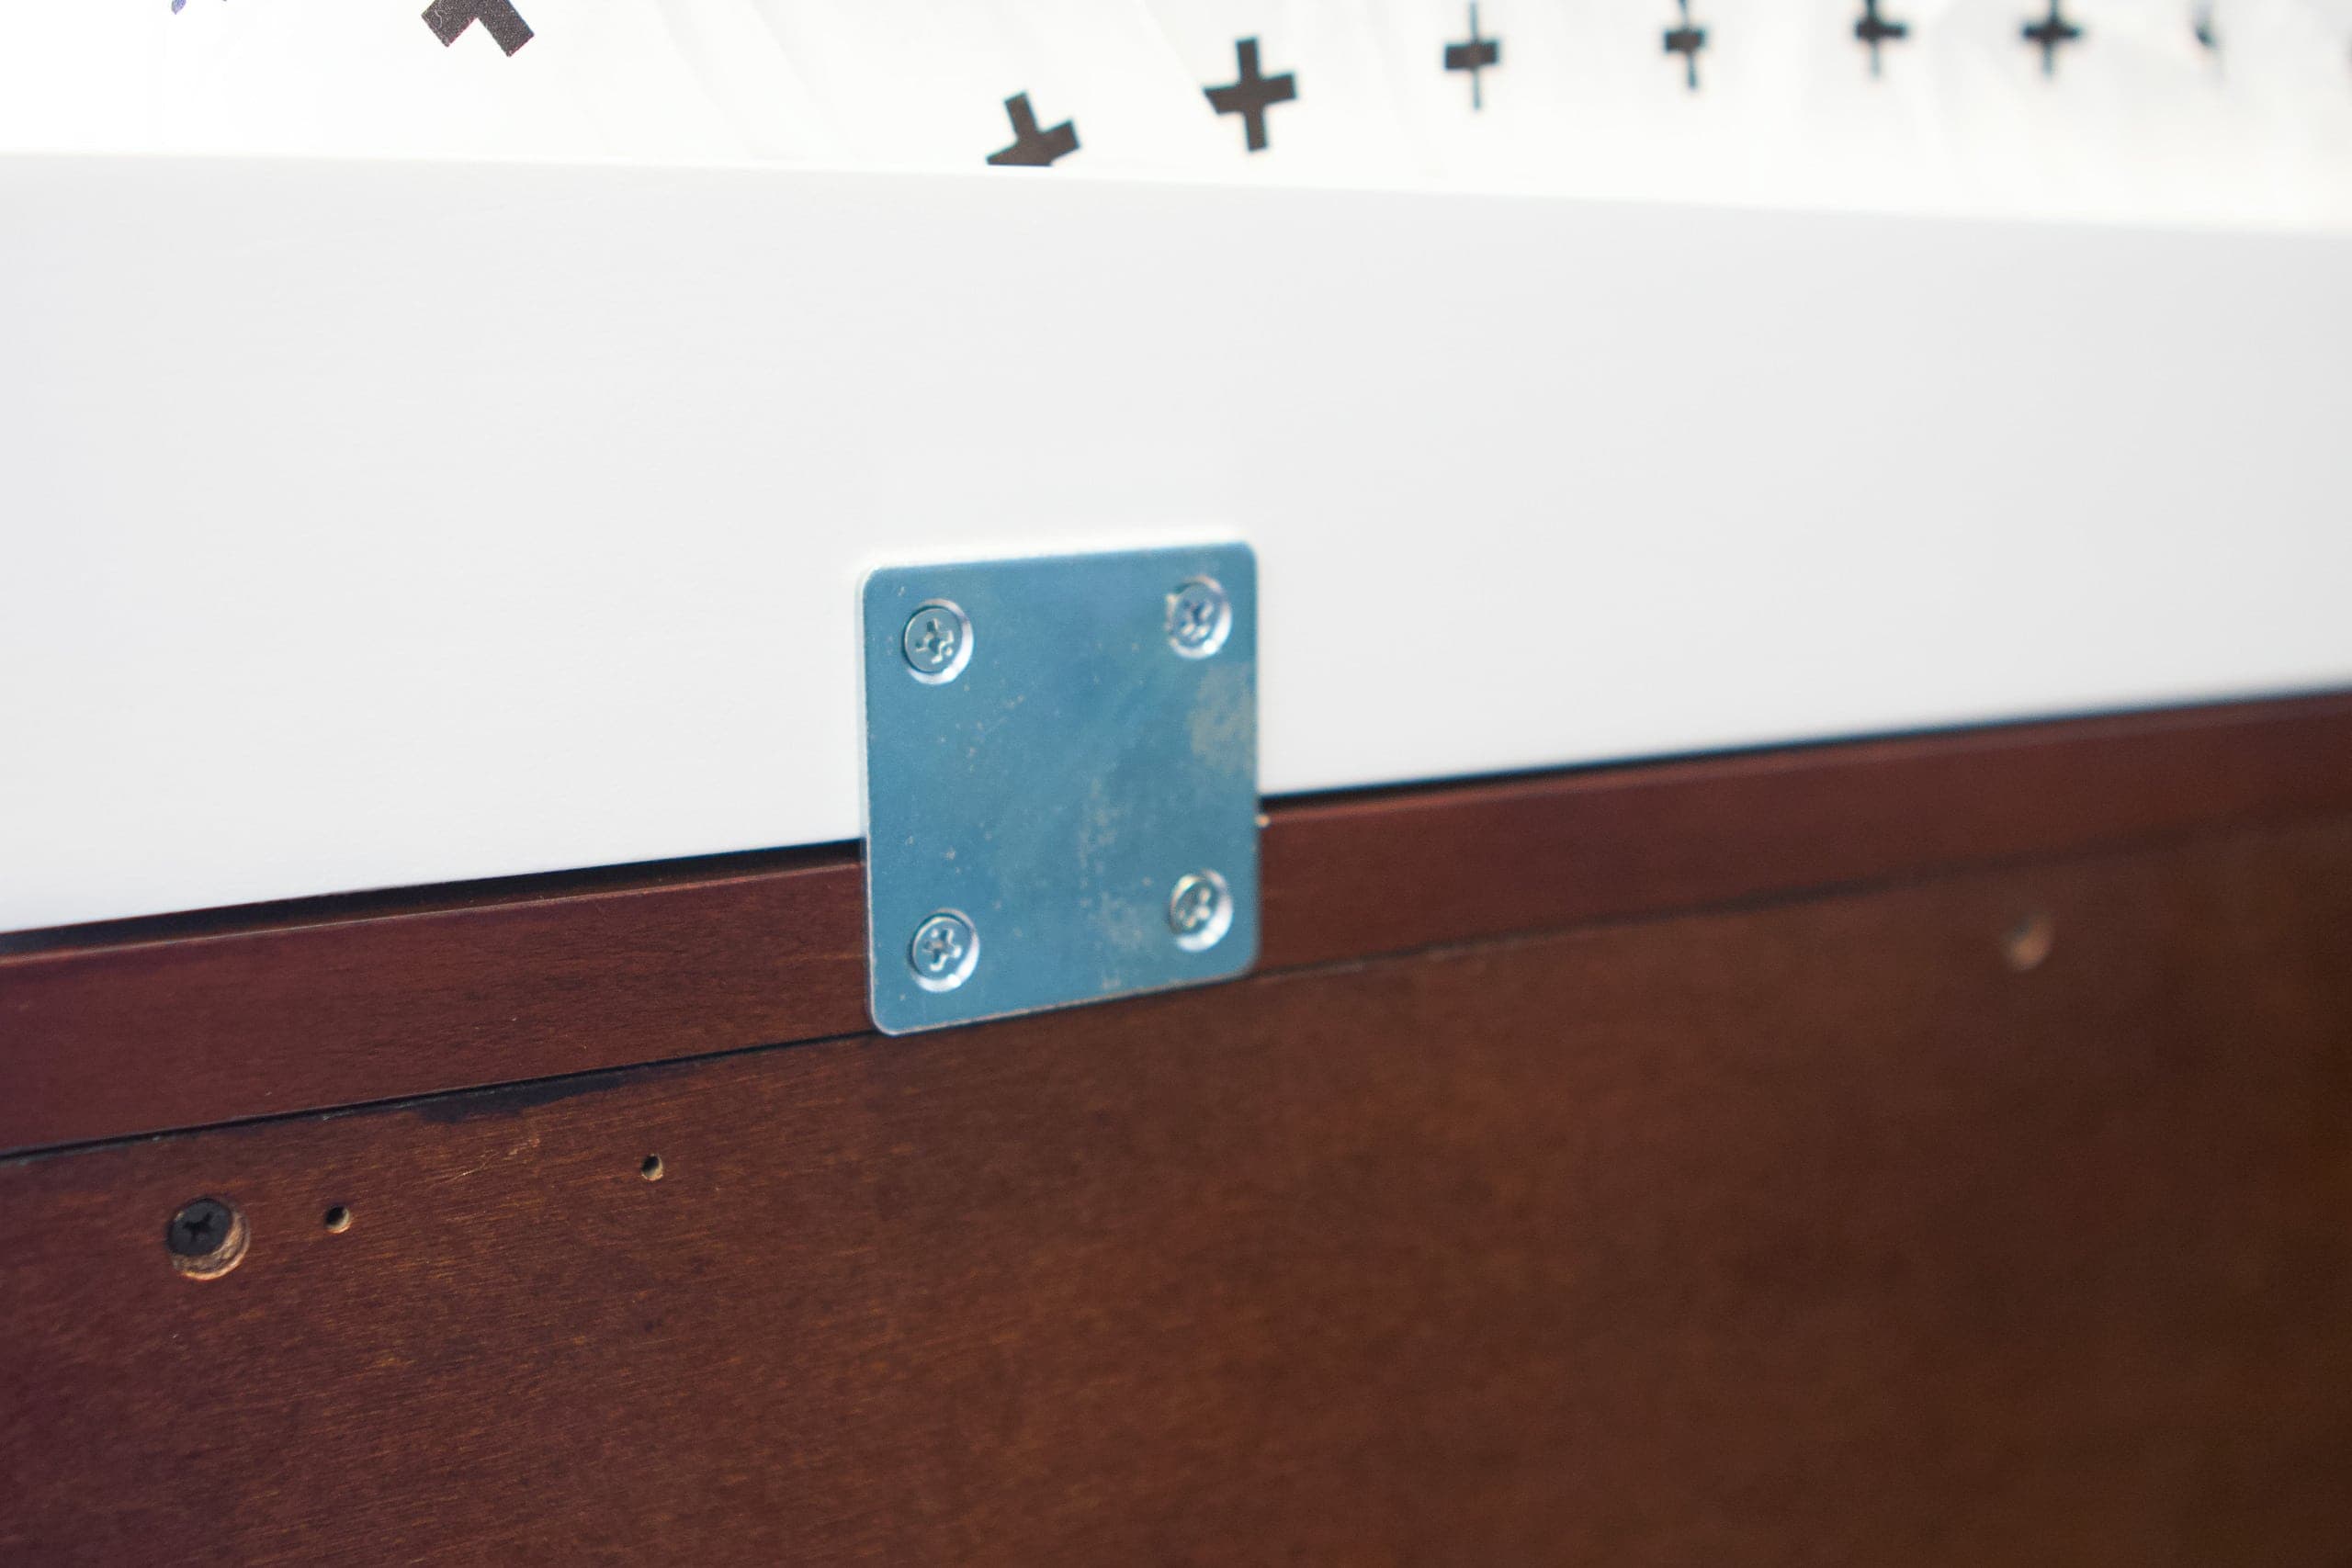
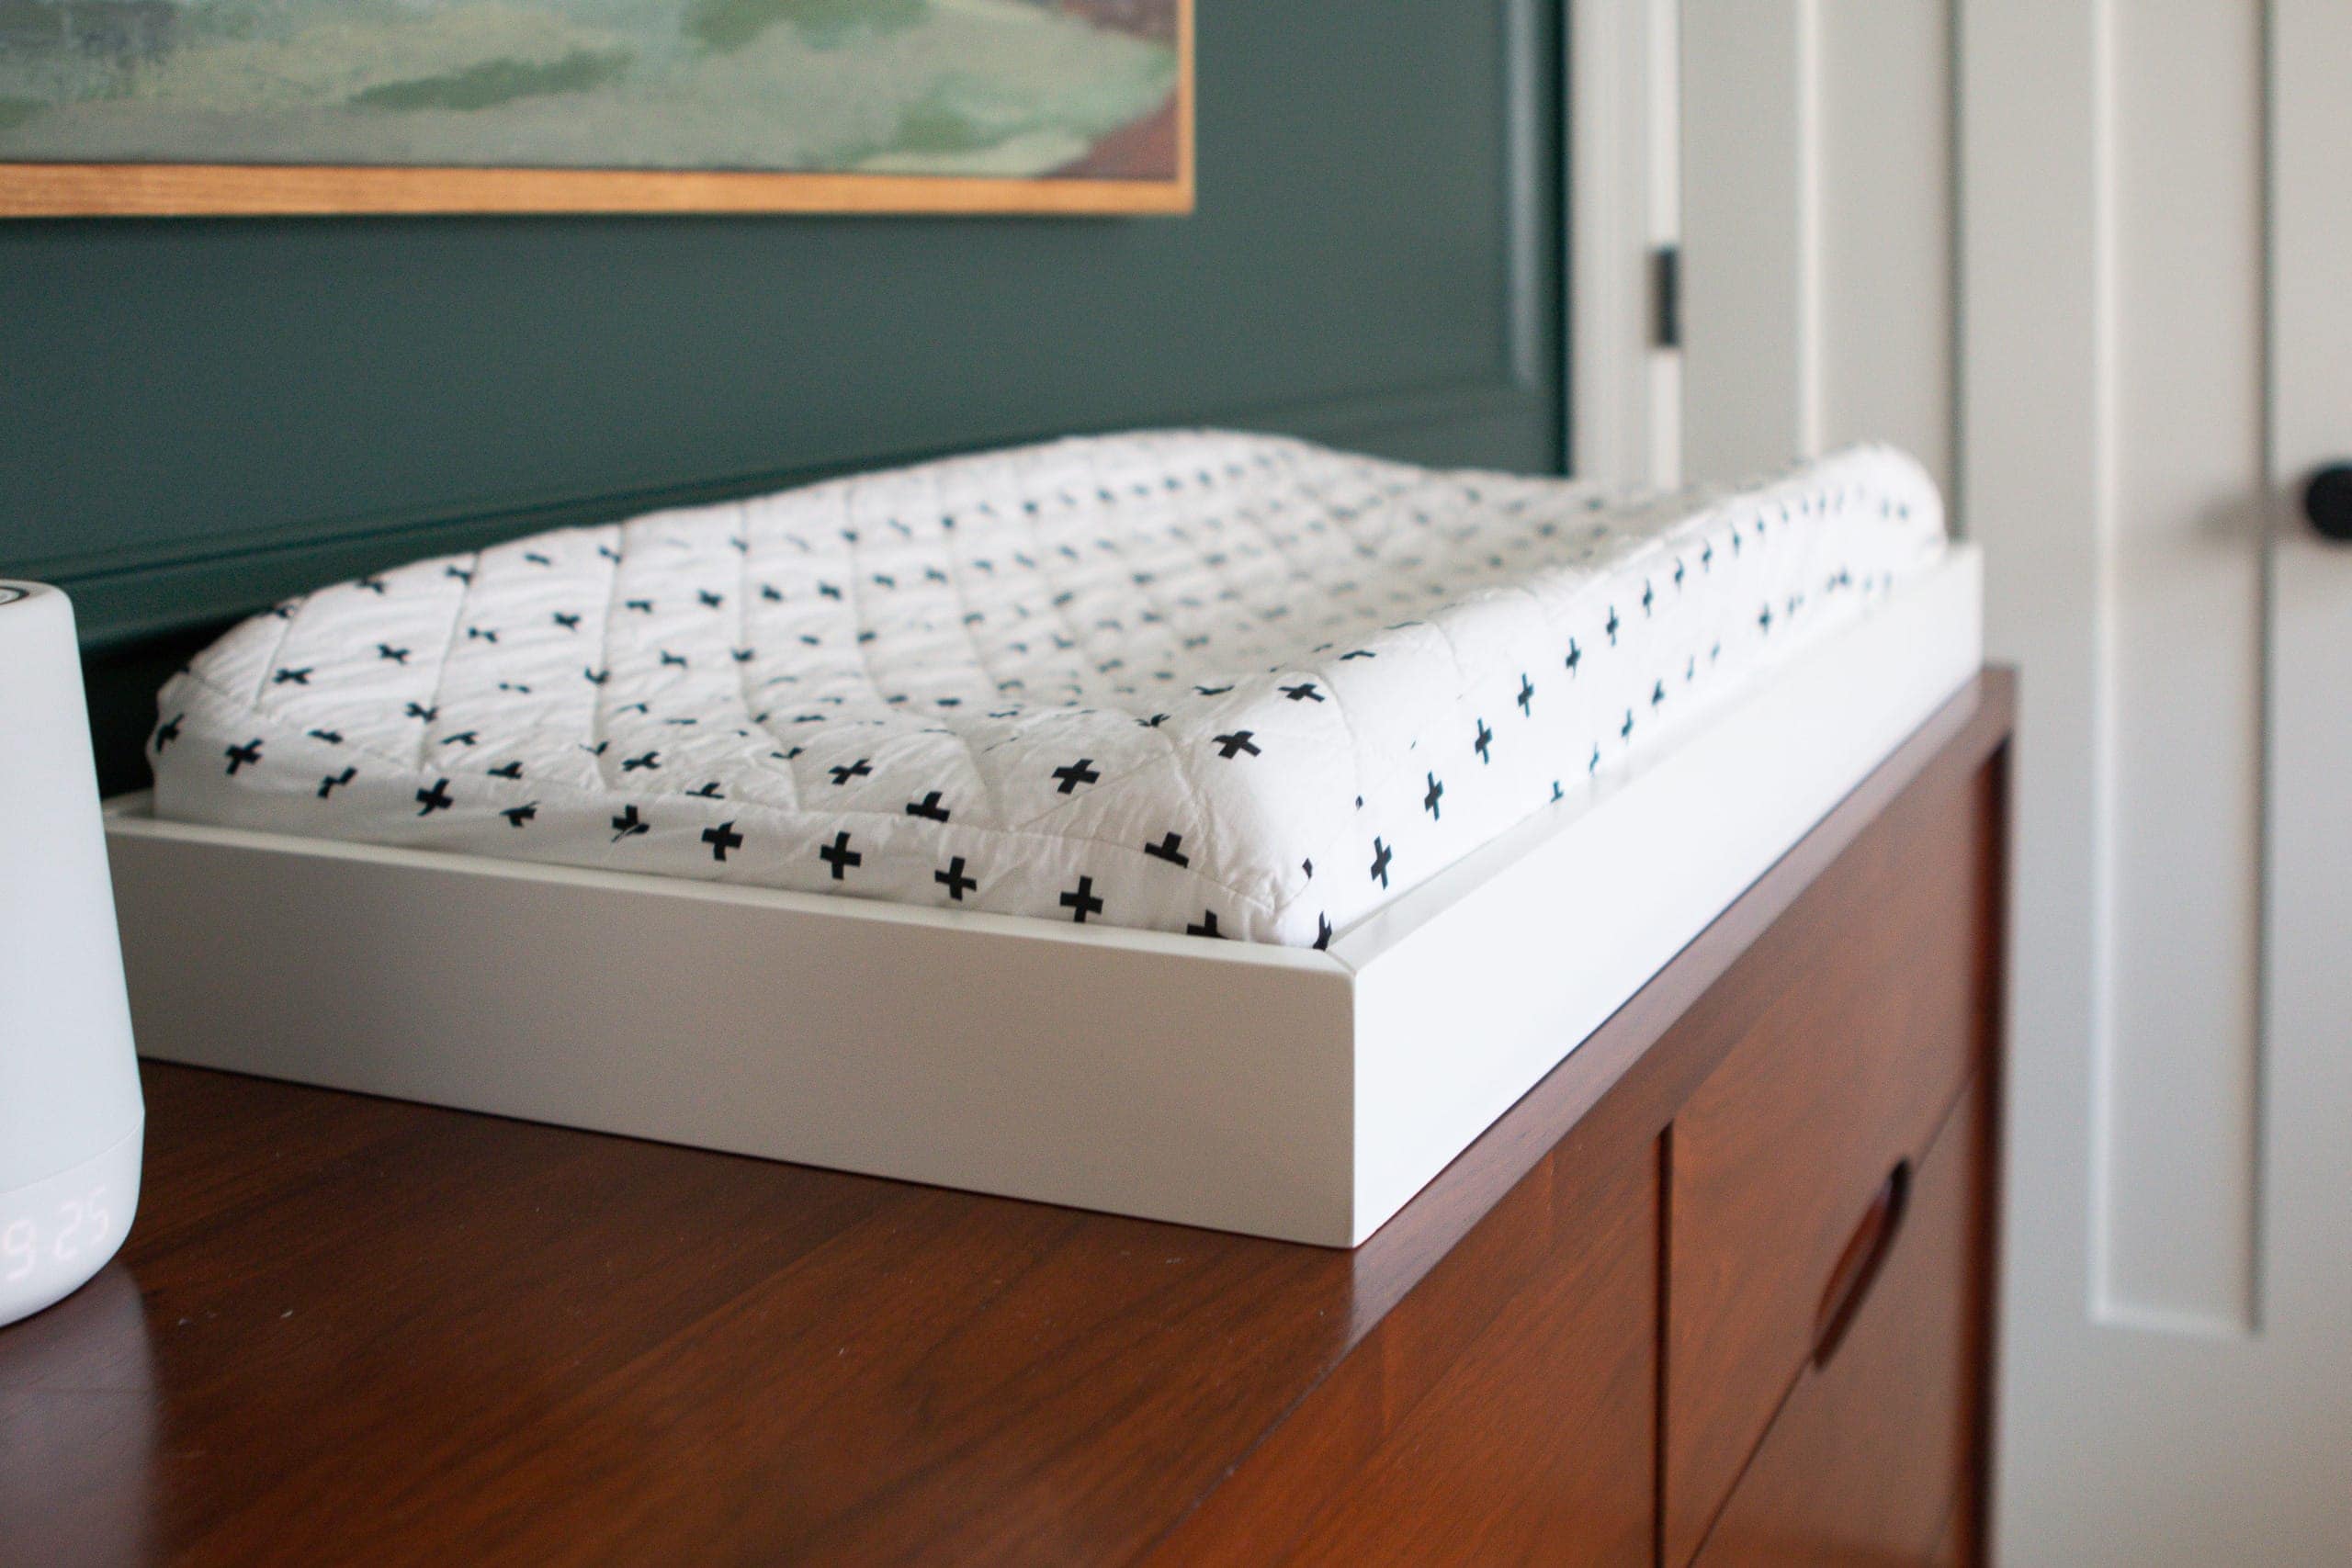
A changing tray creates raised sides around the pad. Some trays attach to the dresser with screws, brackets, or clamps made for that exact model.
This is often more secure than placing a pad directly on the dresser. However, a tray is safe only when it fits the dresser and is installed exactly as directed.
Do not assume that any changing tray will fit any dresser. Check the tray’s width, depth, weight limit, and attachment system before buying it.
Method 3: Use a non-slip base only as extra support
A thin, non-slip mat may help reduce sliding. It can be useful under a changing pad, especially on a smooth laminate or painted surface.
Still, a non-slip mat is not a full attachment system. It should not replace a safety strap, approved tray, or other secure hardware.
Method 4: Use a dresser designed for changing
Some dressers include a removable changing topper. These products are tested as a set and often include matching hardware.
This can be the simplest route for new parents. Follow the assembly guide and confirm that all bolts, brackets, and screws are tight before use.
Source: fundacionsierrablanca.com
How to Attach Changing Pad to Dresser Step by Step
Use these steps when the pad includes a dresser attachment strap. Always place the product instructions first if they differ from this general guide.
1. Inspect the dresser
Check the top for cracks, loose panels, weak joints, or damage. A dresser that wobbles should not be used for diaper changes.
Measure the top before placing the pad. The pad should sit flat, with no large gap and no unsafe overhang.
2. Find the safest position
Place the pad near the back of the dresser, but do not press it against a wall if that causes the pad to bend or sit unevenly. Keep the baby’s head away from the edge.
Leave enough room for your hands, wipes, diapers, and clean clothes. Keep these supplies within reach so you do not need to turn away.
3. Mark the strap location
Set the pad in its final position. Find the strap or mounting tab under or behind the pad.
Mark the correct screw location on the dresser. Use a pencil rather than a permanent marker.
Make sure the screw will enter a strong part of the dresser. Avoid thin trim, hollow areas, drawer fronts, and decorative panels.
4. Install the supplied hardware
Use the screw or hardware included with the pad. If the instructions call for a pilot hole, drill one that matches the stated size.
Keep the drill shallow. You do not want to drill through the dresser top or damage a drawer below.
Attach the strap firmly, but do not over-tighten the screw. Over-tightening can strip the wood and make the connection weaker.
5. Secure the pad
Place the pad flat on the dresser. Fasten the strap according to the instructions.
The strap should hold the pad in position without bending it. If the pad rocks, slides, or leaves a gap, stop and correct the problem before use.
6. Test the setup
Press down on several points of the pad. Push gently from side to side and front to back.
The pad should remain in place. The dresser should not shift, lift, or rock.
Check the strap again after testing. If anything feels loose, do not place your baby on the pad.
7. Anchor the dresser to the wall
A changing pad attachment does not stop a dresser from tipping. Attach the dresser to a wall stud with an approved anti-tip kit.
Follow the dresser instructions for the correct anchor type. A wall anchor alone may not be enough for heavy furniture, especially if it is not installed into a stud.
This step is essential because open drawers, a climbing child, or a leaning adult can pull a dresser forward.
Source: thediyplaybook.com
How to Attach a Changing Pad Without Drilling
Some parents rent their home or do not want to drill into a dresser. You may still have safe options, but they depend on the product.
Look for a changing pad that includes:
• A firm, non-slip bottom
• Raised sides
• A tested furniture strap
• Clear instructions for use without permanent changes
A purpose-made changing tray with approved clamps may also work. The clamps must fit tightly and be designed for the tray. Do not use homemade clamps, cords, tape, bungee straps, or adhesive hooks.
Double-sided tape is not a reliable safety attachment for a changing pad. It can lose strength from dust, heat, cleaning products, or the weight of repeated use.
If you cannot securely attach the pad, use it on the floor instead. A floor-level changing space removes the risk of a fall from dresser height, though you still need to supervise your baby.
Source: benable.com
How to Secure the Dresser for Extra Safety
Learning how to attach changing pad to dresser is only one part of nursery safety. The furniture itself must also be secure.
Use an anti-tip kit made for dressers or other heavy furniture. Most kits include a strap, bracket, and hardware. Install the wall side into a stud when possible.
Keep these points in mind:
• Empty drawers before moving the dresser.
• Place heavy items in lower drawers.
• Keep toys and attractive items away from the top.
• Close drawers after use.
• Do not allow a child to climb on open drawers.
• Check the anti-tip hardware twice a year.
The U.S. Consumer Product Safety Commission warns about injuries from furniture tip-overs. Anchoring furniture is especially important in homes with babies and young children.
A secure pad on an unsecured dresser is like locking a car door while leaving the car on a steep hill. One safety step cannot replace the other.
Source: thediyplaybook.com
Common Mistakes to Avoid
Small errors can create large safety risks. Avoid these common problems when you attach a changing pad to a dresser.
Using the wrong screw
A hardware-store screw may look similar to the included screw. It may still be the wrong length, head shape, or thread type.
Use only the hardware listed in the instructions. Contact the manufacturer if a part is missing.
Attaching the strap to a weak surface
Do not attach the strap to a thin drawer front, loose trim, or decorative back panel. These surfaces may pull away under force.
The attachment point should connect to a strong, fixed part of the dresser.
Relying on a towel or blanket
A towel can make the surface softer, but it does not secure the pad. Loose fabric may also bunch under the baby.
Use a fitted cover made for the pad. Keep extra blankets and loose items away from the baby.
Placing the pad near the edge
Even a small overhang can make the pad less stable. Keep the pad centered and flat.
If the pad is too large for the dresser, choose a different pad or use a larger changing surface.
Leaving supplies out of reach
Never step away to grab diapers, wipes, or clothing. Prepare everything before placing your baby on the pad.
If you forget something, keep one hand on your baby and move carefully, or take your baby with you.
Assuming a safety strap prevents falls
A strap can help hold the pad or baby, depending on the design. It cannot prevent every fall or replace supervision.
Always keep one hand on your baby during changes, especially when the baby starts rolling.

Source: amazon.sg
How to Check the Setup Over Time
A changing pad can loosen after repeated use. Make a quick inspection part of your normal nursery routine.
Check the setup:
• After moving the dresser
• After cleaning the area
• When the pad begins to slide
• When the baby becomes more active
• After replacing a strap or screw
• Every few weeks during regular use
Look for loose screws, stretched straps, cracked plastic, lifted edges, and changes in the dresser’s balance. Replace damaged parts rather than repairing them with tape or glue.
If the pad or strap has been recalled, stop using it and follow the manufacturer’s instructions. Product registration can help you receive safety notices.
My practical rule is simple: if you have to wonder whether the setup is secure, treat that feeling as a warning. Remove the pad and inspect every connection.
Source: thediyplaybook.com
Choosing a Safe Location for the Dresser
The best location makes safe diaper changes easier. Place the dresser on a level floor and away from windows, cords, heaters, and other hazards.
Keep the changing area bright enough to see the baby’s skin and the pad’s edges. A small lamp can help during nighttime changes, but keep cords out of reach.
Store creams, powders, medicines, and small items where the baby cannot reach them. Even a short reach can be risky once a baby becomes mobile.
Leave a clear path around the dresser. You should be able to move quickly without tripping over a hamper, toy, or stool.
Source: holc.at
When a Floor Changing Station Is Better
A dresser changing station is convenient, but it is not right for every family. A floor mat may be safer if the dresser is unstable, too small, or impossible to anchor.
A floor setup can also help when:
• You live in a rental and cannot safely install hardware.
• Your dresser has a glass or thin top.
• The pad does not fit properly.
• Your baby rolls often.
• You prefer a low-risk setup during the rolling stage.
Use a clean, firm mat and keep the baby away from stairs, pets, and small objects. Floor-level changes still require direct supervision.
Frequently Asked Questions About How to Attach Changing Pad to Dresser
Can I put a changing pad directly on a dresser?
Yes, but the pad must fit flat and be secured according to its instructions. The dresser should also be stable and anchored to the wall to reduce tip-over risk.
Do I need to screw the changing pad into the dresser?
Not always. Some pads use a safety strap, while others work with an approved changing tray or non-slip base; never drill into a pad unless the manufacturer specifically permits it.
Is double-sided tape safe for attaching a changing pad?
No, tape is not a dependable long-term safety attachment. It can weaken and should not replace a supplied strap, approved tray, or proper hardware.
How do I attach a changing pad to a dresser without drilling?
Use a product designed for no-drill installation, such as a manufacturer-approved clamp tray or pad with a suitable strap. If you cannot create a secure connection, use the pad on the floor instead.
Should the changing pad hang over the dresser?
No. The pad should fit fully on the dresser with no unsafe overhang. A pad that extends past the edge may slide or become unstable.
Does attaching the pad stop the dresser from tipping?
No. Pad attachment and furniture anchoring solve two different problems. Secure the pad and anchor the dresser to a wall stud with an approved anti-tip kit.
Can I leave my baby on the pad if the safety strap is fastened?
No. Never leave a baby alone on a changing pad, even with the strap fastened. Keep one hand on your baby and keep all supplies within reach.
Conclusion
Knowing how to attach changing pad to dresser helps create a safer and calmer diaper station. Use the correct strap or approved changing tray, choose a firm and level dresser, test the pad for movement, and anchor the furniture to the wall.
Avoid tape, homemade fasteners, loose blankets, and oversized pads. If the dresser cannot support a secure setup, a floor-level changing station is the better choice.
Take a few minutes today to inspect your nursery. Then follow the product instructions, check the hardware often, and share your own safety tips in the comments.