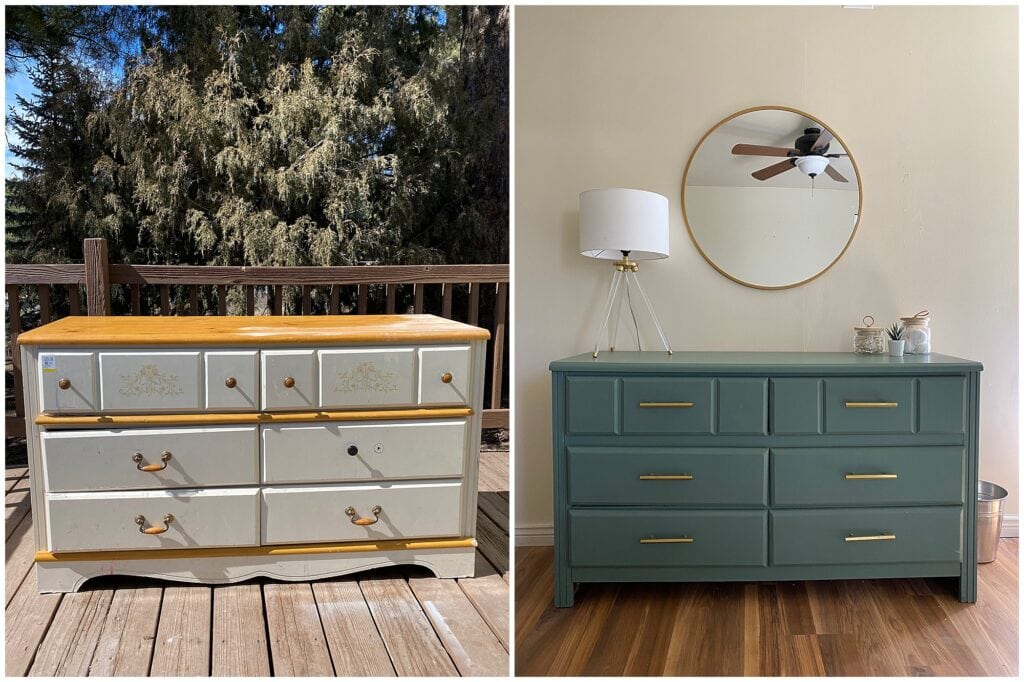
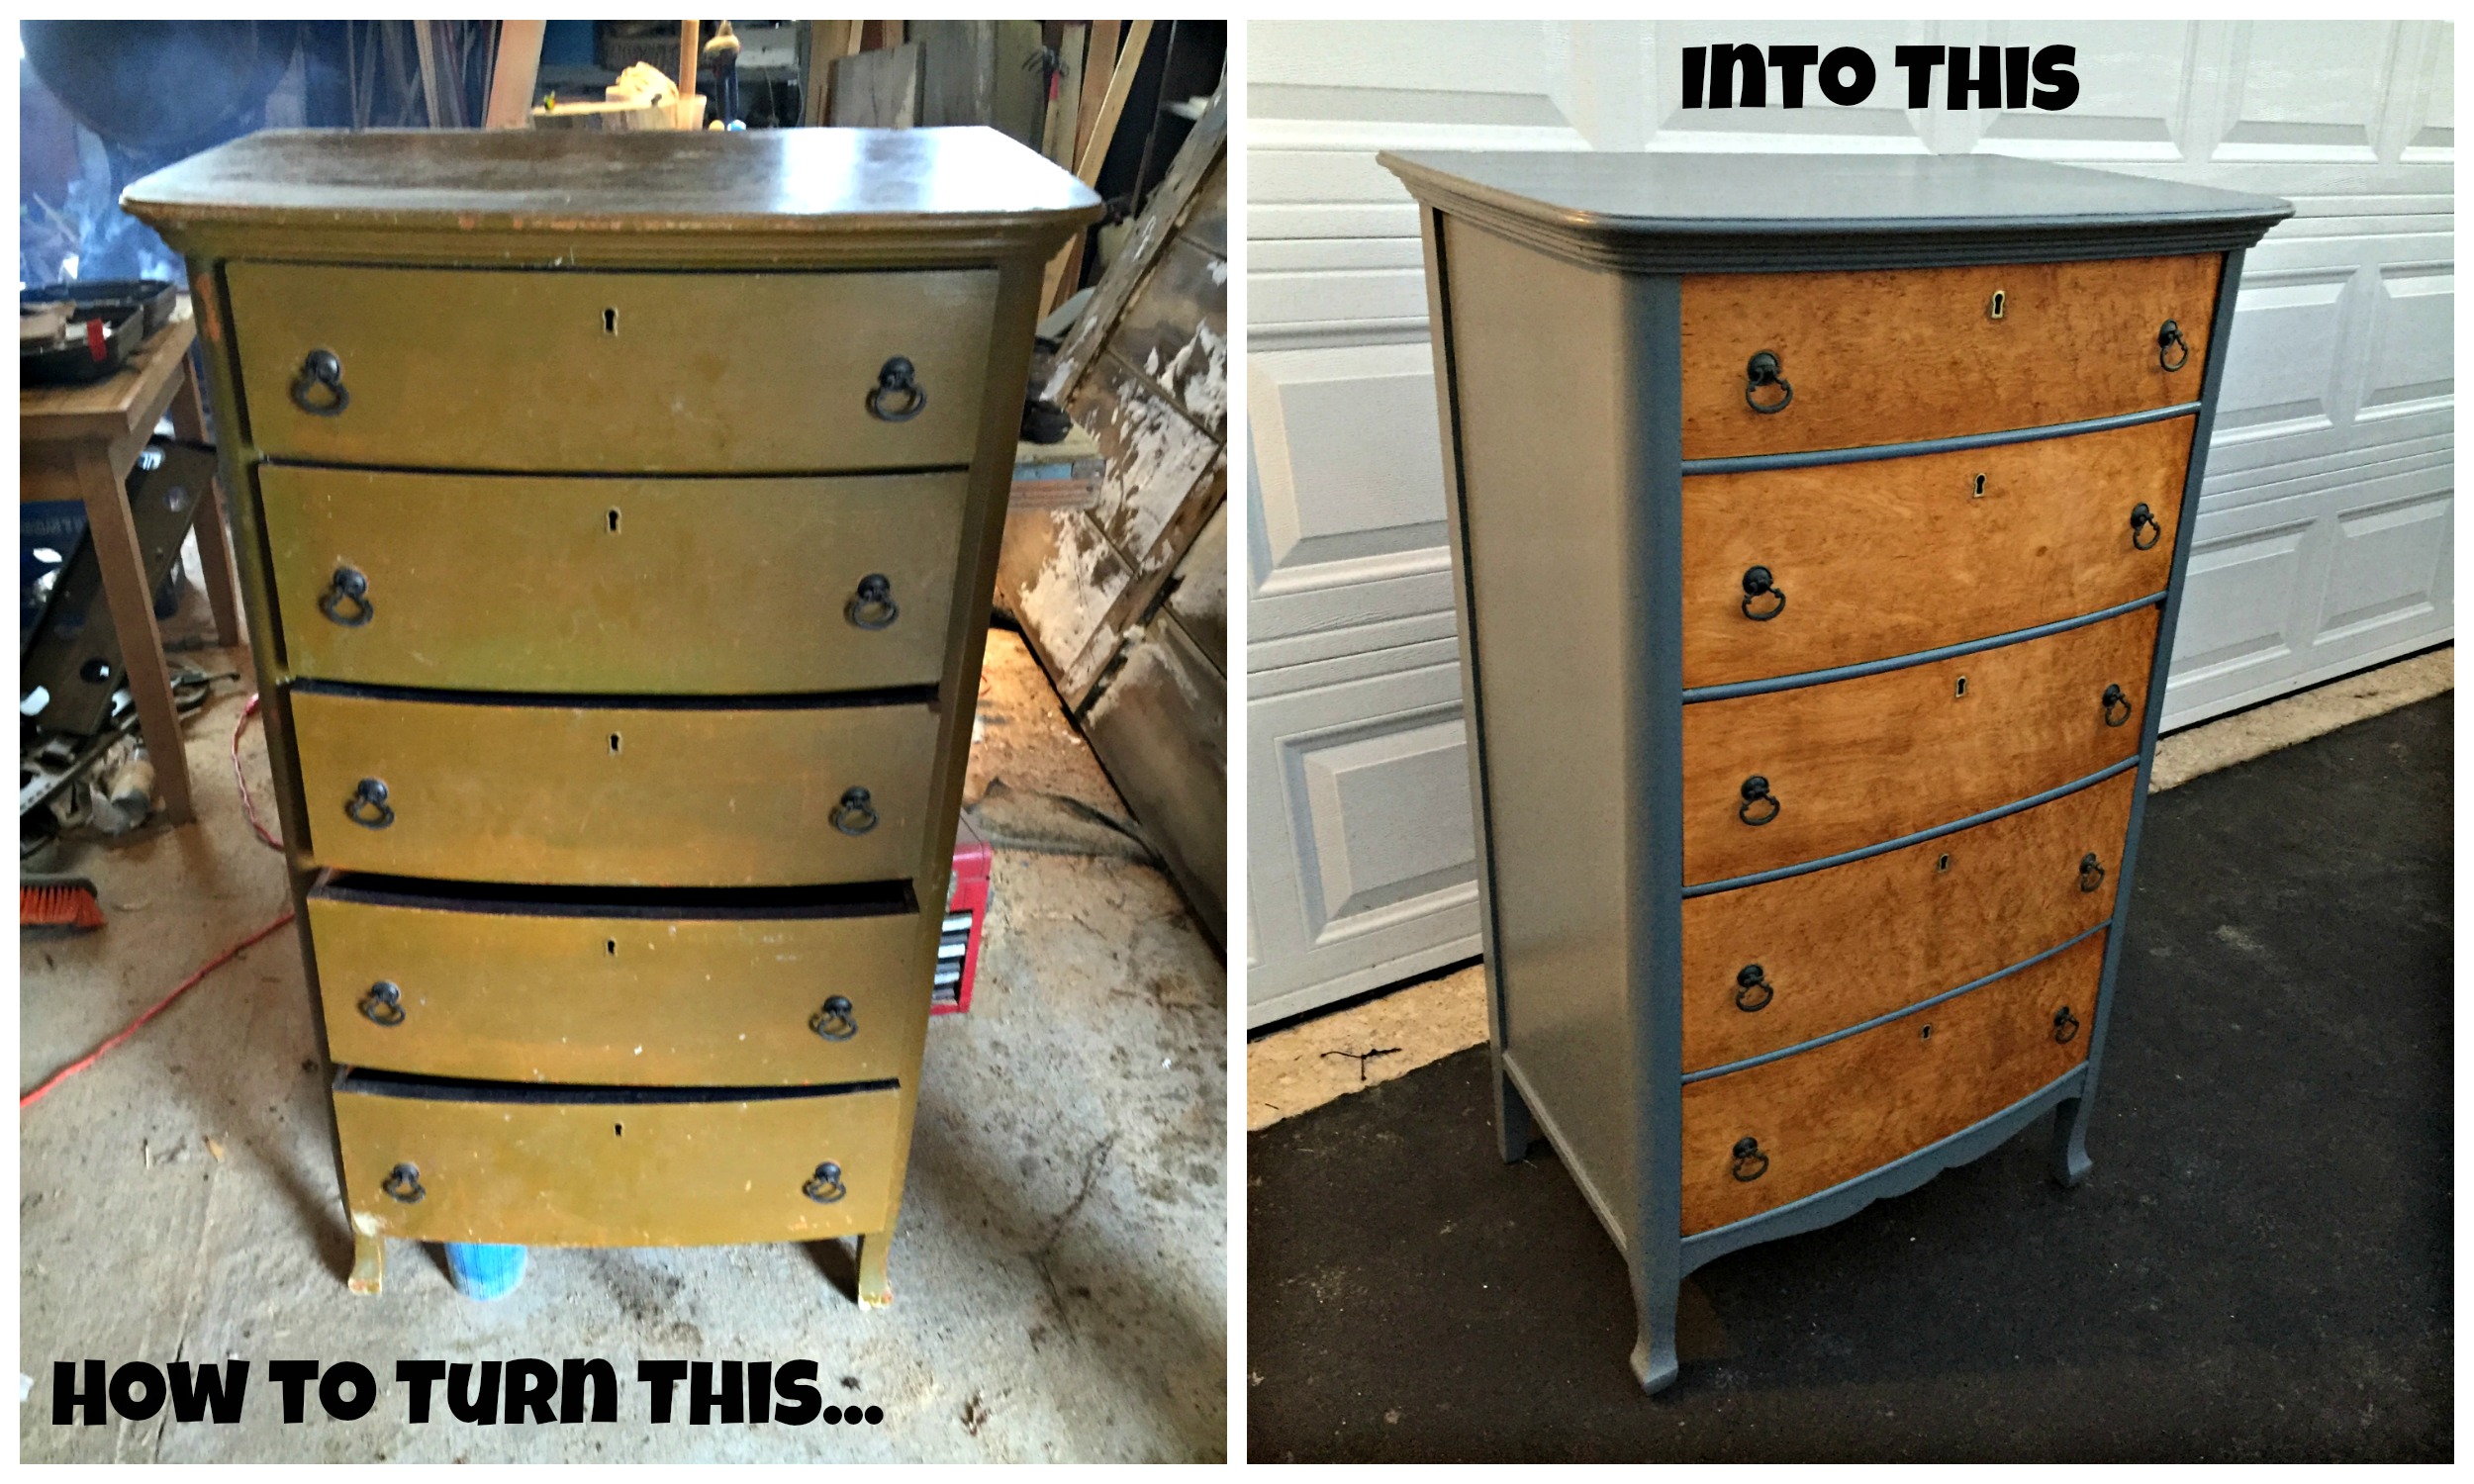
Refurbish a dresser by cleaning, repairing, sanding, priming, and finishing for a fresh, lasting result.
I’ve restored dozens of dressers over the years for friends, clients, and my own home. This guide shows how to refurbish dresser pieces step by step, with tools, tips, and mistakes I’ve learned from. Follow these clear, practical steps and you’ll restore an old dresser to look and work like new.
Tools and materials you’ll need
A good plan starts with the right tools. Knowing what to gather saves time and frustration when you learn how to refurbish dresser pieces.
- Orbital sander: Speeds sanding and smooths surfaces.
- Sandpaper: 80, 120, 220 grits for rough to fine work.
- Paint stripper or gel: For removing old finishes when needed.
- Wood filler: To fix dents, chips, and gouges.
- Primer and paint or stain and topcoat: Choose for durability.
- Brushes, foam rollers, tack cloths: For clean application.
- Screwdrivers and pliers: For removing hardware.
- Painter’s tape and drop cloths: To protect floors and adjacent areas.

How to assess the dresser before you start
Inspect the piece to decide if you should paint, stain, or fully strip it. Look for structural problems, veneer issues, and water damage when planning how to refurbish dresser furniture.
- Check joints: Wiggle drawers and corners to find loose parts.
- Test veneer: Gently lift corners to see if veneer peels.
- Look for rot: Soft spots mean possible water damage.
- Note hardware: Decide if original pulls stay or will be replaced.
Cleaning and preparation
Cleaning first removes grime and reveals the dresser’s true condition. This step makes later repairs and finishes adhere better when you refurbish dresser surfaces.
- Remove all hardware and labels.
- Wipe with mild soap and warm water using a soft cloth.
- Use mineral spirits for sticky residues or wax buildup.
- Allow to dry fully before moving to repairs.
Repairing structural issues and veneer
Fixing things right keeps the dresser solid for years. I once ignored a loose rail and the drawer warped; don’t repeat that mistake.
- Tighten loose screws and add wood glue to weak joints.
- Clamp glued joints for at least one hour for full set.
- For missing or lifted veneer: use veneer glue and a rolling pin to press it down.
- Fill dents and gouges with wood filler, then sand smooth when dry.

Stripping or sanding: choice and method
Decide whether to strip or sand based on finish type and time. Stripping is best for thick or multi-layered finishes. Sanding is faster for thin paint or worn surfaces.
- If stripping: apply gel stripper, wait per instructions, then scrape with a plastic scraper.
- If sanding: start with 80 grit for rough removal, then 120, then 220 for smoothness.
- Use an orbital sander for flat surfaces and hand-sand corners.
- Always sand with the grain to avoid visible scratches.

Priming and painting for durability
Good primer and paint make the biggest visual difference. When you refurbish dresser pieces with paint, longevity comes from prep and product choice.
- Choose a bonding primer for glossy surfaces or veneer.
- Use water-based enamel paint for quick drying and easy cleanup, or oil-based for extra toughness.
- Apply two thin coats rather than one thick coat to prevent drips.
- Sand lightly between coats with 220 grit for a smooth finish.

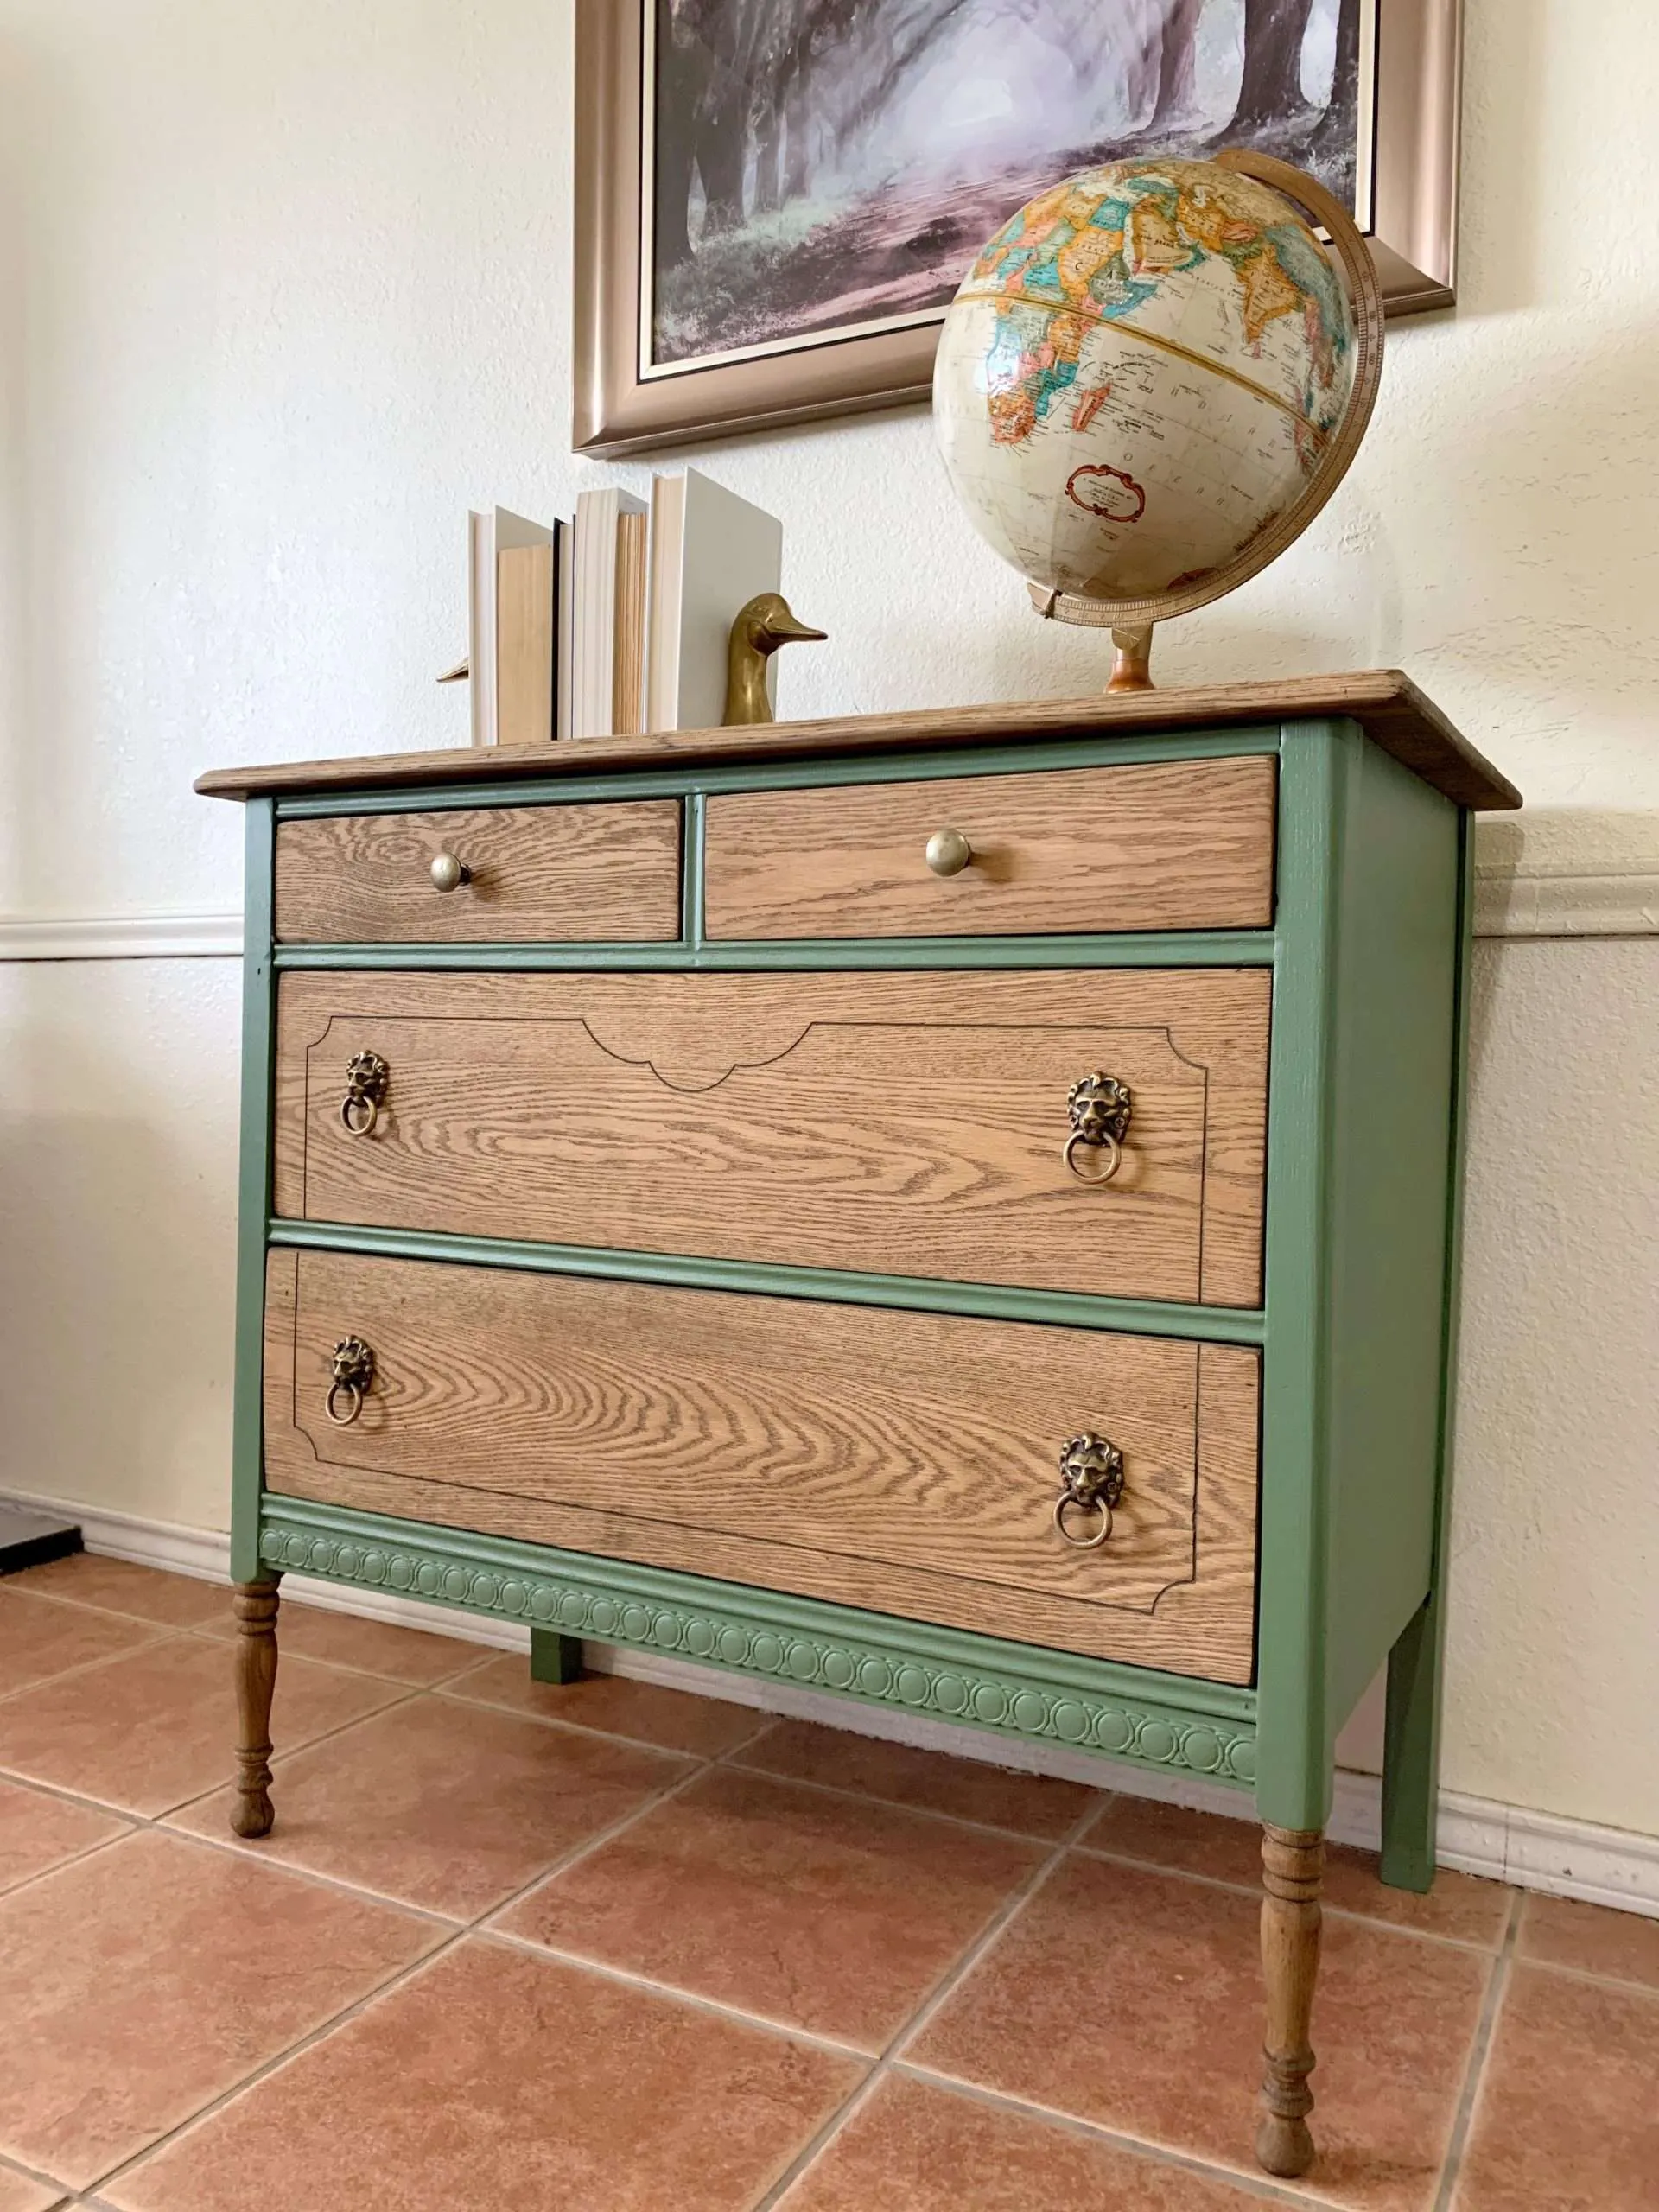
Staining and sealing wood finishes
Staining shows off wood grain and feels classic. If you prefer a natural look when you refurbish dresser wood, stain then seal correctly.
- Test stain on a hidden area to check color.
- Apply stain with a rag, wiping off excess with the grain.
- Let the stain dry fully before topcoating.
- Use polyurethane or water-based topcoat for protection. Apply 2–3 coats, sanding lightly between coats.

Hardware, styling, and finishing touches
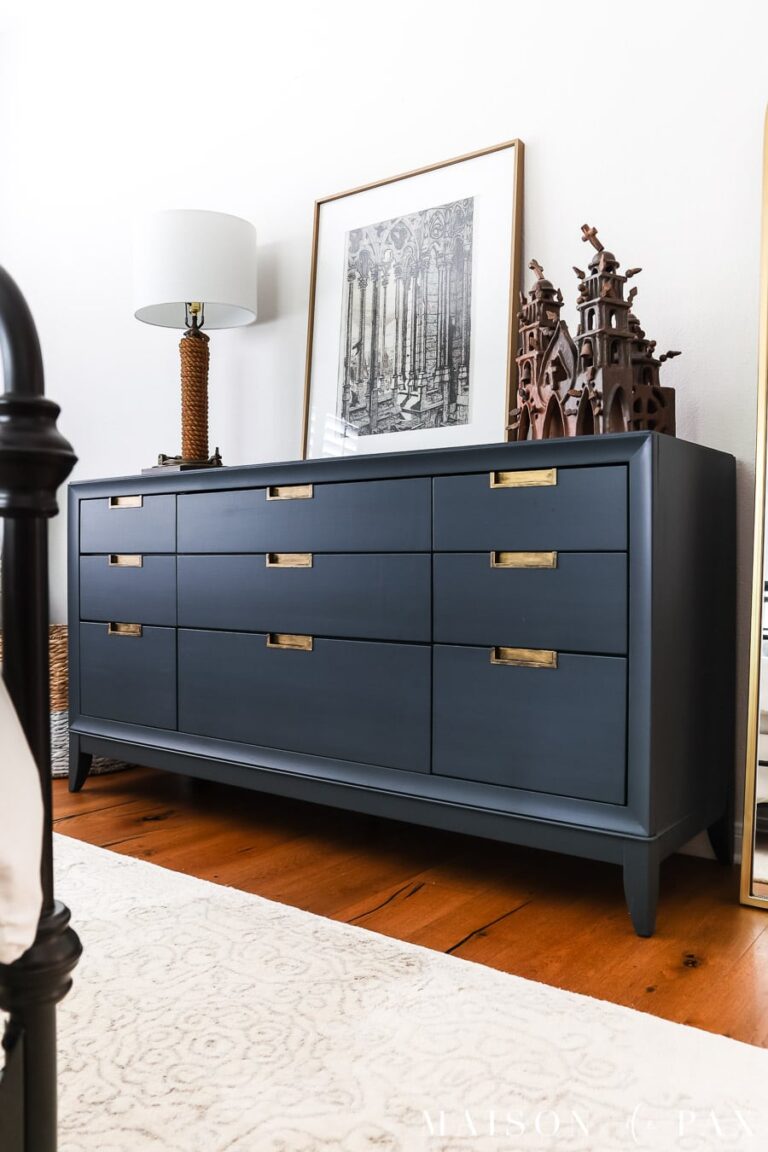
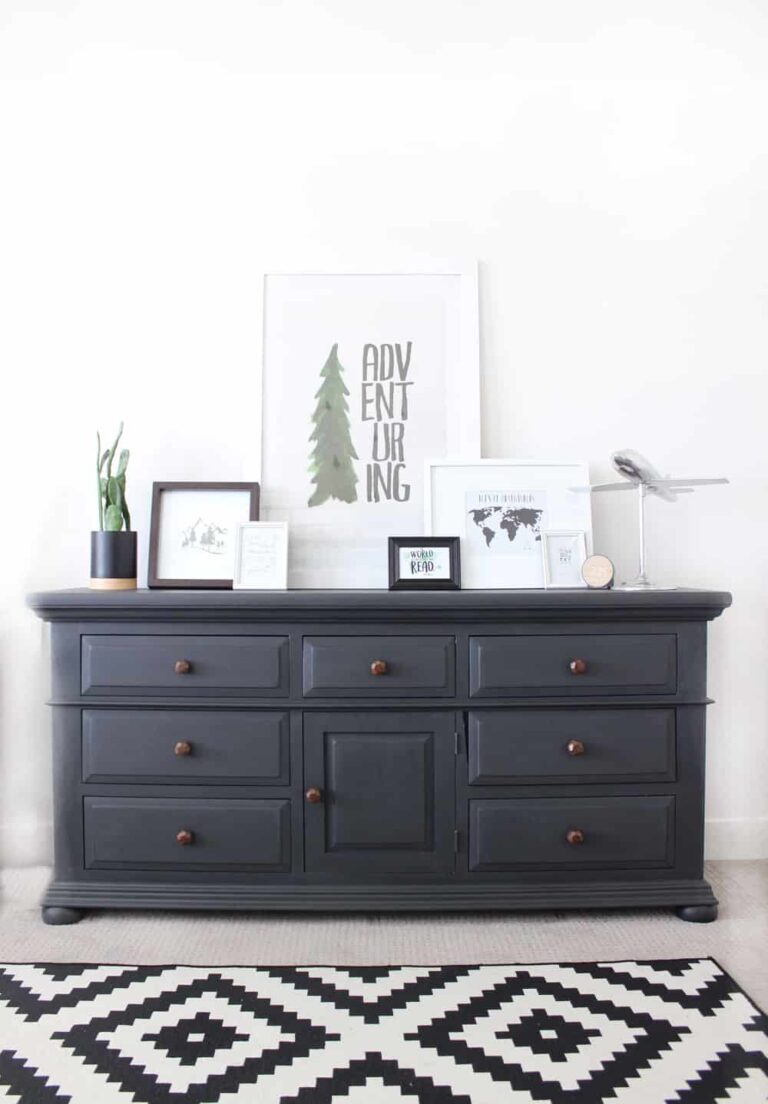
New hardware can transform a dresser. Small design choices make a big impact when you refurbish dresser pieces.
- Clean old pulls: Soak in vinegar solution to remove grime.
- Replace with modern or vintage pulls to match the look.
- Consider drawer liners to protect interiors.
- Add felt pads under the dresser to protect floors.
Common mistakes to avoid
I learned many lessons the hard way. Here are practical warnings to help when you refurbish dresser projects.
- Don’t rush sanding: uneven surfaces show after paint.
- Don’t skip primer: paint adhesion suffers without it.
- Don’t use too much filler: it shrinks and creates more work.
- Don’t paint in high humidity: finish won’t cure properly.
Maintenance tips after refurbishing
A little care keeps a refurbished dresser looking great for years. Follow these simple steps after you refurbish dresser furniture.
- Wipe spills quickly to avoid stains.
- Use coasters and mats to prevent surface damage.
- Re-tighten hardware annually.
- Touch up small chips with matching paint or stain.
Frequently Asked Questions of how to refurbish dresser
How long does it take to refurbish a dresser?
A basic clean and repaint can take a weekend. Full strip, repair, and finish work may take several days to a week due to drying times.
Can I refinish a veneered dresser?
Yes, you can refinish veneer carefully. Use light sanding, good primer, and thin coats of paint, or repair and re-stain if the veneer is in good shape.
What finish is best for a dresser top?
Use a durable polyurethane or water-based polyacrylic. These finishes resist scratches and are easy to maintain.
Is stripping better than sanding old paint?
Stripping removes multiple finish layers quickly and is cleaner for intricate details. Sanding works well for light paint or when you want to keep time and tools minimal.
How do I prevent paint from chipping on drawers?
Prime well and use thin, even coats of enamel paint. Light sanding between coats and quality topcoat increases adhesion and durability.
Conclusion
You can transform a tired piece into a standout item by following clear steps: assess, clean, repair, sand or strip, then finish with paint or stain. Start small, test products, and work patiently to avoid common mistakes. Ready to refresh a dresser? Pick a project piece, gather tools, and try one technique this weekend — then share your results or questions below.